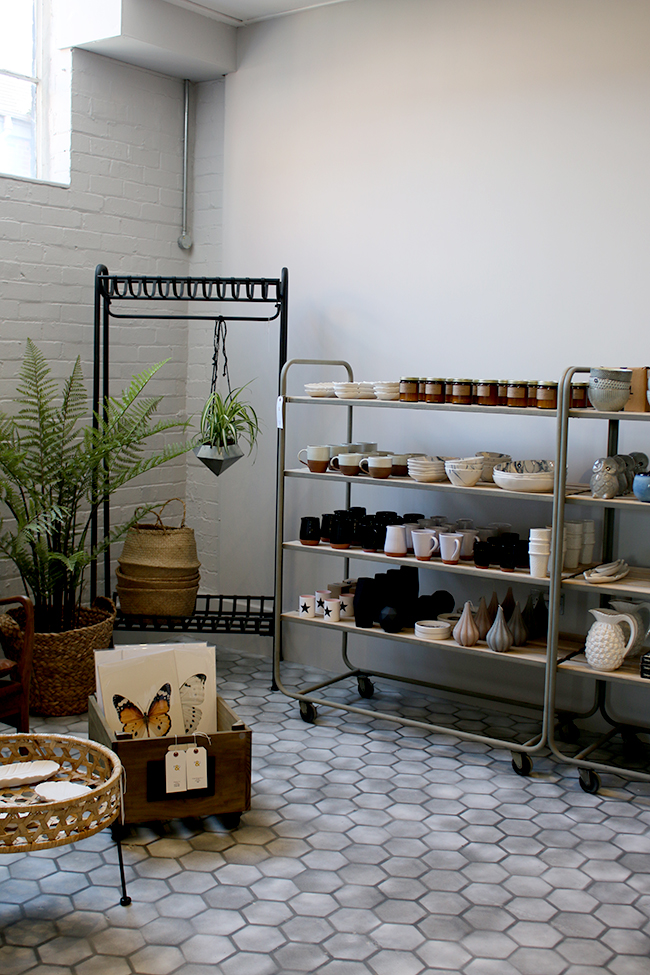
You may recall that recently I was invited to Rose & Grey’s new showroom in Altrincham. Whilst I was there, I spotted a cute hanging planter in the shop. It was quite industrial in it’s design (which as you probably know by now, isn’t really my kind of thing) but I adored the diamond shape and it was only a tenner. A form started to plan in my mind.
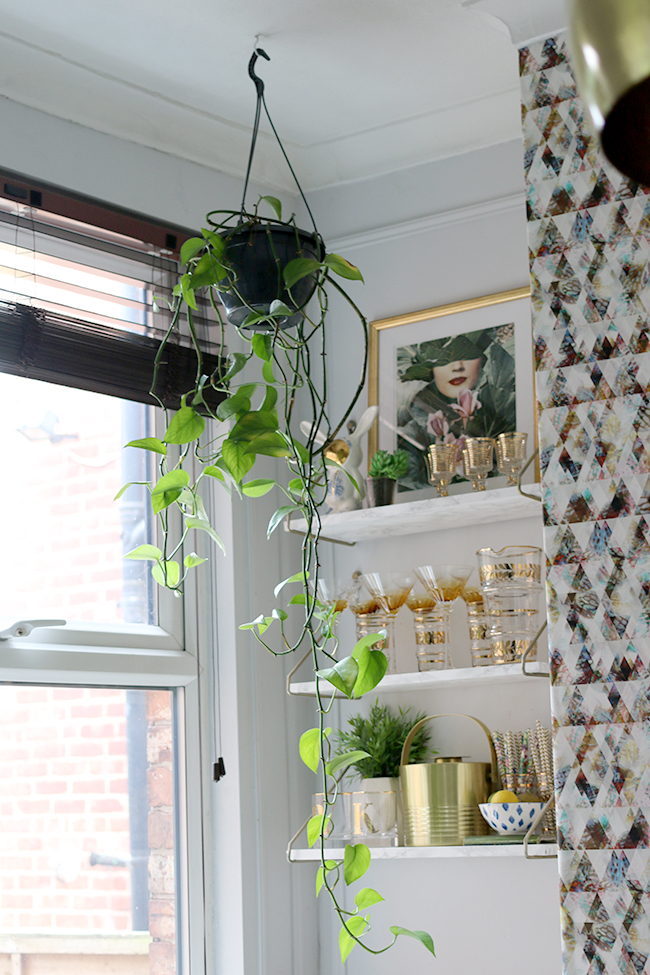
See, even though the dining room remodel was completed a couple of months ago now, I never got around to one thing I knew needed an upgrade. The hanging planter I had in here was pretty freaking shocking – the same bland plastic container I’d bought it in. Whoops. Even at the time I bought the plant (nearly a year ago now!), I knew I wanted to DIY some kind of planter for it but I just kept putting it off because I wasn’t sure what I wanted to do.
When I spied that planter in Rose & Grey, I knew I found it.
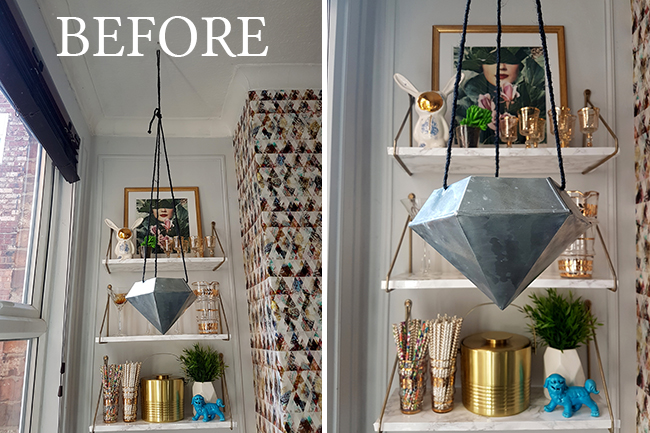
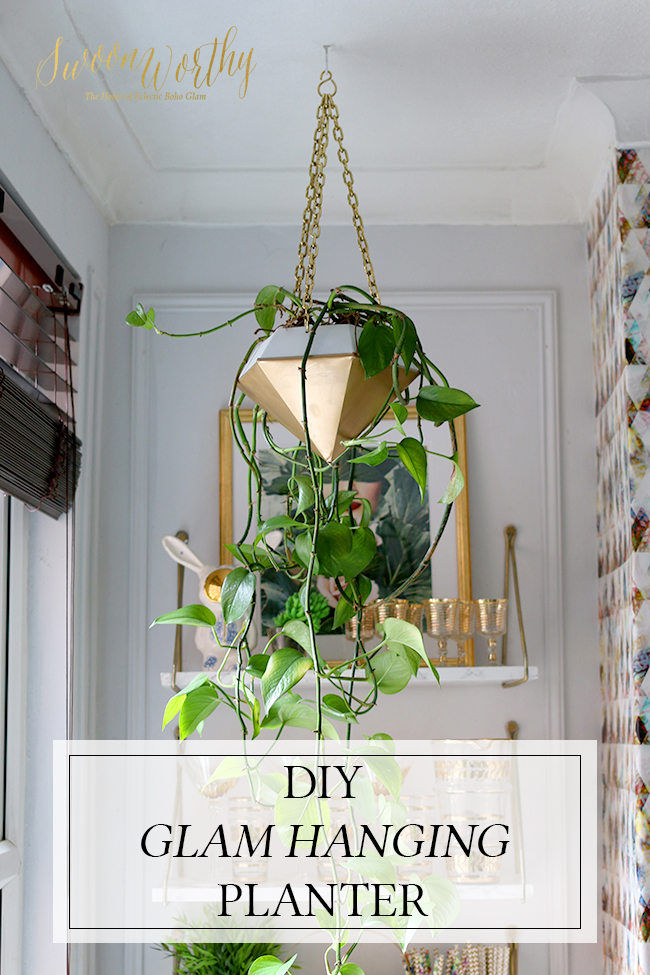
So this is sort of a DIY but perhaps it’s more of an upcycle. I don’t know what you want to call it but it was pretty easy so I thought I’d share my process with you today because this is what that planter looks like now…
*This post may contain a few affiliate links which are indicated by an asterisk (*). You don’t pay any more but if you click on the link, I can earn a few more pennies for pretties for the house. Win-win!
Here’s how I did it…
The first thing I did was remove the black yarn hanger and taped up the top portion of the planter using frog tape.
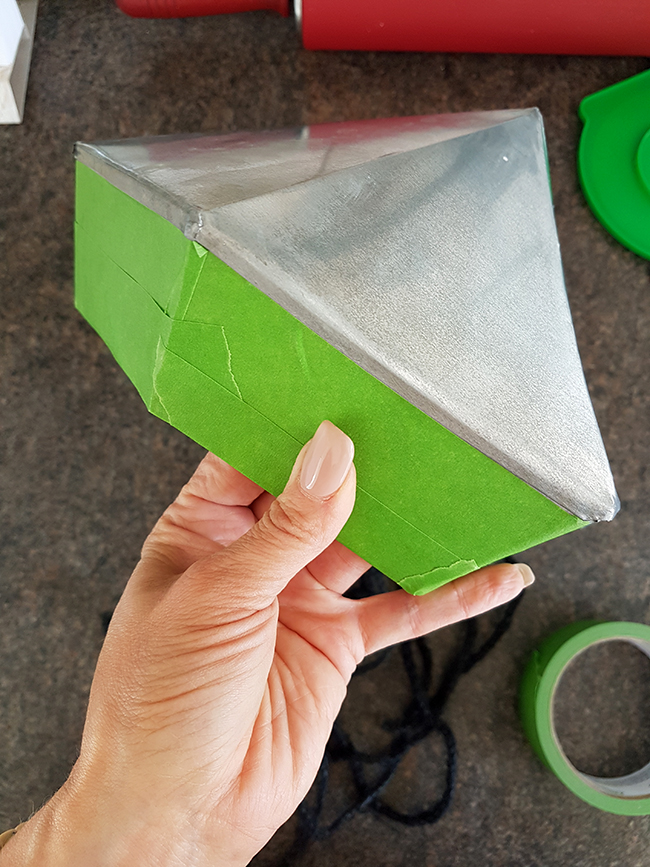
I sprayed it with 2 coats of Montana Gold Gold Chrome* and left it to dry.
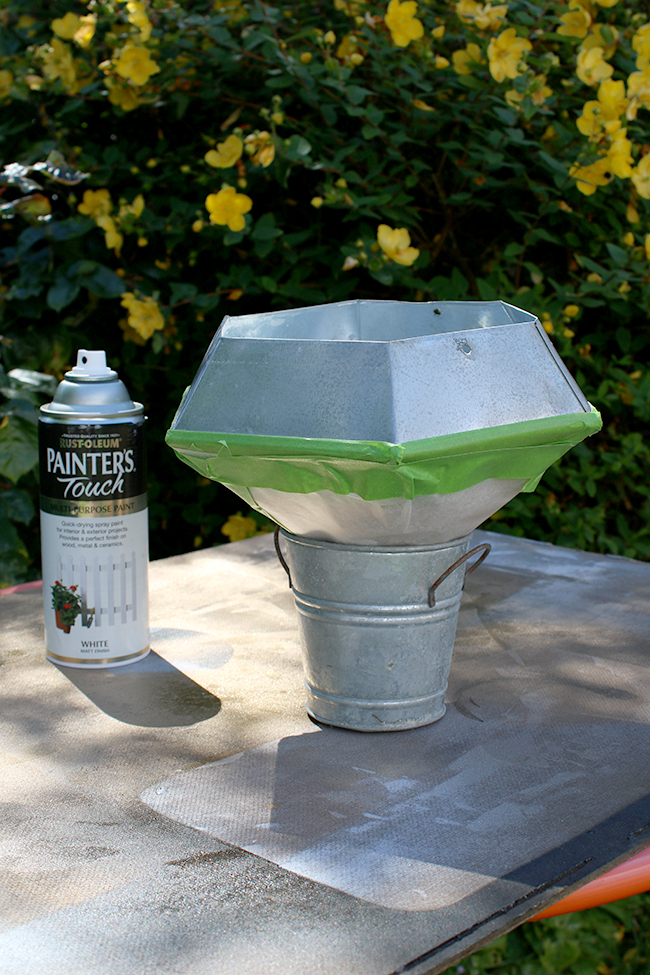
Then, I taped and covered the bottom of the planter and spray painted the top with 2 coats of Rustoleum Painter’s Touch in Matt White*.
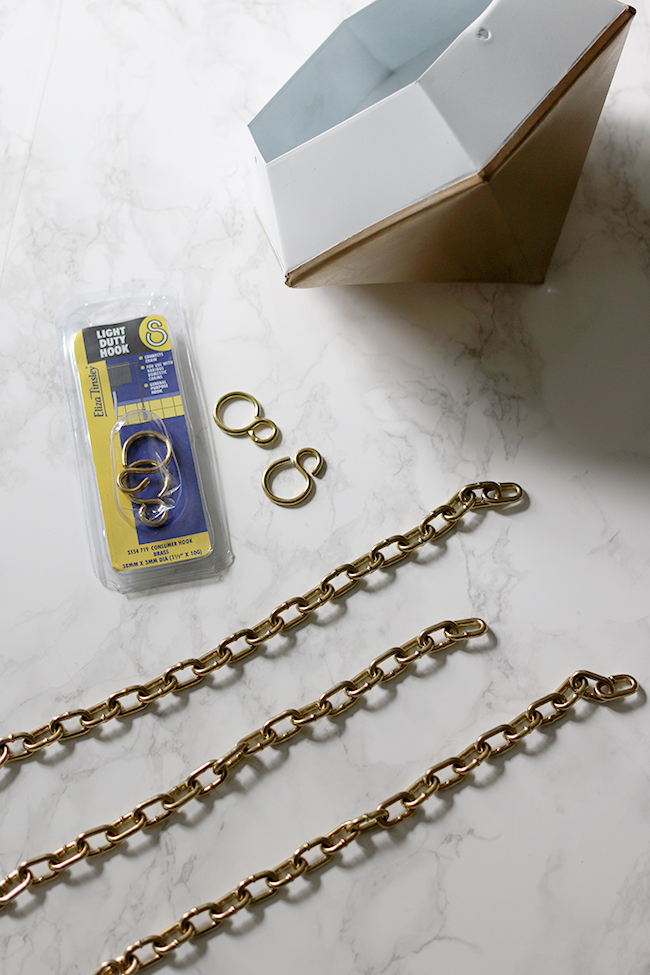
I purchased a length of gold chain from B&Q and four S hooks in gold. Wayne cut the chain for me into three equal lengths with a small hacksaw. (This is because the chain had welded links!)
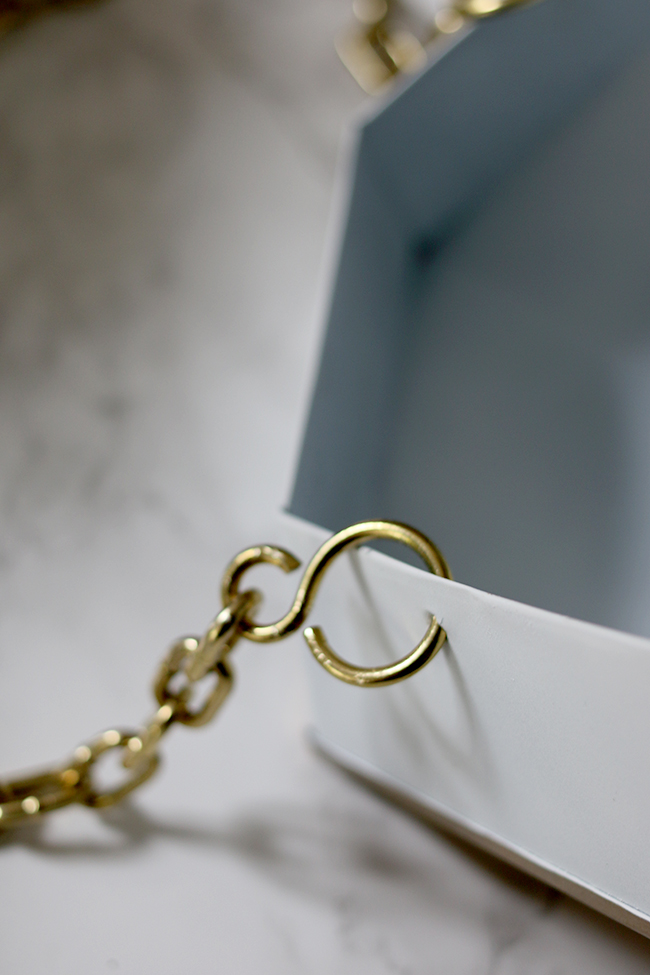
I opened the S hooks on both sides using a couple of pairs of pliers, hooking them into the planter’s holes on each side…
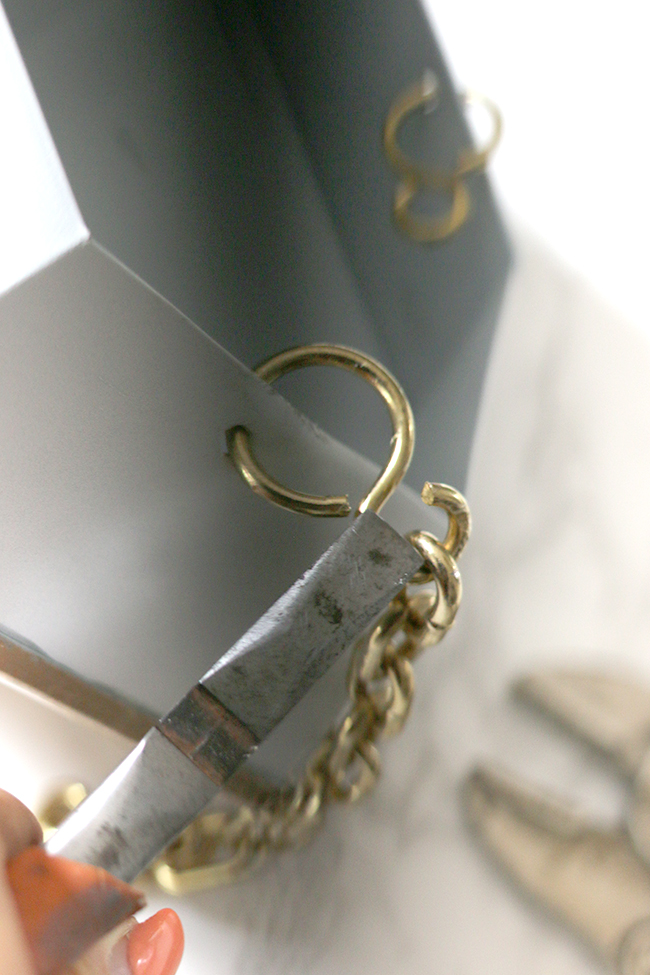
…and attaching a length of chain on the opposite end of the hook. Using the pliers again, I closed the S hooks back up.
Then I planted my trailing philodendron into the container and gave it a good water.
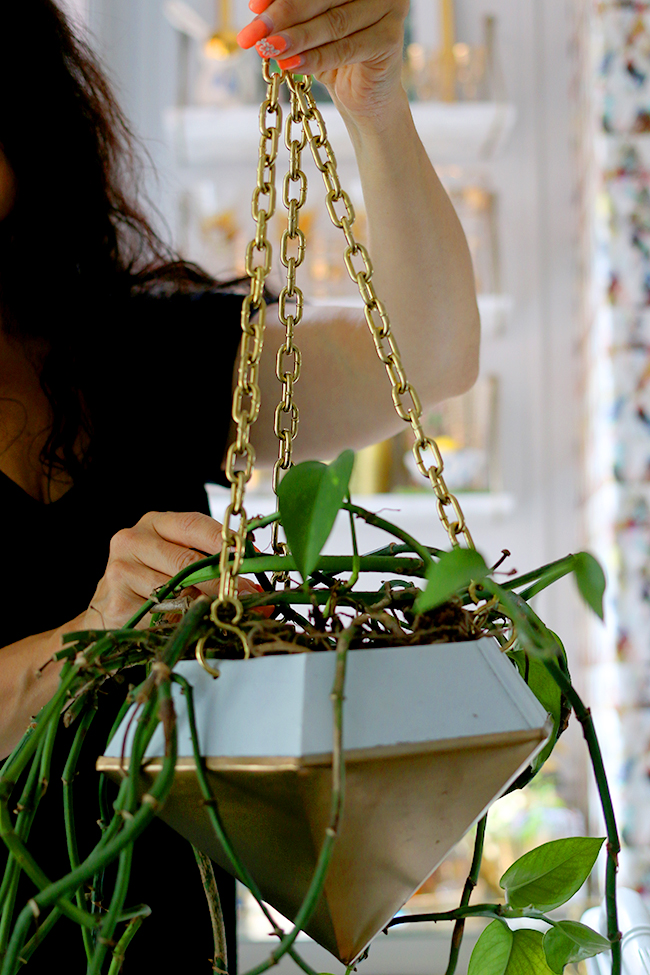
Finally, I connected all three chains to the last S hook and hung it up! And here’s what it looks like now…
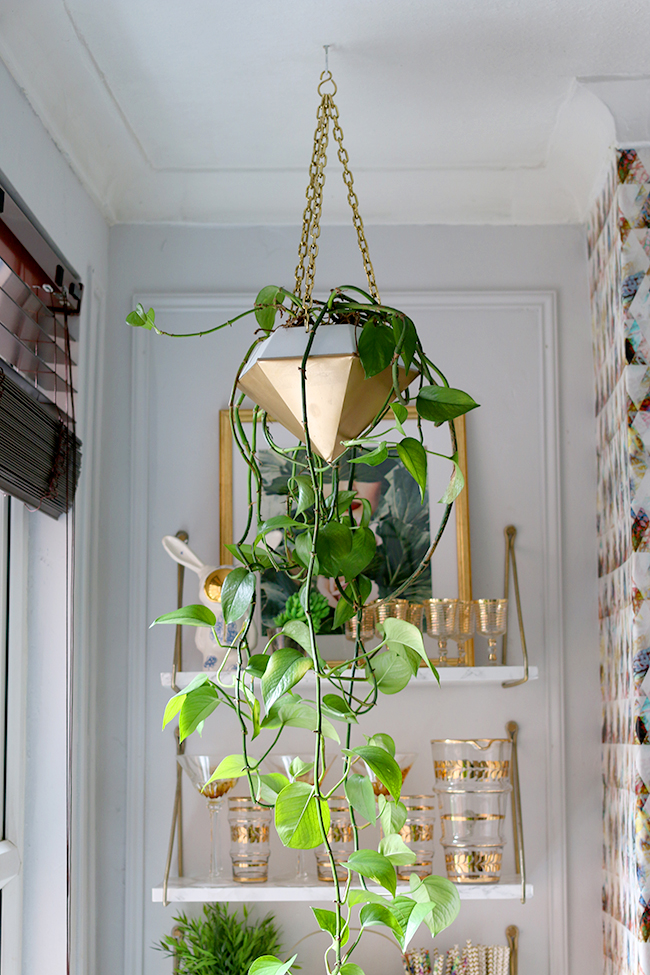
That’s it! I told you it was simple.
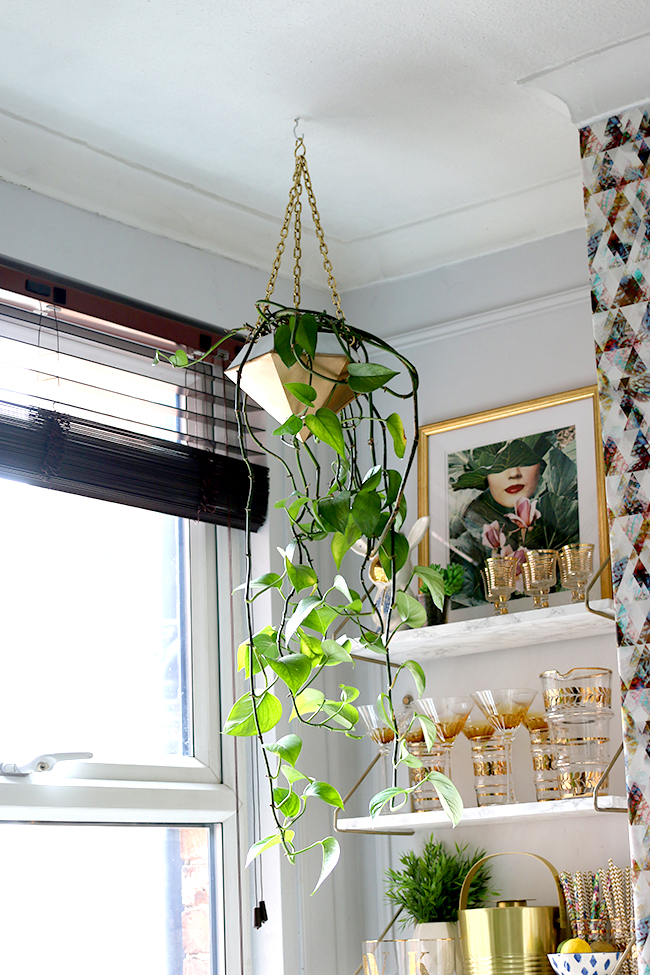
I love how well it now fits into my dining room with the flashes of gold and white playing against the nearby bar cart and shelving.
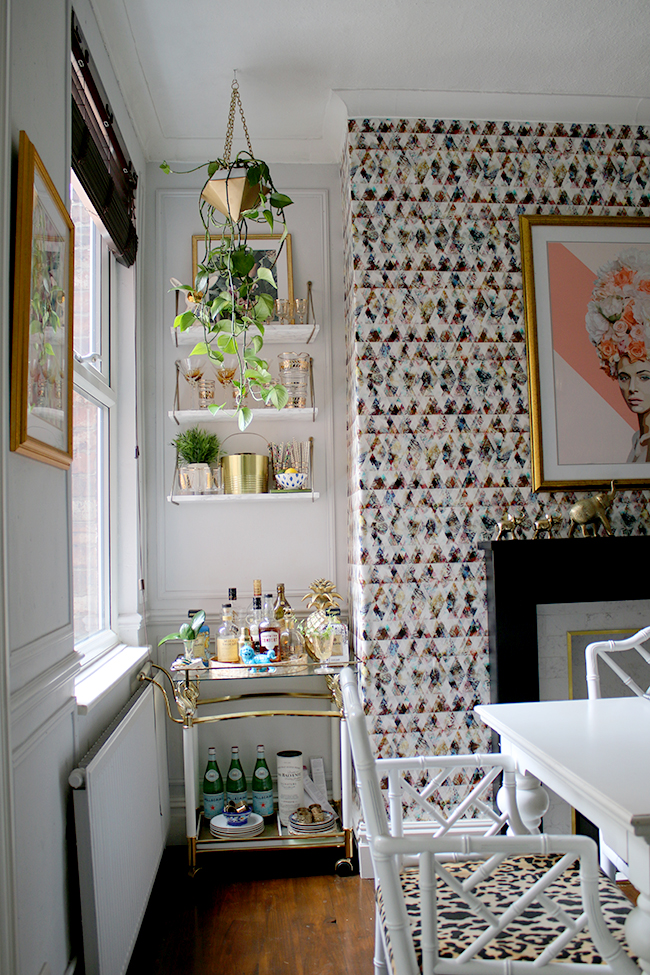
So with a little bit of spray paint and some gold chain and hooks, this once-industrial little planter has been all glammed up! What do you think of the transformation? Had any fun with spray paint lately? Do tell.
PS. Just a little note for fellow pet owners! Philodendron can be potentially toxic to animals if they eat the leaves. The one I have is far out of my pets’ reach so they can’t potentially get near it. Please do your research on any plants you have to make sure they can’t harm your furry friends.




Hi Kimberly, that looks brill i really like it, an industrial planter, with a swoonworthy twist, what more could you ask for xxx
Amazing! If I dare say it, your version looks more expensive…I liked the original anyway but damn, it looks really high end now. Not great with the spraycan personally, but looks like I need to get practising.
You have the gift to transform the simplest objects into something extraordinarily beautiful . Love it once more!!!
Wow, love your planter makeover! The spray paint transformed it to something quite glam, and then your genius idea of replacing the yarn with the gold chain and hooks took it to another level entirely! Absolutely gorgeous, I might have to copy this ;-)
Oh, I love this – what a transformation! SO much nicer afterwards and it looks perfect in that spot! Good work Kimbo! xx