I’m back!! Goodness, it’s been a whole two weeks and it feels like FOREVER. I’ve missed you guys!! It’s been a good couple of weeks for the most part with Menorca proving the perfect getaway from the rain that took over the North West that week. We recharged ourselves in the sunshine and by the pool, enjoyed a few little excursions and created some great memories. Upon our return, Wayne has been working away on the back patio and we’re making progress which I’m sharing with you today.
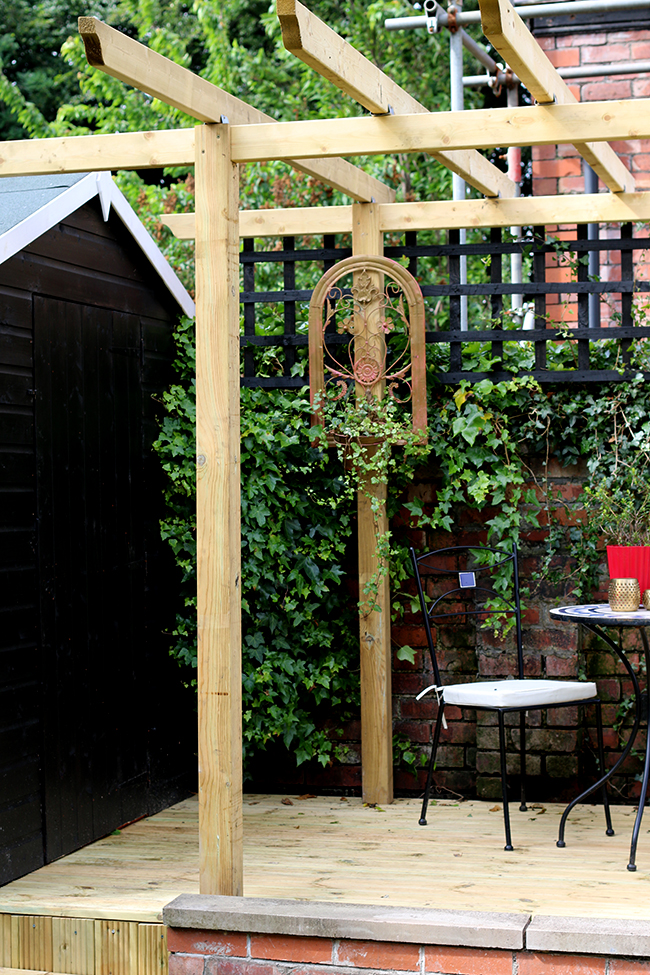
You may recall that last year, we made a few changes to the back patio. I know sometimes the camera makes my back garden look really long and big but the truth is, it’s a pretty tiny space so we wanted to make the most of whatever we had. This little spot at the very back of the garden has been through a few different stages and if you want to see how it looked when we first moved in, you can see that in this post.
We made some improvements to it by creating a small patio area a few years ago and last year we decided to get a larger shed. But the truth is, we rarely sat here because the patio area was too small to do anything except maybe have a cup of coffee on the odd sunny morning.
The following pictures were taken with my phone so excuse the quality but a few weeks ago, things changed quite dramatically….
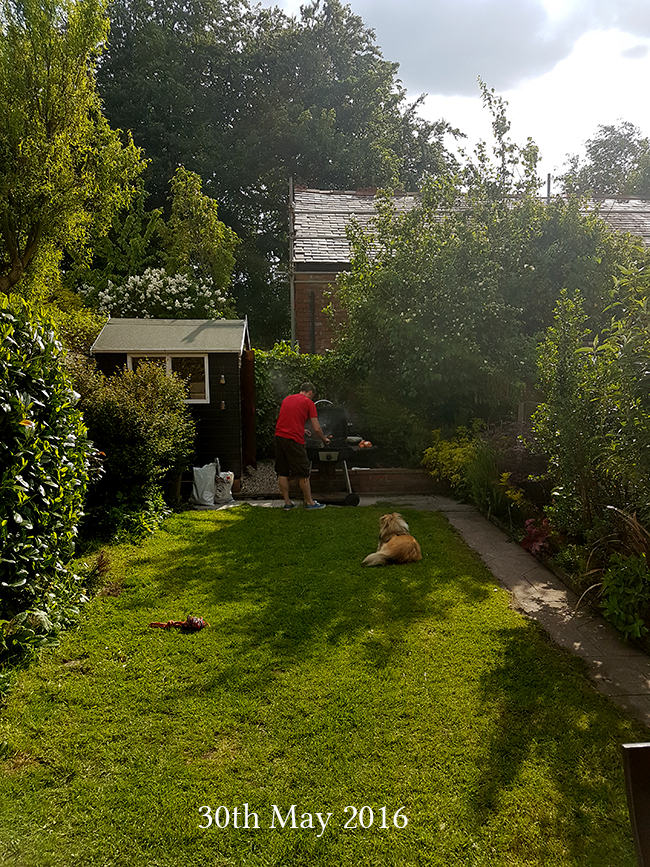
Now, I’d always loved that large tree that overhung into the patio from the neighbour’s side of the fence as you can see above and on the right but whilst doing work on their own garden, they’d removed part of a tree that was growing right next to it. The following day, the tree overhanging into our own garden collapsed under the weight and sadly, it had to be completely removed.
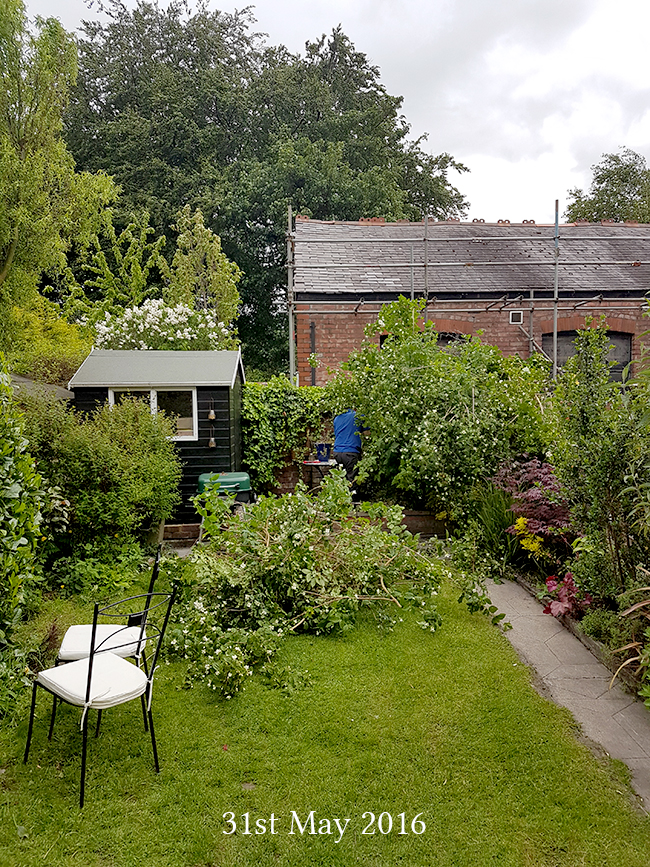
Yes that’s Wayne cutting the branches to remove the part of the tree that fell into our garden!
Once the tree was completely removed, it left the back of our garden feeling incredibly exposed and a little sad and empty!
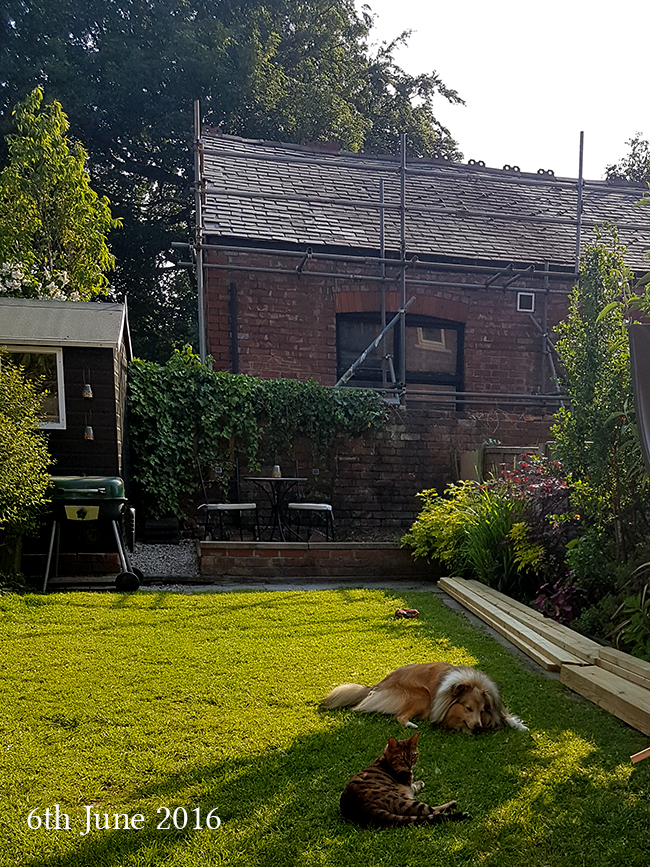
The back of the garden looked a lot less pretty and a lot more exposed! Even Quito and Meisha are depressed about it.
Secondly, you may recall that the building directly behind our back wall has had that f**k%!£ scaffolding up now for 2 and a half years with no signs of work or anything going on. (No, not at all annoyed, why do you ask? *cough*) Yes, I have had to look at that ugliness for far too long and despite contacting the council and them writing a letter to the owner (who doesn’t live on our street), I was told there was nothing they can do as technically, there’s nothing illegal about leaving scaffolding up indefinitely. Gah!!
Lastly, one of the reasons we’d left that small patch of bushes to the right side of the patio was because of the cats using it as a sort of ‘outdoor toilet’. I know, I know, that’s gross but it was better than them using the rest of the garden for it! However, since we got the dog, he’s been digging in that patch relentlessly and the truth is, the cats haven’t been using it very much at all, seeming to prefer their litter tray now. So there was no longer any need to keep it.
After discussing a few different options, it was actually Wayne’s idea to erect a pergola and extend the patio area across the full length of the back. So I can’t even take credit for the idea (although I’m clearly rubbing off on him – ha!) ;) We knew it would add some much needed visual height as well as provide a bit of privacy. We decided to create a deck to match what we had right next to the house and paint everything in the same black of the shed.
Wayne was absolutely itching to get started on this one and I certainly wasn’t going to discourage him! So this past week, he’s been working away on getting this space moving along. I’ve created a little slide show if you are interested in how he built it.
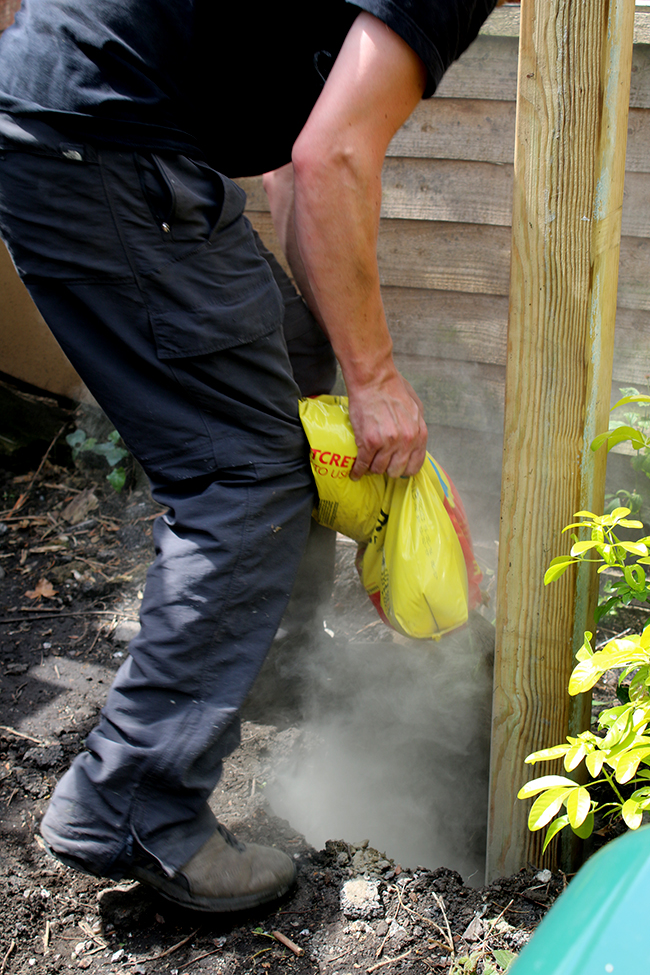
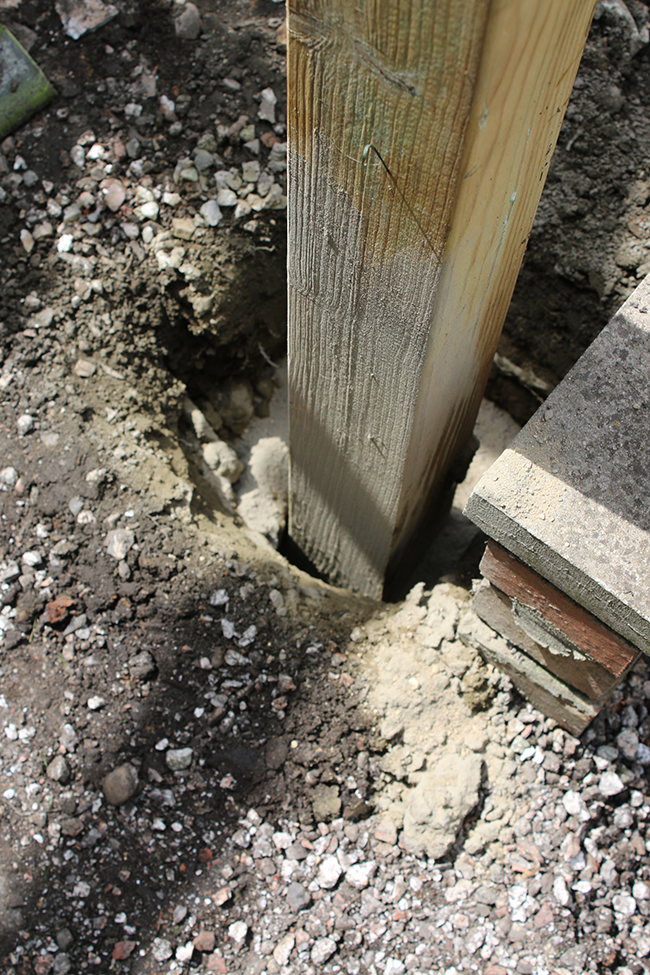
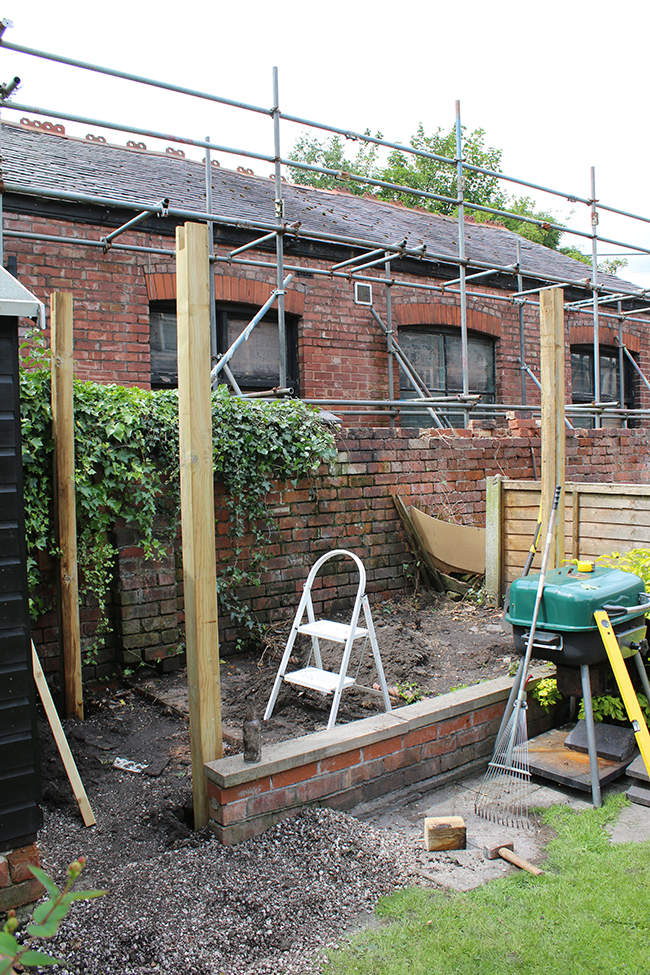
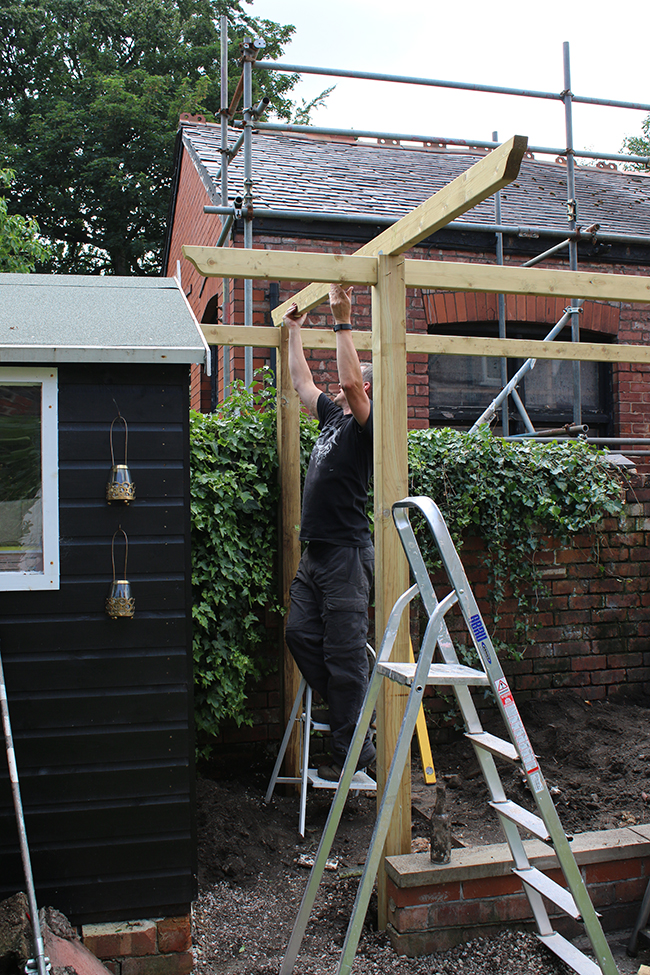
He first removed the larger plants and the existing patio flags and then dug the holes for the posts. Of course, for a job like this, everything has to be perfectly level. Once he was happy with the location and depth of the posts, he filled the holes with concrete to secure them in place.
Once this was done, the soil was all levelled out and he put a weed resistant membrane on top and then began to frame out the decking (I wasn’t home when he built the deck so apologies for the lack of pictures!). Once the frame was built, he was able to lay all the decking boards and finished the pergola.
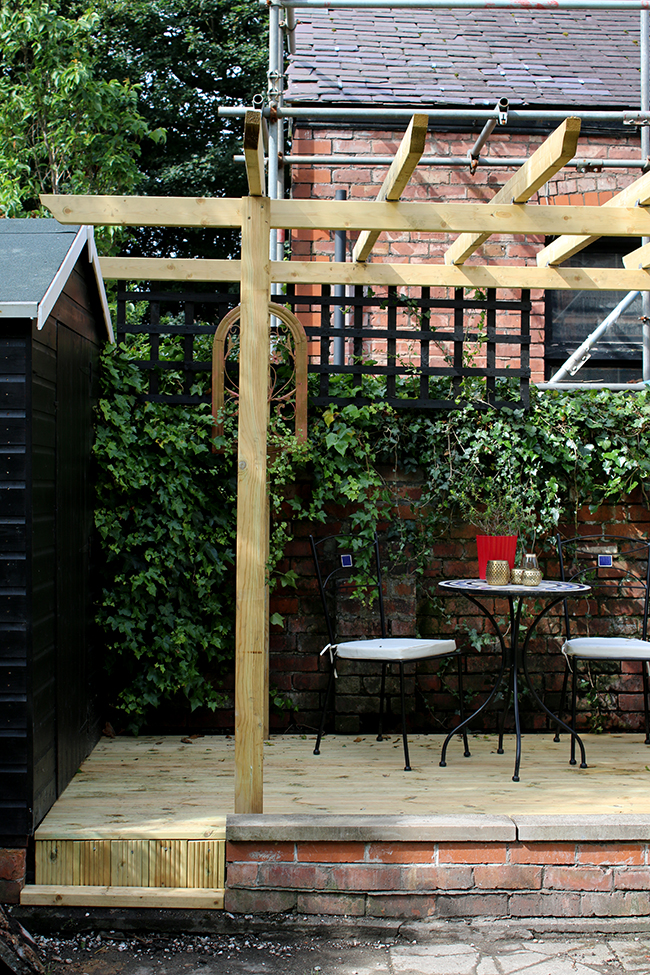
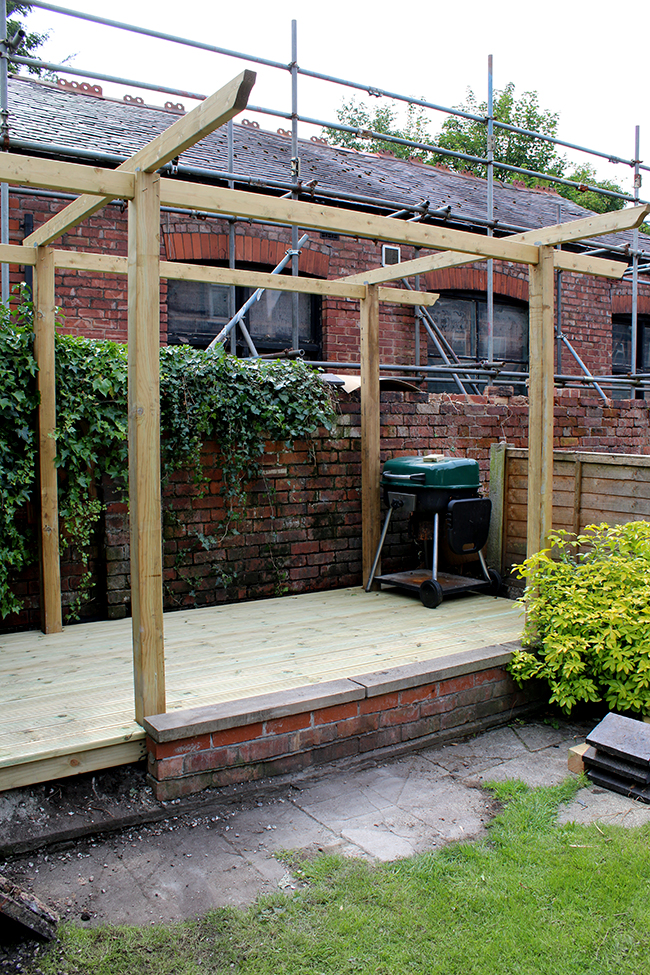
While the space is already looking so much better, there is still lots more to do! We need to install another trellis to the back (we’d only put up one at the time I took the pictures here), finish the step and all the shorter fencing to the right side of the garden is going to be replaced with new higher fencing which will go a long way in giving us a bit of privacy back here.
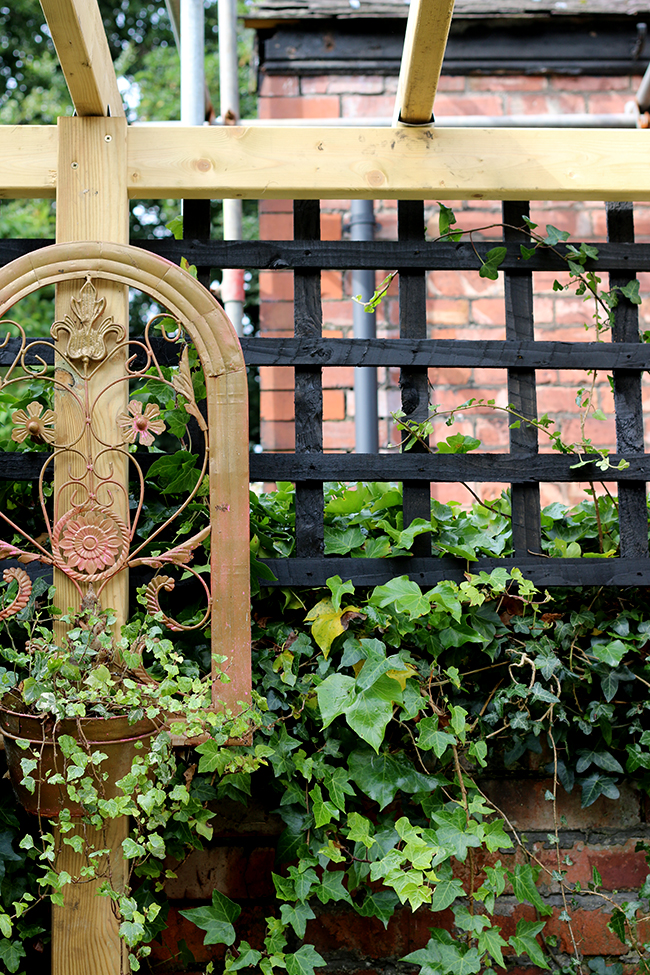
The whole thing will then be painted black – the same as the shed. See all that ivy? We want to train it to grow all along the top of the pergola in time.
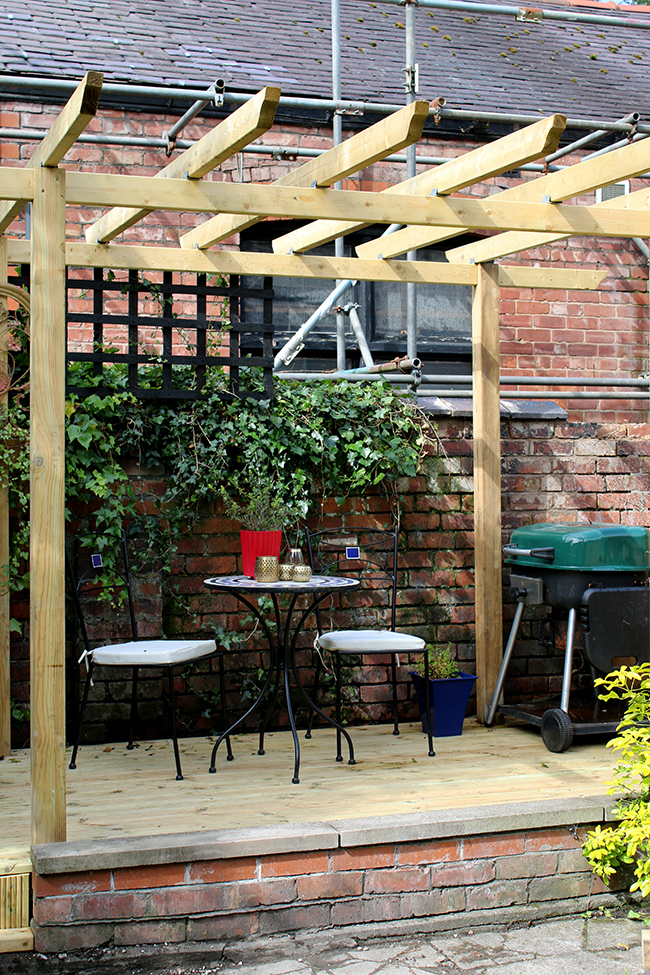
We will be getting some new patio furniture back here as well. Whilst I love my little bistro set, it will get a little lost with all the black around it and I wanted seating that was a bit more comfy. I chose that set because it suited the original footprint of the patio but with a slightly larger space, that means I can get something a little bigger for this spot! (I’m going to use the table elsewhere in the garden!)
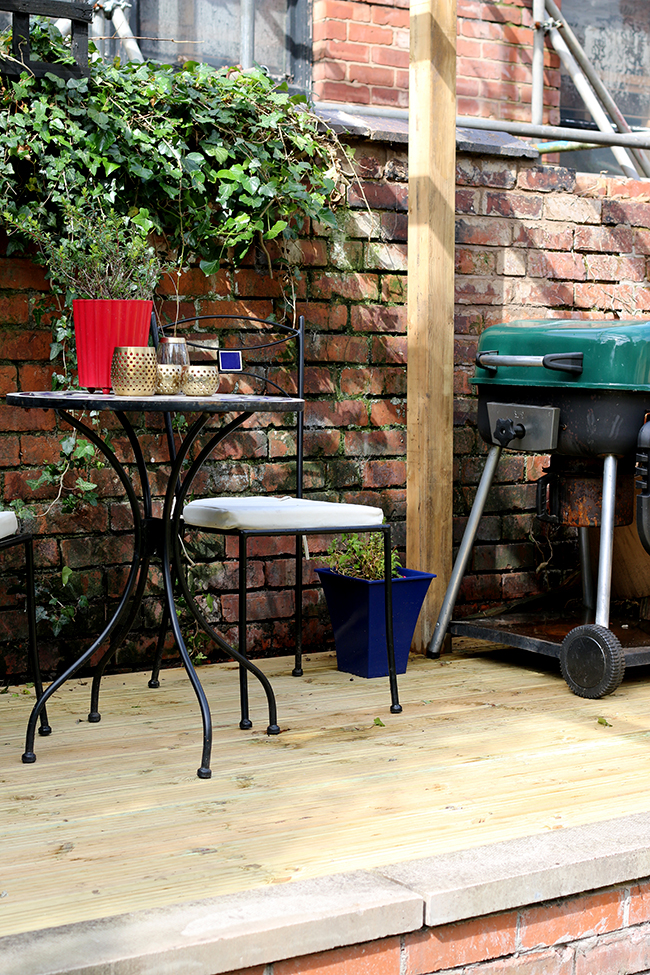
We also need a new BBQ as the one we have now is on it’s last legs as you can see! It’s just so nice that we will finally have a spot for our BBQ without having to put it back in the shed every time we use it!
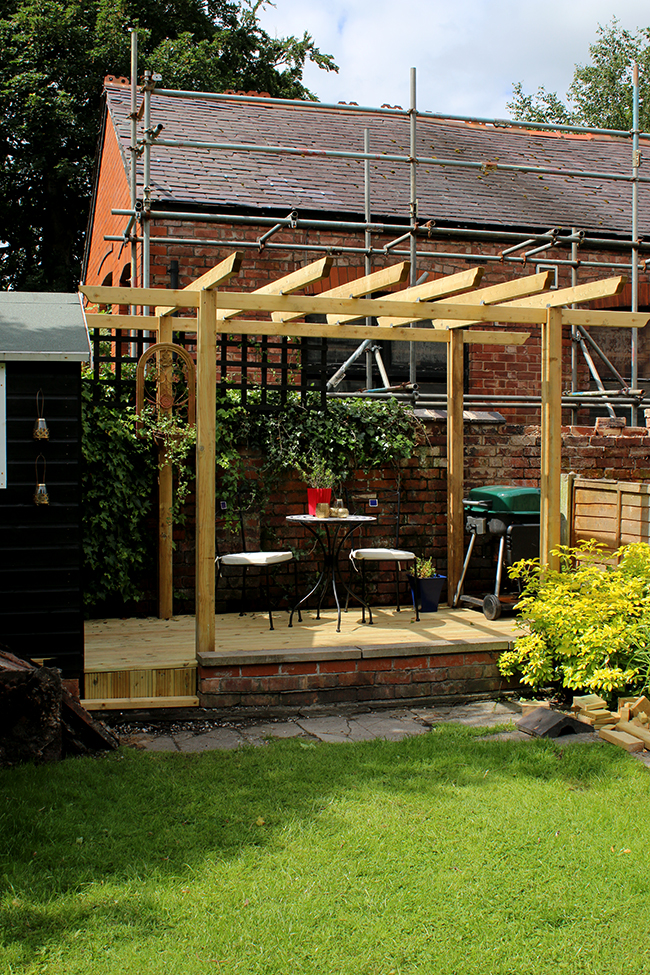
And of course, I want to dress the whole space – lots and lots of plants and hanging flower baskets plus fairy lights to wrap around the whole thing. I am also looking at hanging an old chandelier that will be powered with solar lights. It should be a good DIY if we can figure it out so stay tuned for that!
So all that said, I’m super excited by the progress of this little spot. While we can’t make that scaffolding go away, we can do our best to distract the eye from it and create a little private oasis for back yard barbeques and morning cuppas.
What do you think of the progress so far? How have you been the last two weeks? I’ve missed you. Talk to me.






It’s looking good back there! Can’t wait to see what kind of light you come up with!!
Thank you so much! I’m excited about the light – fingers cross we manage it!! ;) xxx
Hiya Kimberly, glad your back (yes i’ve missed you loads), nice to hear you’ve both had a good holiday?.
Its a pity your ivy dosen’t grow up the scaffolding with it being there that long, at least it would hide it. The bottom of your garden is looking well, and now we keep having a bit of sunhine you will be able to make good use of it.
we’ve been really busy while you’ve been away, we are just on with painting our kitchen cupboards, which seems to be taking forever lol. Xxx
Aww missed you too Pauline!! Mwah! Ya know, we actually considered seeing if we could get the ivy to grow around the scaffolding! Might be an option to hide it because I hate it with a passion lol
Oooh painting the cupboards! What colour did you decide on?? xxx
We decided on navy blue, and I love it. I’ve never been happy with that room, but now slowly i’m starting to love it. Thanks for the inspiration flower, you’re a star xxx
Oh I love the sound of that!! Can’t wait to get ours painted too :D Good luck with it all, lovely! Mwah! xxx
I’m loving what you have done with the space at the bottom of your garden and your hubby is fab….wish I had a Wayne ..my hubby isn’t so handy like that….its looking good :-) xx
He is very handy, I have to admit! I should start loaning him out – ha! Thanks so much ;) xxx
It looks amazing. Well done to both of you. If you want a plant that grows quickly and can cover trellis and pergolas, then you could consider a golden hop. It’s a lovely lime green but it is very vigorous!
https://www.rhs.org.uk/plants/details?plantid=981
Oh that’s so beautiful! Thanks for the suggestion Kate – I love the pale colour :) Will definitely have a look at that! xx
Looks great. I’d also recommend planting herbs such as Rosemary, sage & thyme in the beds next to the bbq. Nice & handy to throw on the grill & it’ll smell lovely when you are Relaxing in your new patio.
Love that idea Vivienne! Thanks for the suggestion. We unfortunately lost our rosemary plant when we put in the decking so I’m looking at replacing it somewhere and I really like the idea of putting it near the BBQ :) Thank you!! xx
Welcome back, your project is coming along quite nicely. Can’t wait to see the reveal. I know it’s going to be GLAMTASTIC!!! Have a GREAT week!
Aww thanks Lory!! You too hun! xxx
Lovely! Your back garden will look just as wonderful as by the house. Just like lovely bookends!
Aww thanks Lynne!! Fingers crossed it comes out as well as it does in my head – ha! xxx
Welcome back! Your back garden is looking very good. I’m sure it’ll be fantastic once you add your magic touch.
xx
Aww thanks so much Sueli! It’s nice to be back ;) xxx
Wow I can see how that scaffolding being up for such a long time would be incredibly annoying!
We have a privacy issue in our back garden too. We are quite overlooked so we can’t wait for the big shrubs we have planted to grow a lot more in the hope they will help.
I can’t wait to see how you get on with the chandelier idea!
We’ve planted quite a lot over the years for exactly that reason! Many of our plants have provided some great coverage (laurel is ever-green and grows really quick if you are looking for something to plant) but the fences are just so low at the back! Hopefully getting higher fences should help, fingers crossed :) Thanks so much!! xx
Yes our fences are quite low and the houses are close together, which just makes it worse. Thankfully our next door neighbours have some trees which help a little but not enough!
What a difference the pergola and decking has made! Great work! I can totally see your vision for this space, it’ll be wonderful! Such a shame about the neighbour’s scaffolding… grr! Does anyone even live there? How frustrating! Hopefully the ivy will take attention away from it.
I know that scaffolding makes me SO GRUMPY!! No one lives there, it’s basically just a building the guy uses to work in but he’s literally only been there a handful of times in the last 6 years. He probably doesn’t want to show his face around here again seeing as all the neighbours are annoyed with it ;) It’s a lovely old building though and I’ve never minded it but that scaffolding has got to go! xxx
Wayne rocks! That scaffolding annoys me an I’m an ocean away.
He does!! And that scaffolding – oh my goodness, don’t get me started!! LOL! xxx
Hi Kimberley! I’ve read your blog for a long time but this is my first time commenting! I just wanted to say I love that you’ve shared how you’ve made the most of a challenging situation. I’m in my first home and although there are many great elements there are also some things that I can’t change, (neighbours being one, and a shared entry, that kind of thing) and being into home decor blogs I find sometimes it’s disheartening to see perfect homes without seeing the trickier bits, or compromises. It gets me down at times to think whatever I do on the inside of my home the outside will always be out of my control, but seeing this post I’ll remind myself of how you’ve made your home lovely and we all have challenges. Love your blog, X
Oh I’m so pleased you decided to comment Ruby! I think one thing I really wanted to do this year on the blog was share the difficult and imperfect stuff as well because things aren’t always perfect and sometimes you do just have to make the best of what you have. It’s something that I think a lot of bloggers tend to gloss over for fear people won’t want to see ‘imperfect’ but ya know, I’m real, I have little crappy things happening just like everyone else – I mean we all do right? So I’m just really pleased you echoed those thoughts and that it’s okay to share those bits too! Thank you so much for your comment and best of luck on your home! Mwah! xxx