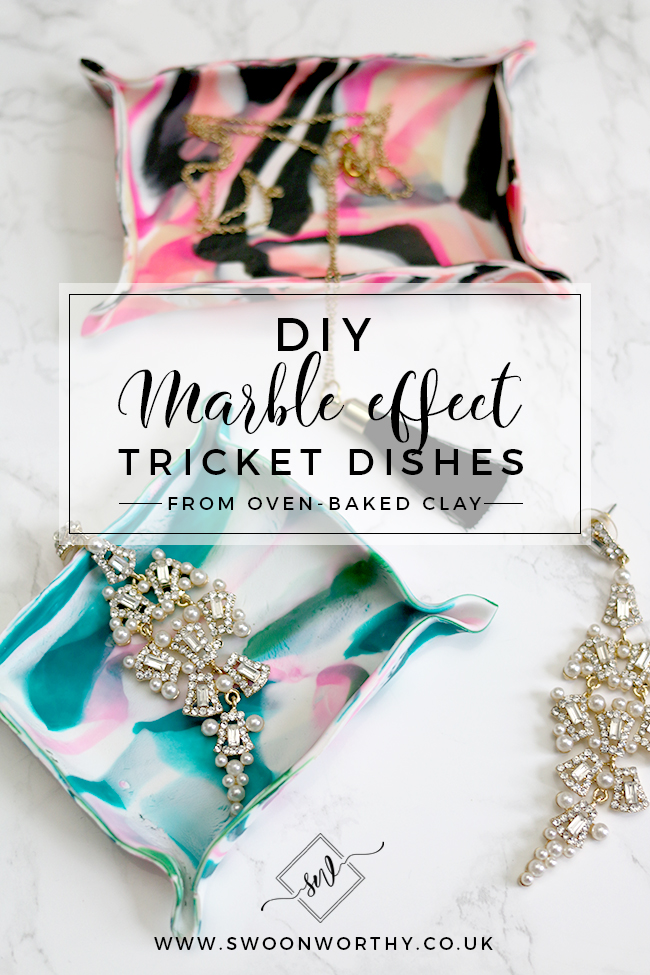
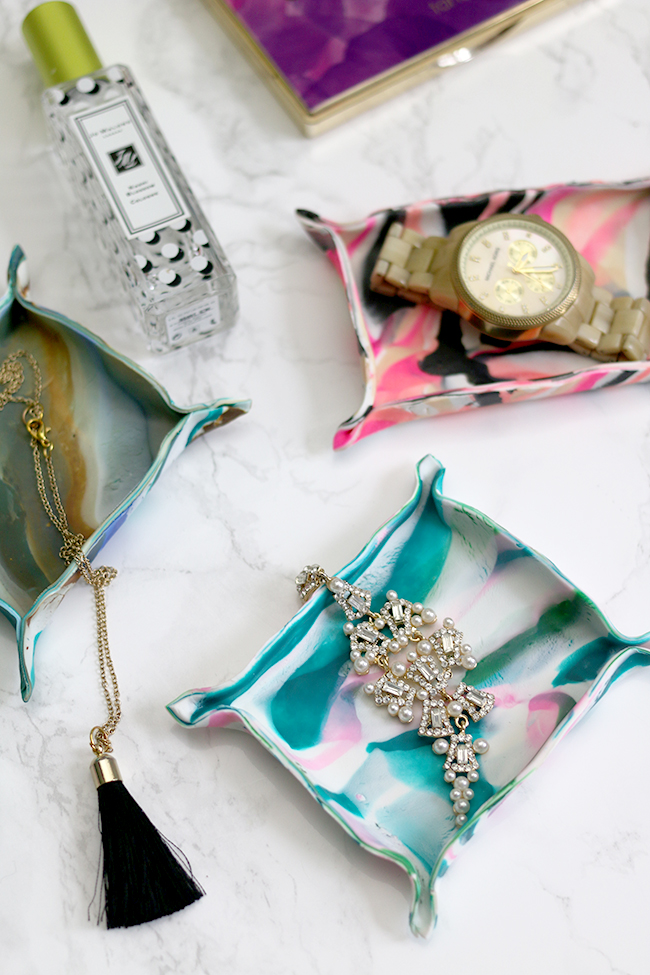
Now, I’m not taking any credit for this particular DIY as I saw it recently on A Beautiful Mess (and subsequently pretty much all over YouTube) and just decided to adapt it slightly myself. I will also admit mine didn’t come out as pretty as theirs. Maybe it was the clay or the colours I used but while they had a lovely true marble effect in the images they shot, mine came out more like the one they shot for the video tutorial in terms of the colour distribution. And I’m not sure why. So yeah, take it for what it’s worth! ;) I also tried to find a gold leafing pen to do the edges but alas, none of the ones I found worked well enough. So no gold edges. Whaaa. #keepingitreal
It was one of those little projects that I just decided on a whim to try. I pin so many things on Pinterest that I just never get around to doing and I’m determined to try a few more things! Making stuff with clay was one of those kinds of crafty things that I wanted to try. So from the original post, it seemed quite simple to do and truly, it was. Super easy. Like anyone-can-do-this easy. So I figured today, I’d give you my take on how it all went.
This post contains affiliate links which are indicated by an asterisk (*). You don’t pay any more from clicking on that link but I might earn a few pennies to try out some other cool stuff here on the blog. Win-win!
Here’s what I used:
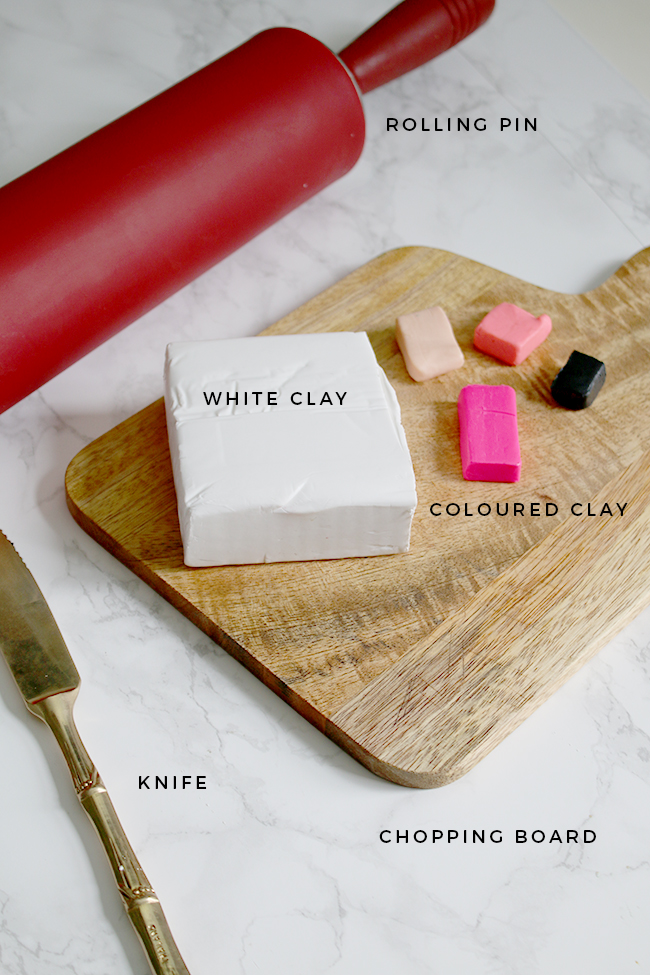
- White oven bake clay* (250g pack) – I used probably a third of it to make 3 bowls so you don’t need a lot, you just need more of the white than the other colours
- Oven bake clay* in various colours – I used this pack because it came with lots of different colour options and I wanted a bit of a choice!
- A rolling pin
- A knife to cut the clay and a chopping board for same
And here’s how it’s done:
You want to start with about 4 times more white than your other colours. As I was going along, I realised just how little coloured clay you need as it really blends with the white. Each dish took approximately 70g-80g of clay in total so you are looking at about 35-40g of white clay and the rest can be made up with the other colours you decide to use.
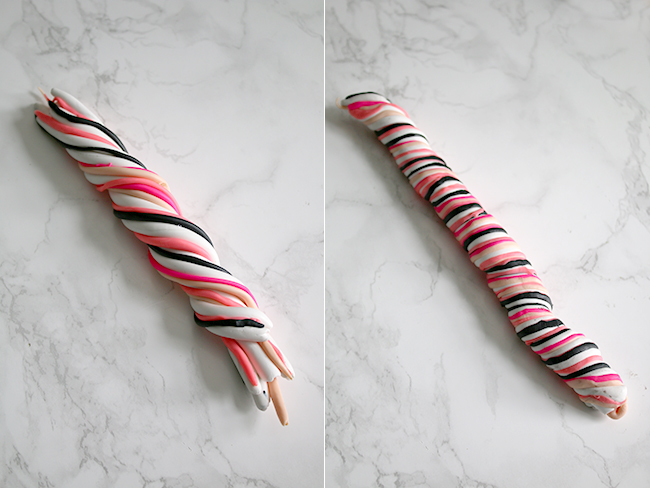
Start by dividing up your colours into chunks and then rolling them out with your hands to form long snakes. I was doing about 6 slightly thicker ‘snakes’ of the white and then really skinny strips of the other colours. There’s no real exact science to this because every time you do it, it’ll come out slightly different. Experimenting is totally okay here.
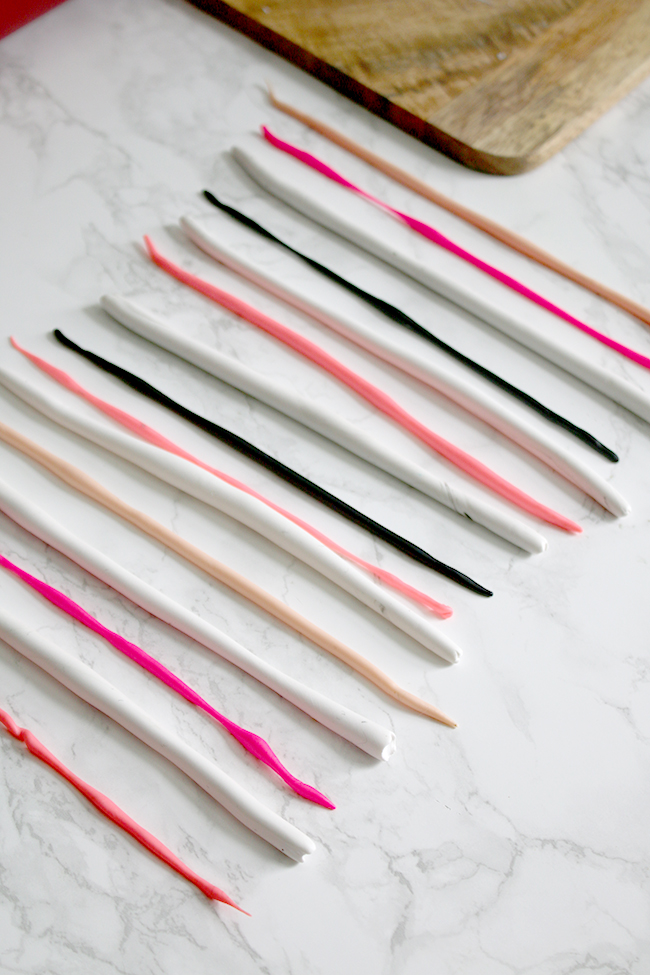
Then twist all your colours together as in the image below and continue to twist until the colours all stick together into a tightly rolled sausage shape.
Fold this in half and twist again.
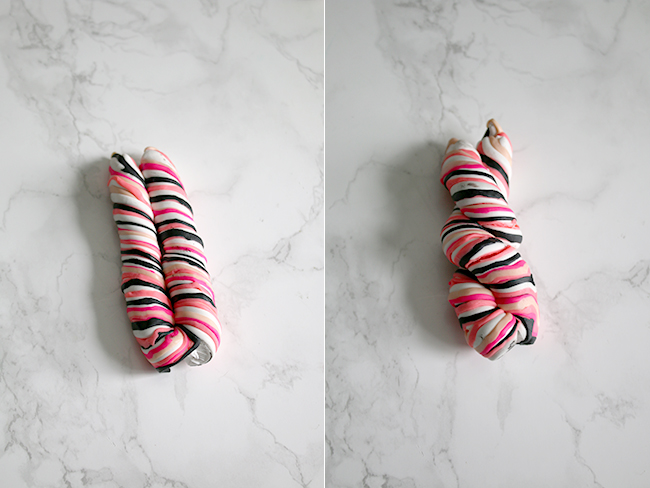
Finally, form a ball with the shape so that the colours are turned into each other and press the ball flat with your hand.
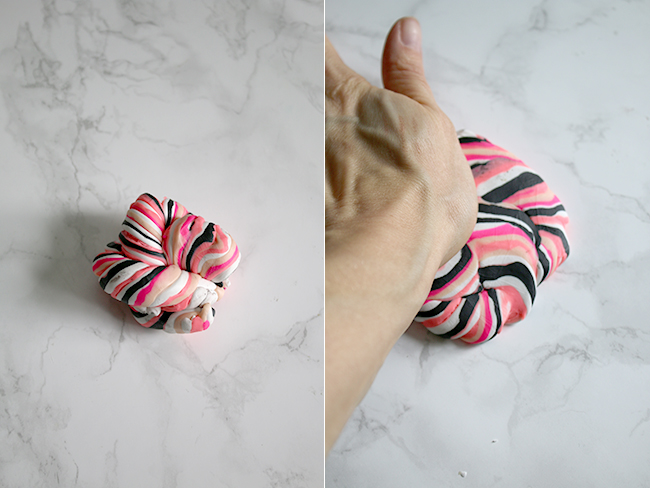
Use the rolling pin to flatten it out completely so that your finished size is around 5 or 6 inches in diameter and around 3mm thick. Cut the clay into a rectangular shape and discard the off cuts.
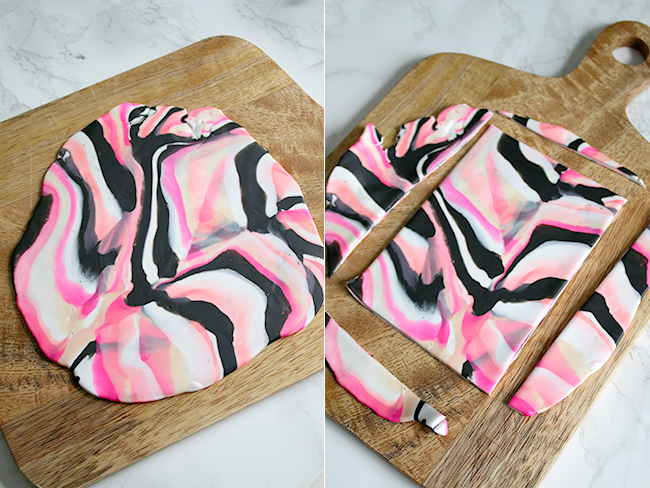
Form the edges to turn up slightly on all sides and then pinch the corners together so they form a lip all the way around the dish.
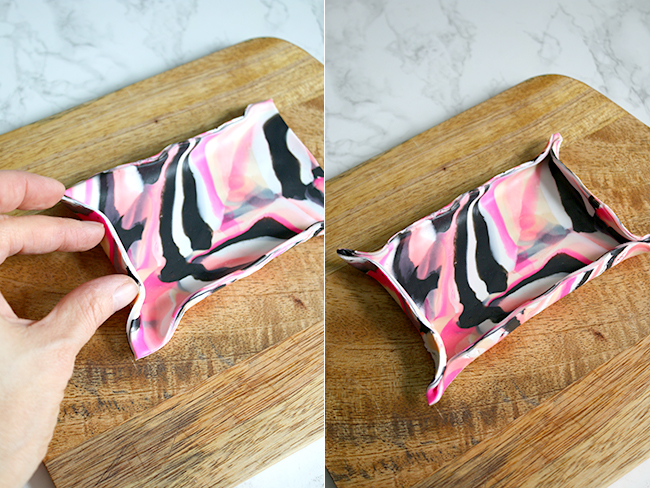
Now you want to follow the directions on the package for baking. For mine, I had to bake it for 30 minutes at Gas Mark 1 (or around 125 degrees C).
Once it’s finished, you just want to leave it out to cool. And that’s it!
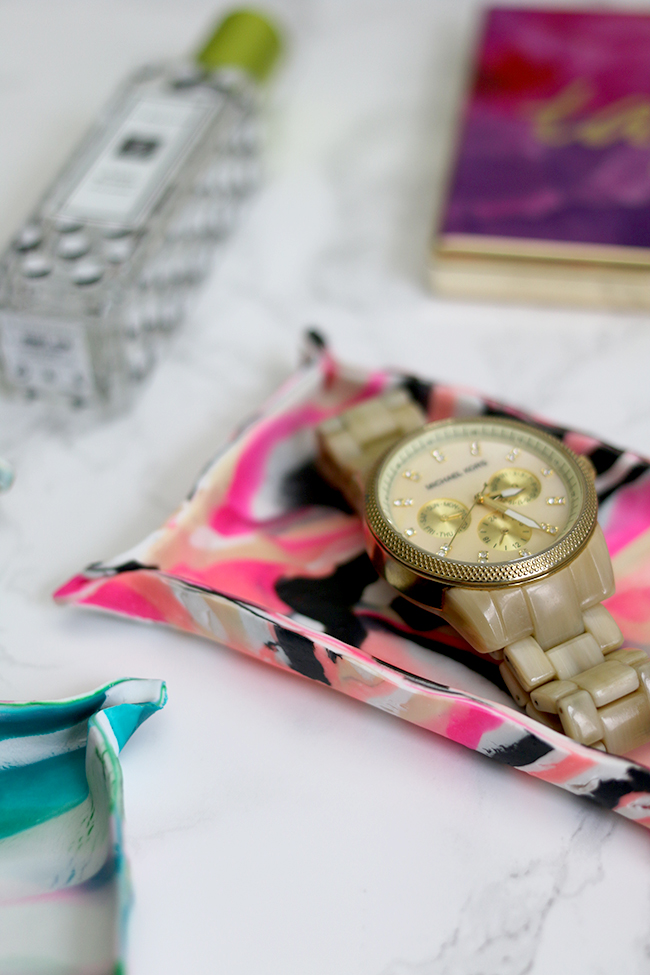
So a few things to bear in mind:
- This stuff is sticky. I found there were times after I rolled it all out that when I lifted it off my surface, it had stuck in bits all over my surface. Gah. It kind of messes up the pattern a bit. You can roll it out a little afterwards to blend it in but it’s not perfect. Next time I may try rolling it out on baking/wax paper instead.
- As you are rolling it out and working with the clay in the final stages, you need to be careful not to stretch it all too much. You can see in my images above that in some areas I had a few little cracks where the colour sort of splits a bit, revealing the colour beneath. It’s not terribly obvious in the finished dish but I thought I’d mention it.
- The trinket dishes retain a sort of soft rubbery feel but they’re absolutely fine to hold little bits like jewellery or change. The clay does not go hard like ceramic however – I imagine you’d need a different kind of clay for that. You can finish it off with glaze but I quite liked the matt effect as is.
- The really dark colours like the blues and greens transferred to my surface whilst the clay was still soft. I ended up leaving a cloth nearby so that I could clean as I went. It does come out but you might want to be sure it doesn’t stain anything when you’re working with it. Once it hardens, there’s no problem.
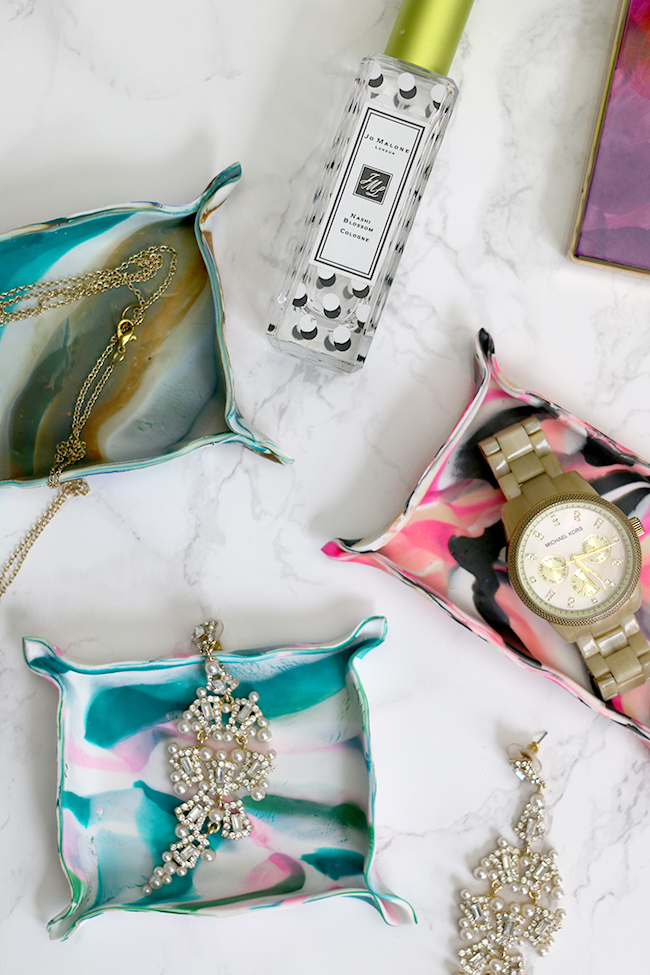
They do look very cute, however, and the colours are really vibrant. I think next time, I’d probably use paler colours and a little less black for something slightly more subtle. Or perhaps even just white and grey to get a true marble effect.
Have you tried making these trinket dishes from clay? Is it something you’d try? Let me know!




Hi Kimberly
Brilliant, I love them and have pinned for the future. Thanks for such a fab tutorial and the part where you say what you’ve learnt and would do different next time, it really helps. I know what you mean about pinning and never getting around to DIYs we are all guilty! I’m going to try grey, white and mauve so it’s really subtle and matches my house. Please keep on DIYing! xx
They look fab, and I feel the need to have a go, lol. I’ve done some of your other tutorial’s and enjoyed making them, I think sometimes we can forget how good a feeling it is when you have made some thing yourself , especially when a friend admires what you have done then they ask where you have bought it, you turn round with a smile on your face and say “I made that myself ” Good feeling xxx
Love how your dishes turned out! Very useful to have your extra tips. I’ve worked with oven bake clay before and also found it to be a tad rubbery rather than totally hardening. I wonder if there is a brand of oven bake clay that hardens more. Would you try gold craft paint (like DecoArt) for edging the dishes? Not that I think yours need anything more, they look really lovely as they are!
They look beautiful. I’m definitely having a go.
Many tks
xx
What a fab idea! Great size for jewellery too x
LuxeStyle
That is a great idea! I think I’ll be using it to make my own diffuser recipient :) Thanks, Kimberly!
I love these – they look amazing!!! I like your take on it, with the pinched corners – they remind me of a fabric one I made (not my pattern) but you sew fabric and wadding/batting together to make a neat square, then to make the dish shape sew the corners together in that same pinched corner effect. It’s so cool to see it it in clay form – it works really well! And I love the colours you’ve used – that turquoise and pink one is really pretty, but… (surprisingly for me!)… I think my favourite is the blank/pink/coral one! All gorgeous, though! xx
Kimberly…These are just beautiful! Love love the colors! I must attempt this diy now!! Have an awesome weekend!
This is totally genius and so pretty. Love it
Wow that was so easy! I was expecting all sorts of hard work from the finished picture, lol… great work, I love DIYing.
You wouldn’t by any chance want to dig your arms elbow deep into some luxurious soft merino wool and put out a blanket tutorial would you???
P.S. So glad I discovered you, I’m from the US as well, and have been here since year 2000…. I also have a totally messed up accent, but like you’ve said, it’s certainly good for a laugh!