I was hesitant to share my latest little crafty endeavour with you as it was so similar to a few other things I’ve recently done that I feared I was turning into a one-trick pony. But it came out so cute and it was so easy, I figured you might like it even if my DIY chargers today may look a little familiar!
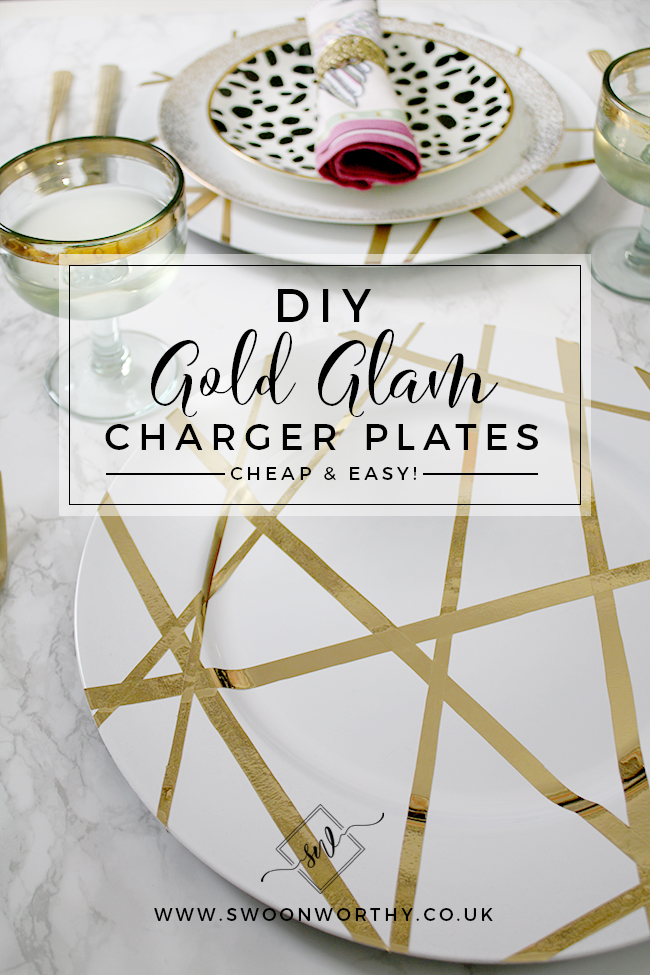
I’m rather obsessed with gold sticky back plastic at the moment and any excuse I can use it, I will. It’s essentially the 2017 version of my obsession with marble sticky back plastic (between 2014-2016, I used the marble one on no less than 4 projects). So this will be the third time I’ve used the gold except that this time I jazzed up a set of cheap and cheerful white plastic chargers.
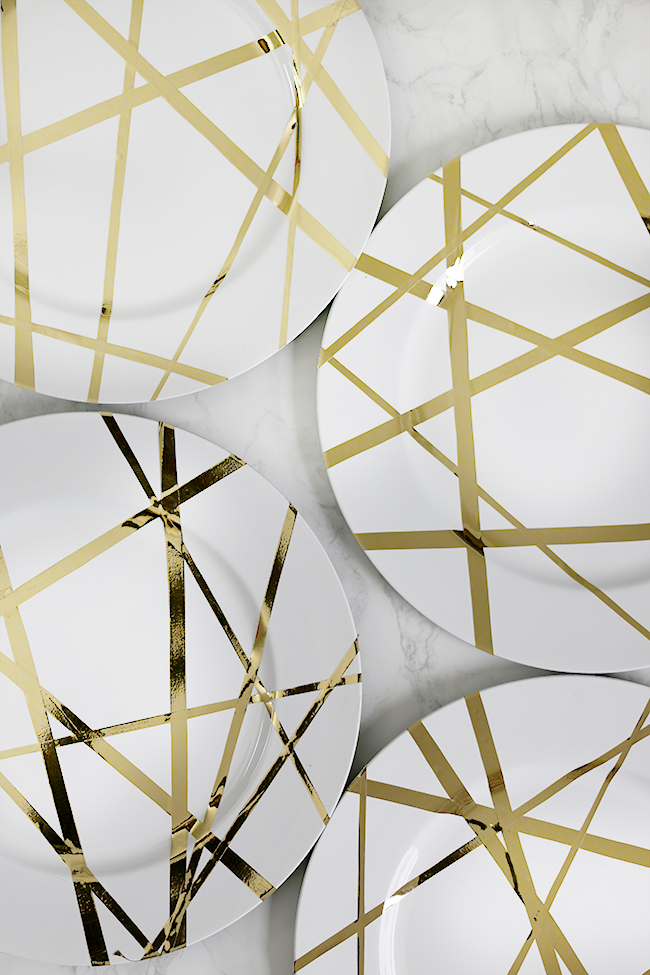
I love giving a little glam to a table setting and these DIY chargers are pretty much as glam as they get. My original project using this method was this DIY Kelly Wreastler Channels inspired tray and it is very similar in design. What can I say, I like this pattern A LOT.

The best thing is is that it’s super cheap and super easy. I got my chargers from Amazon* but I wouldn’t doubt you could find similar in places like Dunelm Mill, Wilko, your local supermarket or even a pound shop. You can even use an existing set if you have something knocking about and just spray paint it white to start.
As you don’t eat off of these plates (they are just placed decoratively under the plate you’d eat from), there wouldn’t be any issue with using them as I’m sharing today. I wouldn’t recommend doing this for normal dinner plates – I doubt they’d survive the frequent washing and I’m not entirely convinced it’d be very sanitary regardless! But they can easily be wiped clean and used again and again when used to dress up your table.
*This post contains a few affiliate links indicated by an asterisk (*). You pay the exact same price if you click the link but I earn a few pennies towards new pretties for the house – win win!
Anyway, on to the tutorial!
Materials

A set of white plastic charger plates*
1 roll of gold sticky black plastic* (or contact paper for my American brethren)
Stanley knife* or a sharp craft knife
Instructions
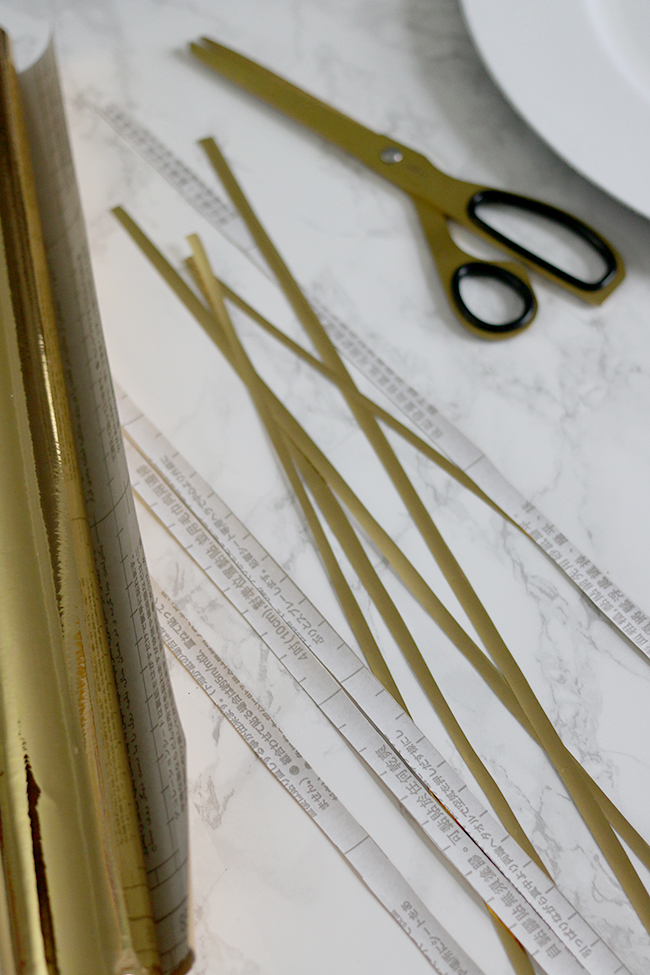
Using the guidelines on the back of your sticky back plastic, start by cutting thin strips of 1cm and .5cm widths that are longer than the diameter of your charger plates. My chargers were 33cm in diameter so my strips were 1cm x 45cm and .5cm x 45cm (the width of the sticky back plastic roll) so there will be an overhang no matter where you place them. You’ll see why we need it longer in a second. I cut about 4 wide strips and about 6-8 thinner strips per plate.
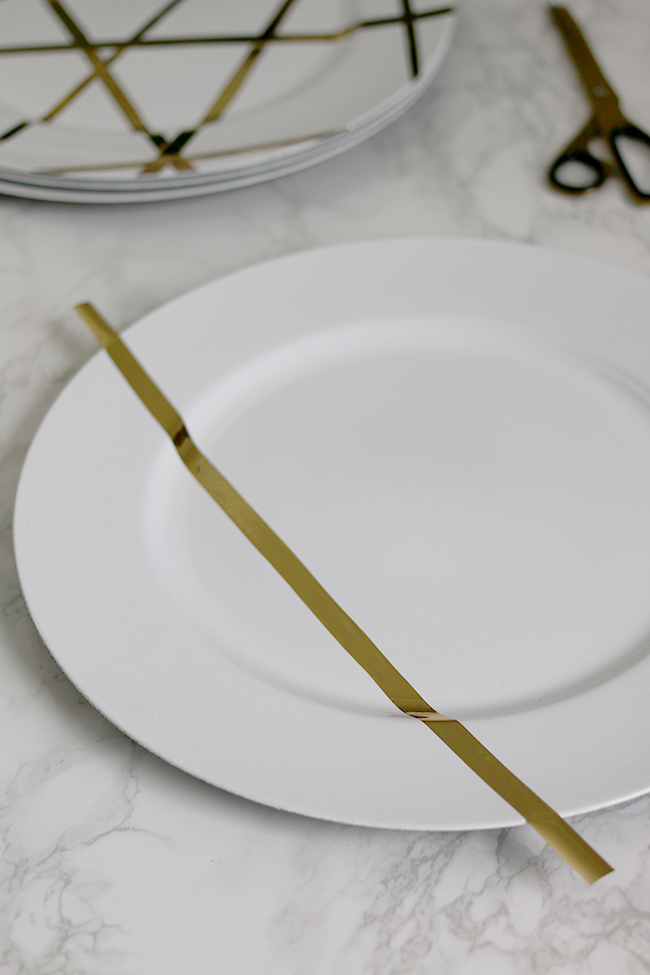
Start with a few of the wider ones, removing the backing and pressing down, allowing for an overhang at the edges. Make sure the plastic is stuck well as you go and remove any bubbles with your fingers. If you have a lip on your charge plate as I did, make sure you press the strip firmly so it sits nice and flush and there’s no gap between the plastic and the charger plate.
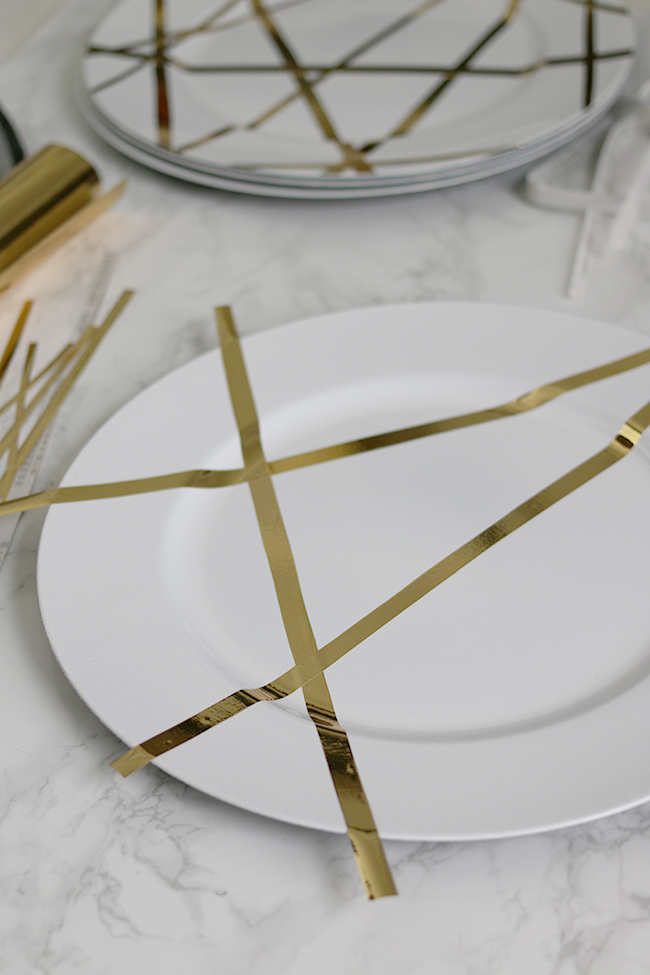
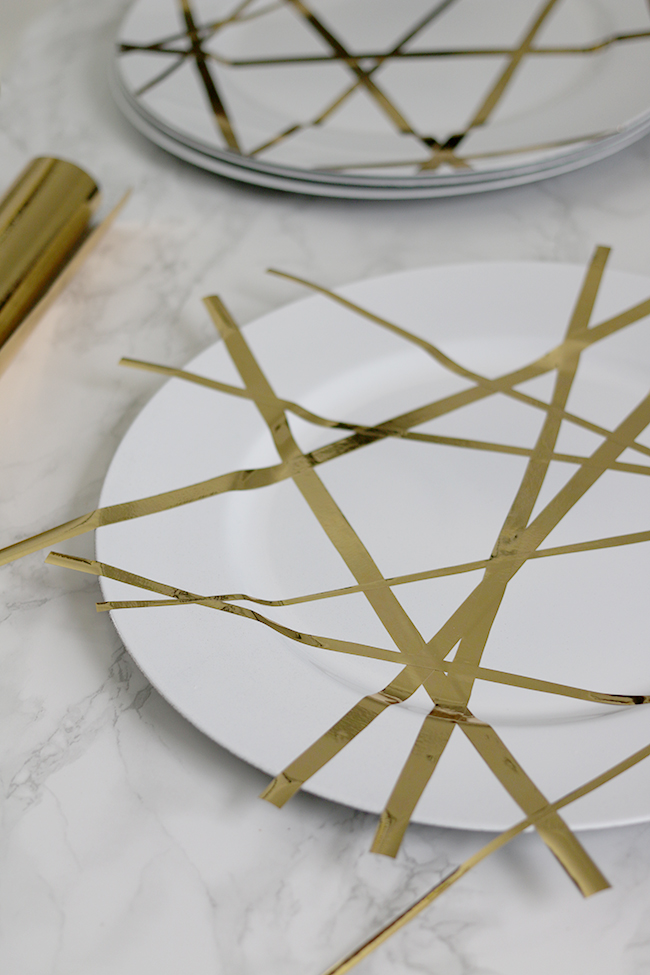
Next, overlap a few strips in a random pattern along the plate and continue until you like the resulting pattern. Remember that you can always pull up and reset the strip if you aren’t happy with the placement.
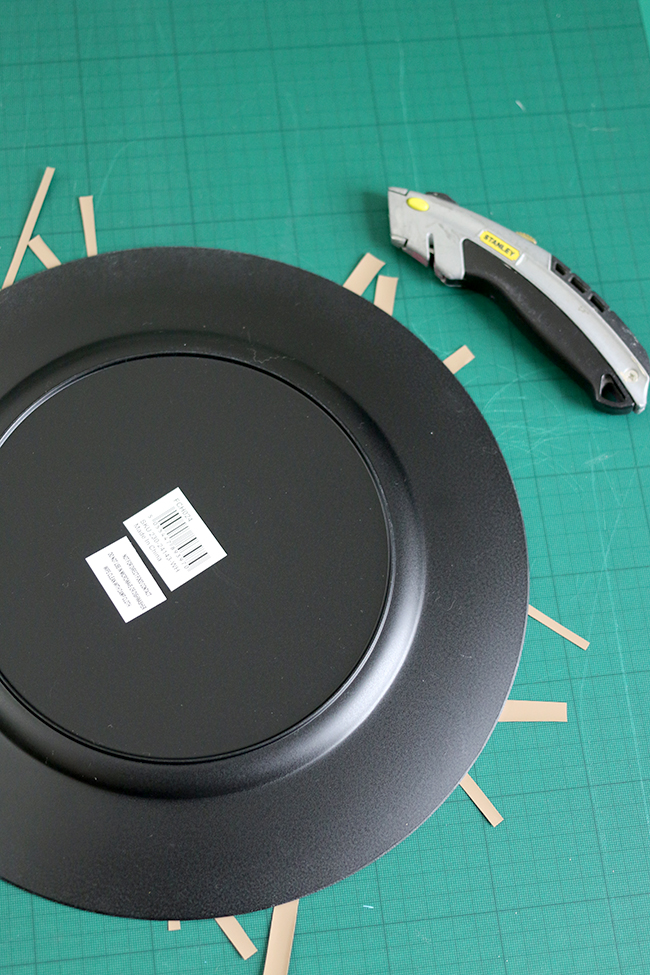
One you have all your strips on, flip the plate over and place it on your cutting mat right side down. Remove the excess strips with a Stanley knife, using the side of the charger as a guide to give yourself a nice clean cut.
That’s it! Repeat for all your chargers and you’ve got your full set.
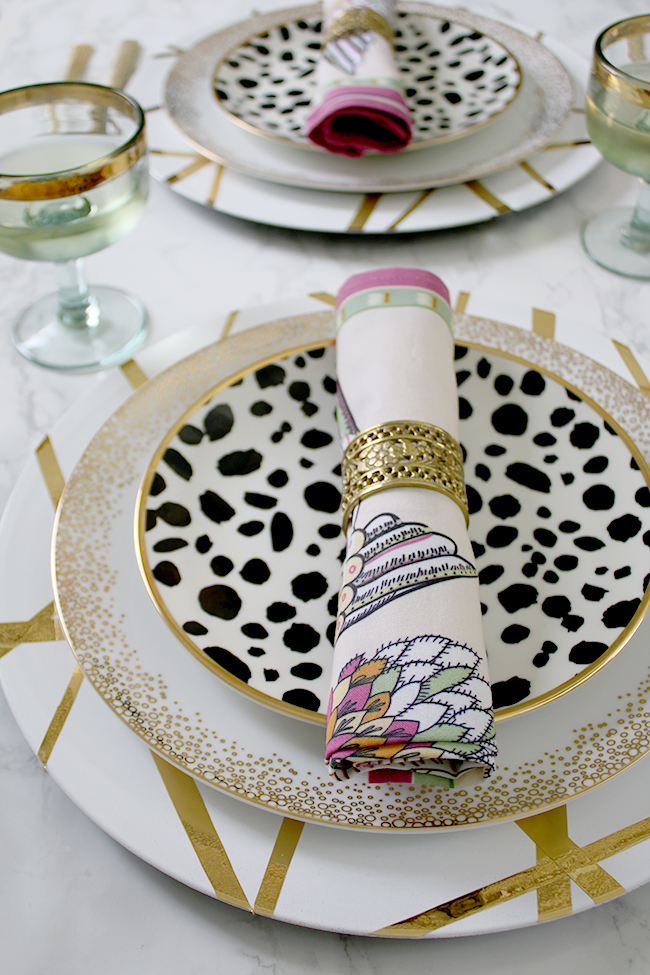
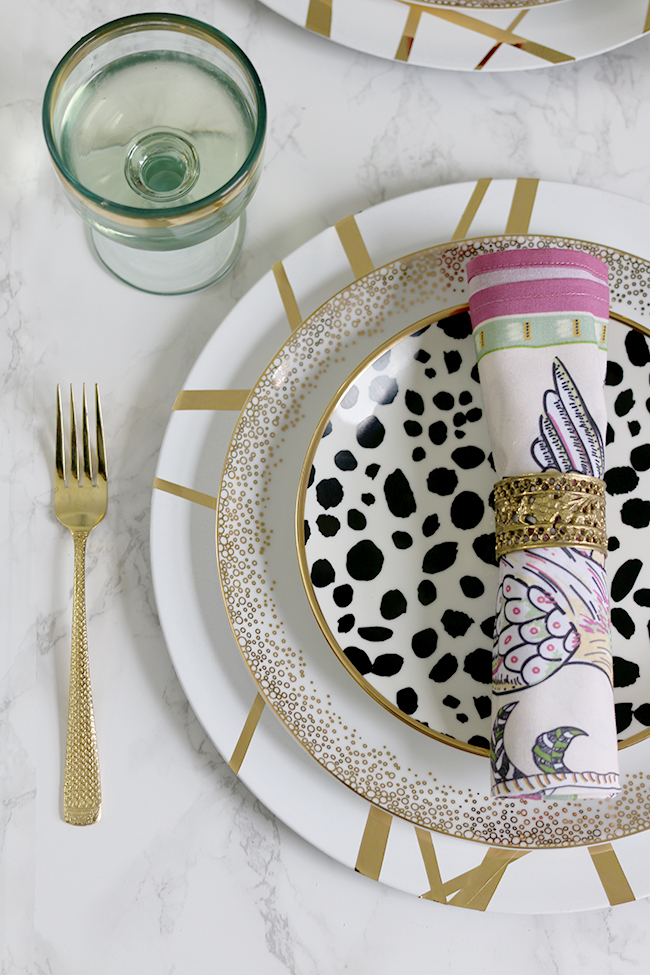
I really love how these came out and they work so well with my various plates. I combined them here with a set of black & white spotty plates from H&M (sadly, no longer in stock) and a set of gold spotty plates from Zara Home (again, old, so no longer in stock). The napkins from Halsted Design finish off my table setting along with some gold rimmed wine glasses from West Elm (2016 sales – sorry again) and gold cutlery (an eBay find).
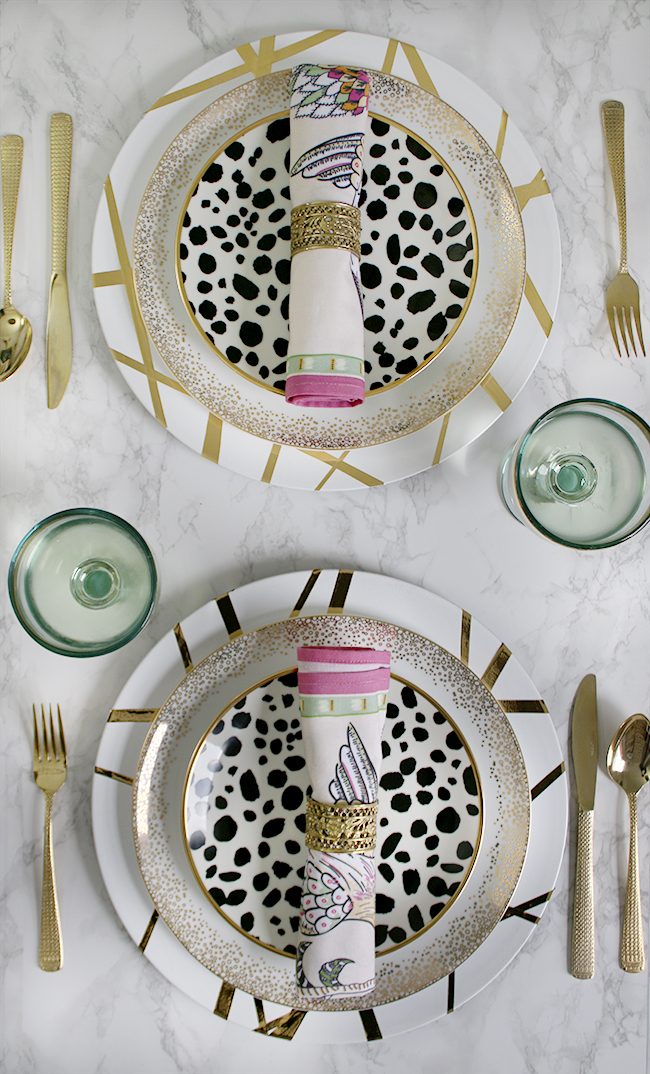
These literally took me about 20 minutes to make and genuinely couldn’t have been easier. I’m thinking a black charger or pale pink with gold would look amazing as well so I might end up making more of these sets! You could even use tape in this pattern, spray paint your paint and remove the tape leaving the pattern in place – so lots of options here! What do you think? Is this a DIY you’d try?




Hiya Kimberly, hope you are having a good Easter Bank holiday.
I like this, your table setting looks really cool, and classy. I don’t mind at all that you have done this, I wouldn’t have thought to use a charger plate, and apart from if we do the same you won’t find it any where else, which I love. xxx
Love the mix of patterns, nicely done! Plus, where did you find those beautiful gold flowered napkin rings? Always enjoy your posts, so inspirational!
I have seen your other similar DIY’s and I like them all.
I haven’t found gold contact paper yet but when I do everything in my house better watch-out.
They turned out so great!!
I’m just in love with these beyond any chargers I have seen out there!!! They are amazing and I’m totally going to be a copy cat :) I am embracing the Boho glam look lately turning from the Farmhouse that is all the rage here in the US. You make Everything look so darling and fun! I absolutely love what you do! – Cheers Darling
Aww thanks so much Jennifer! Such a sweet comment! Do let me know if you give it a go :) xx
It’s amazing to see such a beautiful thing with little work and care.