This is the 3rd home I’ve owned and the 2nd one that Wayne has owned (my first was a house in Pennsylvania in my mid-20’s with an ex, the 2nd in my early 30’s, was a lovely Victorian flat in Birchington, Kent with a different ex). Obviously, this is the only one Wayne & I have owned together. In between those properties, I rented and I did so quite happily for a number of years. But when Wayne and I got together 6 1/2 years ago, combining my love of interiors with his love of DIY was kind of a match made in heaven and buying a property together made sense. We knew when we moved in that we wanted to do any work ourselves and we were happy to take on a place that needed a bit of love (although I can tell you now that the next place we buy together will likely need a LOT more work – whoop!).
So after owning a couple of properties and after living here for 4 1/2 years and after doing a lot of different projects around the house, I’ve learned a few things. So I figured I’d pass on that learning to you in case you are just beginning to tackle your own home, knee-deep in the middle of a house project or only dreaming about taking those first tentative steps into home ownership.
Lesson #1: It will always take you longer and cost more money than you think it will.
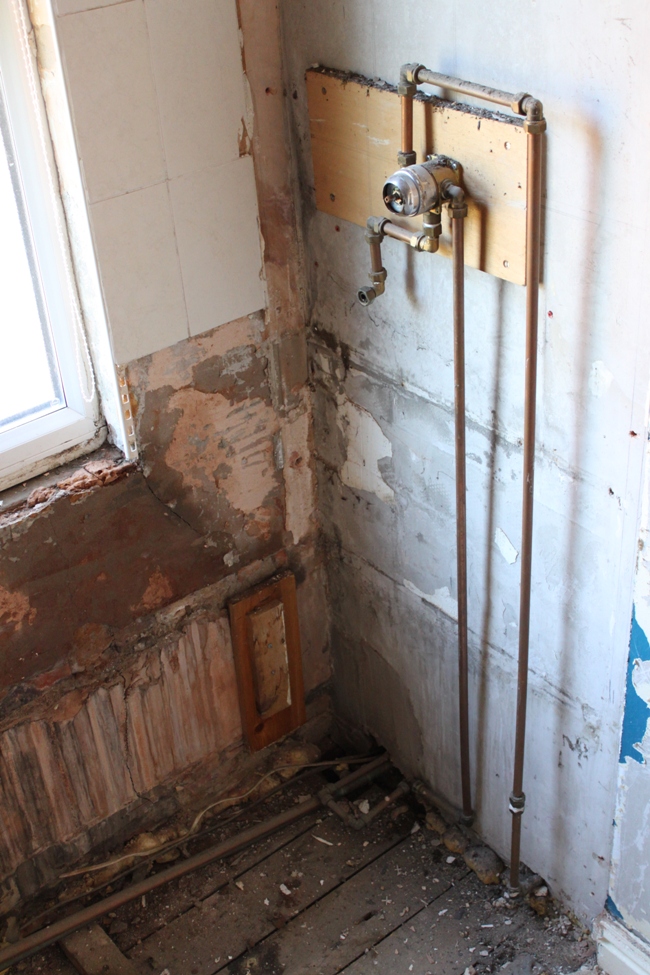
I have made this number one for a reason. You can budget and plan all you like but there are always obstacles that are unforeseen and you just need to accept that it’s part of the process and roll with it. If you live in an older property, walls and floors hide a myriad of total f*cked-up-ed-ness. (totally a word) You will find out that the previous owners botched the electrics so badly you are probably living on borrowed time or that the plumbing is so convoluted, it involves reworking the pipes through 3 rooms (yes these have both happened to us).
Also, when you budget for projects, don’t forget those small incidental things like having the right tools or nails or the fact that you may have to go back and forth 13 times to the DIY store because you keep forgetting to get those little incidental items that you need to have. It all costs time and money. If you think a project is going to take 3 weeks and cost £600, it’ll actually probably be more like 6 weeks and cost £1000. It’s just the way it goes. Have a contingency budget in place if things go pear shaped half way through.
Lesson #2: For the most part, you’ll get more satisfaction and save money by doing it yourself – it will just take a little longer.
Learning some basic DIY (sewing, painting walls, refinishing furniture, how to use a level, how to use a drill, tape measure, spray paint, how to put up a shelf or a mirror or artwork) will save you so much money in the long run. It means being able to shop second-hand and make changes to things you aren’t thrilled about to ensure they work in your own home. Once you get the basics down, then you’ll feel more confident to move on to things that take a bit more skill – like tiling, hanging wallpaper, laying flooring or building things out of wood.
Our kitchen was probably the first really big project we took on – and it’s still in progress 4 years later (we’re slow but we were working on other things at the same time so that’s my excuse). But in that time, we learned about electrics, plastering, tiling, laying underfloor heating and laying slate tiles to name but a few skills we picked up along the way.

However if the skills you require (architectural, electrical, plumbing, etc) are more than what you feel you can handle (or of course if they are illegal for you to do yourself without certification), there is no shame in calling in the experts. You don’t have to DIY everything and if you are on a tight schedule, then finding a great contractor, electrician, plasterer, brick layer etc is invaluable because these people do this stuff every day – they are skilled and work far more quickly than someone who is just learning it ‘on the fly’.
Also, Google and You Tube are your friends. Research and research and research before you tackle anything and you will be better equipped to take on any DIY your home throws at you.
Lesson #3: You’ll rarely have enough money to do everything you want all at the same time – and when it comes down to it, there’s a good chance you won’t want to.
I know when we moved in, I had dreams of getting in the house and immediately creating a blank canvas – ripping everything out and doing the whole place at once. Unfortunately, reality doesn’t work that way. Trying to take on too much at the same time will mean you are living in chaos at best, on a building site at worst. Every time we’ve taken on a room, it meant that every other part of the house was affected – whether that’s by dust, moving furniture around, storing parts and supplies, having tools out, etc. etc. etc….
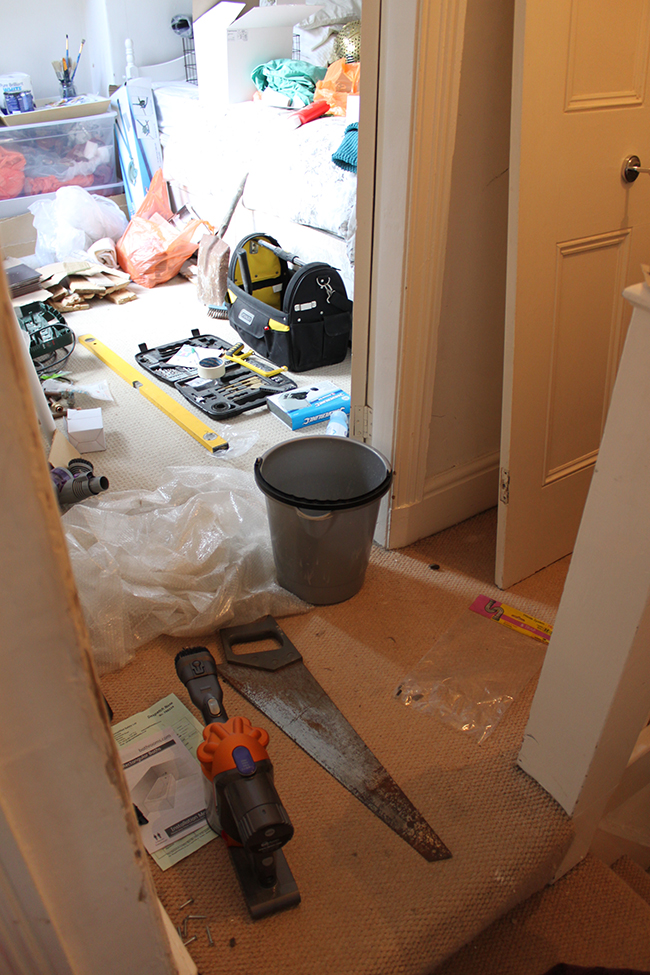
And this isn’t even the worst of it!
And I’ll tell you what – it’s okay at first but when things get delayed (see Lesson #1), it makes me mentally exhausted. Sometimes you’ll just want to rest between projects and allow yourself the chance to get all the dust under control and ya know, just LIVE in your house. Aside from that, money on projects runs out quickly (again, see Lesson #1) so we have found ourselves having to wait until our savings are built up again before starting the next. If you had told me 4 1/2 years ago that we would still have work to do, I would have laughed – but this is real life. And real life is not an episode of Changing Rooms or DIY SOS.
Lesson #4: Figure out your priorities – Pick one room at a time and concentrate on that one.
Following that last point, the best way I’ve found to tackle DIY or decorating in your home is to just concentrate on one room at a time. When we first moved in, the living room was our priority. Why? Because it was closed off to the rest of the house and it meant that when that room was completed and we started working on other projects, we could shut ourselves off to the chaos in the evenings and just relax.
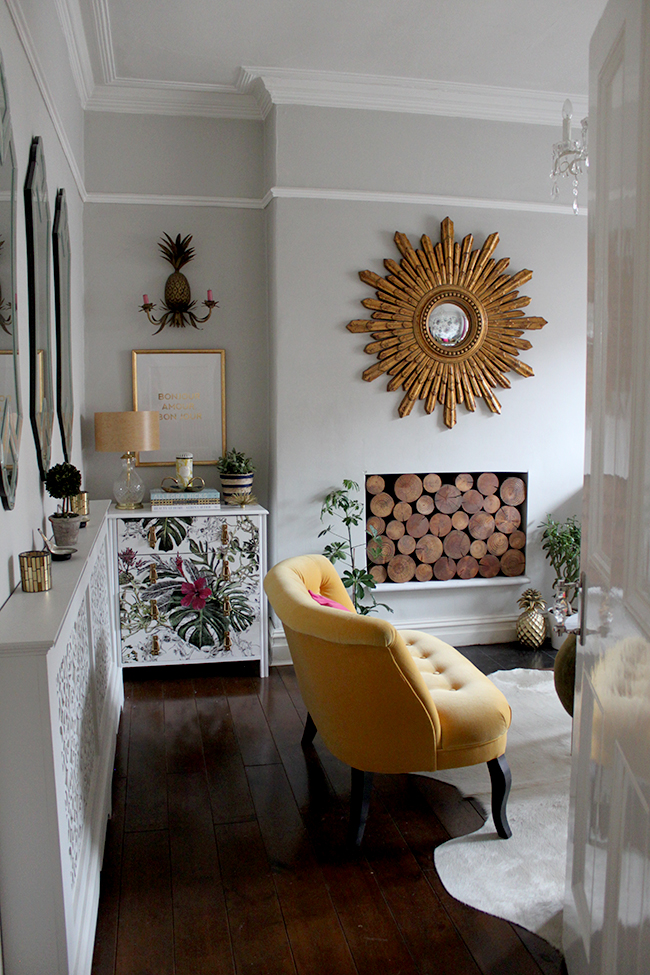
Obviously if you live in an open concept home, this may not be an option but I reckon your bedroom may be a good place to start as well. If you can just finish one room that will not be especially difficult, it means being able to look around at your hard work with no distractions and appreciate the fact that you’ve accomplished something. You will need reminders of this when it seems like the work will never end.
Lesson #5: Do the hallway last – because if you are doing a lot of work in your home, it will get battered!
We decided quite some time ago that the hallway would be the last thing to be done in our home. And for good reason. In the time we’ve lived here, the poor hallway has been beaten within an inch of it’s life. There are marks all over the walls from carrying things up and down the stairs and the carpets look pretty grim too. But dolling up this area with paint or wallpaper when we knew it was the main through-way between the upstairs and downstairs seemed a bit pointless.
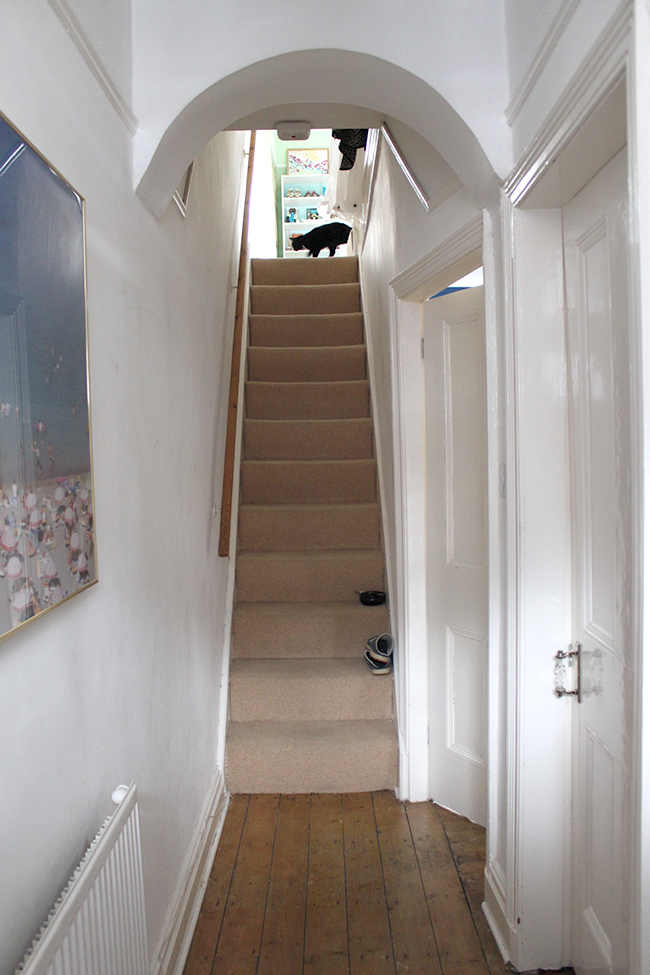
Yes, it’s ugly and yes, I’m a bit embarrassed of it when people come to visit but I’m willing to live with it until we can lavish the attention on it that it deserves – knowing that I won’t be panicking every time something large goes through it.
Lesson #6 – If you haven’t figured out your style yet, don’t panic! It’s only a matter of time.
I know how overwhelming it can be to stare at images on Pinterest and realise you love too many different styles. I had a vague idea of my style way back when (in fact, you can read one of my first posts where I talk about trying to figure out my style and although many of the elements have remained the same, it’s still evolving).
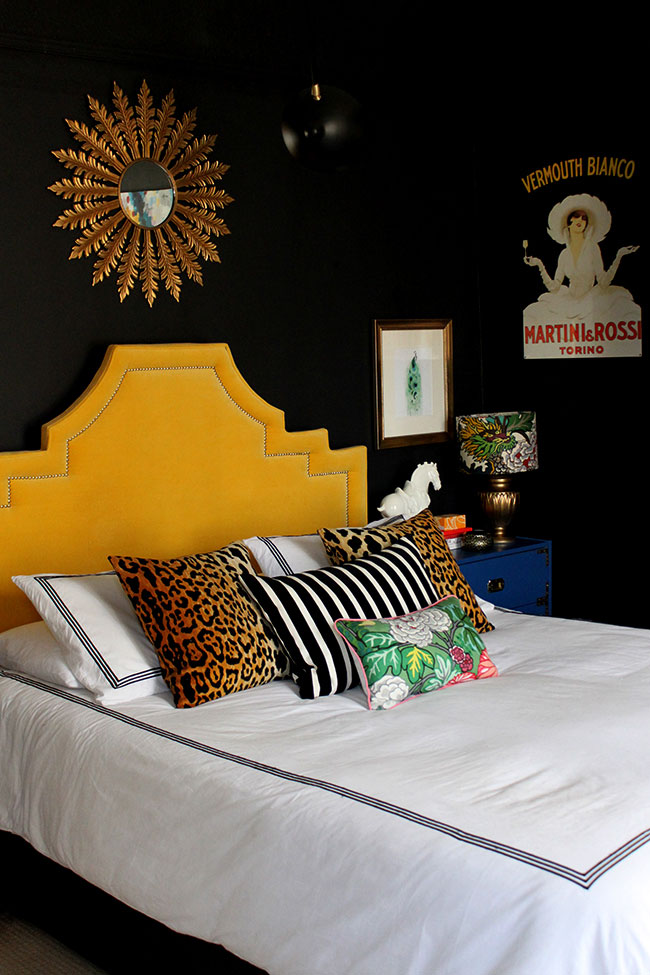
If you are planning on living in a home for a while, then these things will become more clear as you go. Concentrate on the larger/most important stuff first – things like a sofa, a dining table, a bed – and if you are really unsure, buy classics that never really go out of style. It will be much easier to decorate around these items as you go then giving into a trend and purchasing something really expensive that you might not love for the next 5 or 10 years.
Lesson #7: Don’t rush decorating decisions or settle for things that you don’t love.
Following on from that last lesson, there’s no point in rushing the process. Yes, you will want it all done yesterday but trust me when I say that the best rooms evolve over time. Styles will change, circumstances will change, YOU will change. I have hung some cheapo light fixtures in rooms, I have painted walls and said, ‘Well that’s good enough’ in my own home but most of these were not expensive decorating decisions as I was conscious that it was only a matter of time until they’d be replaced.

A fresh coat of paint is one thing but buying bigger ticket items you don’t love is a waste. How much better would it have been to have lived with our original TV cabinet for a little longer rather than waste my money on a shiny black one that at the time was just ‘good enough’? I wish I had taken the time a few years ago to find a vintage cabinet like I have now. Now, if I really want something, I’ll wait until I have enough money in my savings account to splurge on it or I will wait until there’s an awesome sale or I stumble upon something amazing on eBay. I promise, waiting will not kill you and it will only make your home stronger!
Lesson #8 – Don’t forget to shop your house.
If there’s one thing I have to remind myself of before going out and buying new things, it’s that I have PLENTY of accessories and things around my house. Merely swapping things around from one room to another is sometimes enough of a change for me to feel differently about a room.
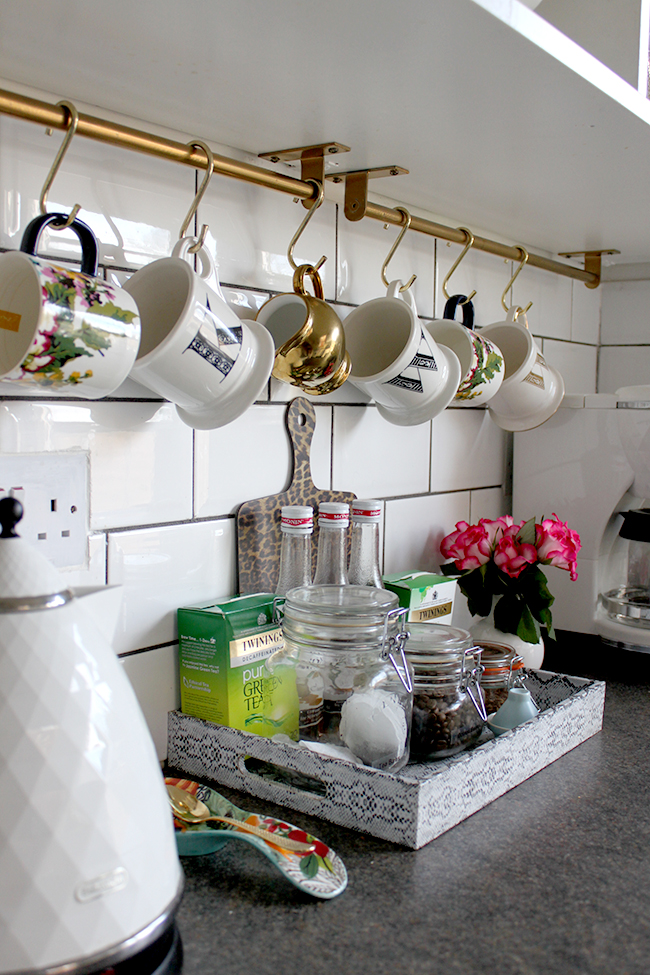
That tray has been in nearly every room in my home over the years!
This is especially true when finances are a bit tight! Consider what you already have and decide whether that rug in your bedroom would actually look amazing in your living room. Or if the lamps on your sideboard would actually look rather cute on your bedside tables. I swap accessories around constantly. A cute little bowl in your kitchen might actually make a great place to hold your keys in the hallway or your favourite wine glasses might actually look pretty fab displayed in your dining room. Don’t forget the resources you already have. And don’t underestimate the power of paint – if something has great lines but you have fallen out of love with the colour, could a new coat of spray paint lift it out of the doldrums for you?
Lesson #9 – Open a separate savings account just for your home.
Unless you are doing huge renovations in which you borrow against your mortgage and pay off along side of it, don’t buy on credit ever if you can help it. Save your money and only spend when you have it. A house is a massive investment but you don’t want to get heavily in debt just trying to decorate and finish it. We have a separate account for home spending that we deposit any disposable income we may have available to us. This means taking it slowly and working on rooms as and when we have the cash available and it’s one of the best thing we could have done in our home.
We always track how much we have to spend month to month and happily, we’ve not added a single penny to our debt (in fact, we’ve managed to pay down quite a large chunk of it whilst we’ve been living here) and for that I’m grateful. It just means when we finally are ready to move on, we have a decent deposit in tact and we don’t have to worry about financing our next place. What you do now in terms of finances can affect you for the rest of your home ownership so be smart and plan ahead as much as you can.
Lesson #10: This is not a race to the finish line.
Along with the concept of taking your time, there’s one thing I’ve realised. That I still loved my home during every step of this journey.
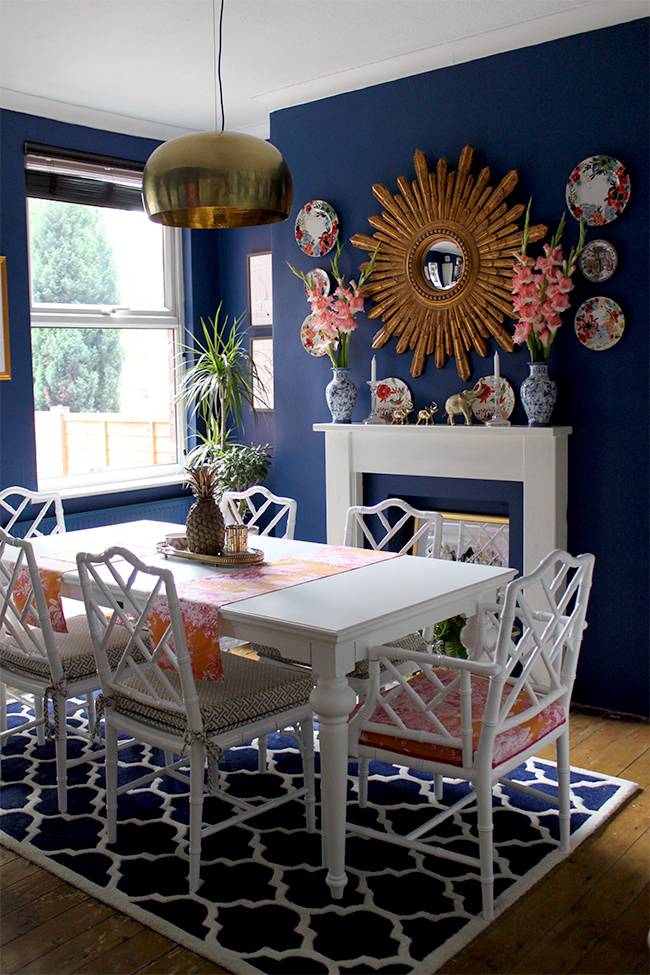
And it’s not done yet and that’s okay. In fact, the longer things have taken, the more I realise how important it is to just enjoy the process rather than seeing it as a race to completion. After all, it’s not about the destination, it’s about the journey, right? I knew there was a reason that saying was so popular!
If you are thinking about venturing into property ownership, did you find these lessons helpful? And if you already own your home, what are some of the lessons you’ve learned? I’d love to hear your take – the comment box awaits!




This post is SO timely for me! After a year and a bit of living in our home and ripping it to shreds gradually I have mostly learned these lessons…but today I am feeling so frustrated because I have pretty much finished one of the bedrooms (bar the dressing) but the fallout from that is all over the house and I can’t see the woods for the trees while trying to sort it out and get it tidy! Especially as I know I will put everything away and then next week it will all come back out again because I have a few days off and plan to tackle the next thing!!
We have a separate “house and garden” account and I definitely recommend one, it helps kee my spendiness a bit more under control, although I wish I could just splurge on everything sometimes!!
I know EXACTLY that feeling of having to empty one room at the expense of the other ;) It’s a frustrating part of the process especially if you don’t have loads of ‘spare’ space (and how many of us do have that luxury?) ;) xxx
Thank you so much for this post Kimberly! Definitely something I needed to read right now and I’m sure I’ll be referring back to it frequently over the next few years when feeling frustrated/overwhelmed/unable to make a decision etc etc. All great tips but I especially resonate with 4, 6, 7 and 10 atm!
So pleased you found it helpful Lucy! It’s really easy to get overwhelmed and frustrated, happens to me too ;) xxx
This is perfect timing as we just bought our very first place and moved into it over the weekend! Its a bit of a do-upper and we have already stripped wallpaper and started painting. The whole place is a disaster zone of boxes! I’m really excited to finally make something our own after renting for such a long time so will keep these lessons in mind!
Oh best of luck with your new place, Kate! Remember to enjoy the process, you’ll get there in the end ;) xxx
What a great article! I know exactly what you mean. I wish I didn’t buy a few items when I bought my flat. Now I can’t just get rid of them as they were quite expensive. I should wait for my dream sofa a little bit longer. Well, it’s my first owned property so the lesson has been learned.
It’s all a learning process ;) Thanks for your comment, Anna! xx
Good points! I needed this…my husband and I are contemplating on buying and trying to prepare for all that jazz and this was the buffer I needed to remind of what it really takes to make something your own. Thanks for blogging about this. BTW…you are killing me, I said this a million times and I will say it again…”Your house is beyond BEAUTIFUL!” I love all the color!…No need to rush DIY, Take your time…as long as it is done properly and it looks ah-mazing in the end, right?
Aww you are so sweet Jessica, thank you! Good luck with your house buying venture whenever you decide to take the plunge ;) xxx
Love the post and it’s so true that it will always take longer and cost more money than I thought but I do get an odd satisfaction out of being able to pay someone for once to do something ;) always DIYing is overrated in my book, I’m starting to be lazy LOL
Ha!! I know what you mean – I think it’s just the TIME it takes that frustrates me but Wayne would rather stick rusty bread knives in his eyeballs than pay for someone to do something he knows he can do himself!! LOL! The downside of having a guy who likes DIY ;) xxx
Great post Kimberly. It will be helpful to so many people! Regarding the budgeting I always include extra 20% of the total budget in my quotes for clients to allow for any unexpected expenditure. Also when purchasing tiles add extra 25% to avoid top-ups and delays. Mosaic should be ordered with 20% extra. Hope this helps with your budgeting. Kx
That’s such a great tip – definitely helps to allow a bit of contingencies for when things inevitably cost more! :) Thank you Karolina! xxx
Love this list Kim. Its so true. I know i always feel like im super behind the curve with home projects, especially since im a design blogger. When we moved into our new home I knew it would most likely be our forever home, or at least our “we’ll be here for a long as time” home so ive approached curating as a marathon not a sprint.
*long ass time
When we finally move into our ‘forever’ home, I will be approaching it much the same way – it’ll be a long ass process there too!! ;) xxx
K, this is such great advice. I have felt all these things at different times and still do. Especially, the time and money aspect. I also feel like my style is everchanging. I have a solid foundation but I like too many things. I do feel like it takes time to hone in on your personal style and I feel like I am finally turning that corner and can stamp a signature on my spaces. I am always blown away by what you do! xoxo
I couldn’t agree more!! My style is always evolving and so buying really nice foundation pieces is key in allowing yourself that flexibility :) I absolutely LOVE LOVE LOVE your style Kristin so it’s definitely a case of #mutualappreciationsociety ;) xxx
This is so perfect. Anything worth making truly yours is worth the time investment.
And personally, creating a space from nothing and making a house your home is what really makes it. If I was offered the opportunity to have a brand new house vs. a fixer upper (who let’s face it, have much more personality), I’d go for the fixer upper any day of the week. Well, ideally with magically new plumbing and beautiful electricals. Of course.
If it weren’t for fixer uppers, what the actual would we blog about?! Am I right or am I right. xx
I just came across this post and found it very relatable! My husband and I have our guest room and bathroom finished so we hide out in there while the rest of the house is a massive dust cloud. Thanks!
Stunning room! Can you tell me what paint colour you have used on the walls? Love the richness of the blue.