Now, you may recall from my last
We cut the first part of the worktop last week because Wayne wanted to be sure our tools were up for the job. Thankfully, all the things he’s collected over the years doing so much DIY on the house paid off and we really only needed a few bits to prepare ourselves for the installation. The new router blade cut through the acrylic like butter and we were able to do this fairly easily. Hurrah! Of course, these were just simple straight cuts and we knew the challenging bits were yet to come.
The cabinet still needs
Wayne’s friend, Gabriel (who’s pretty skilled at DIY himself) spent a good part of Saturday assisting Wayne which we were so grateful for. He was absolutely needed in terms of lifting the extremely heavy worktops on to workhorses and ultimately into the kitchen and it’s something I wouldn’t have been able to help with (I tried lifting them and failed miserably). So
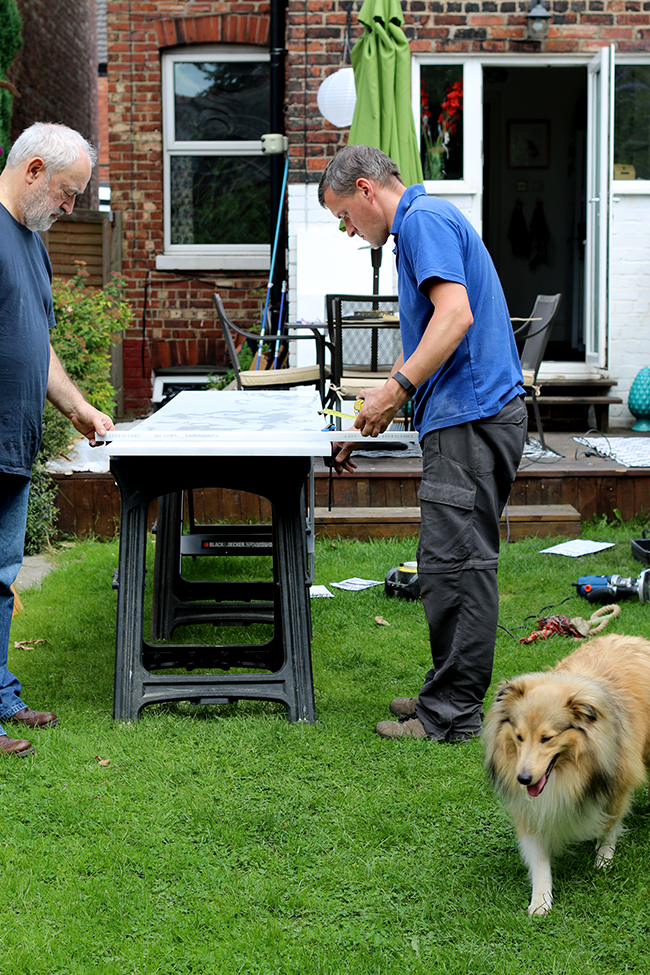
During the previous week, Wayne had created a template for the sink cutouts using the measurements from the sinks themselves. This required a lot of math and apparent wizardry, testing and perfecting them so that when it came time to cut them, he knew the sinks would fit seamlessly. These kinds of cutouts are normally done in a factory so you are talking about computer-accurate precision which is just really difficult to do when you are cutting something by hand with a router!
First things first, they actually used the old worktops to test the templates to make sure they were right. Thankfully, Wayne had done a great job so they only needed to make some very minor adjustments (we’re talking millimetres here) to the final template.
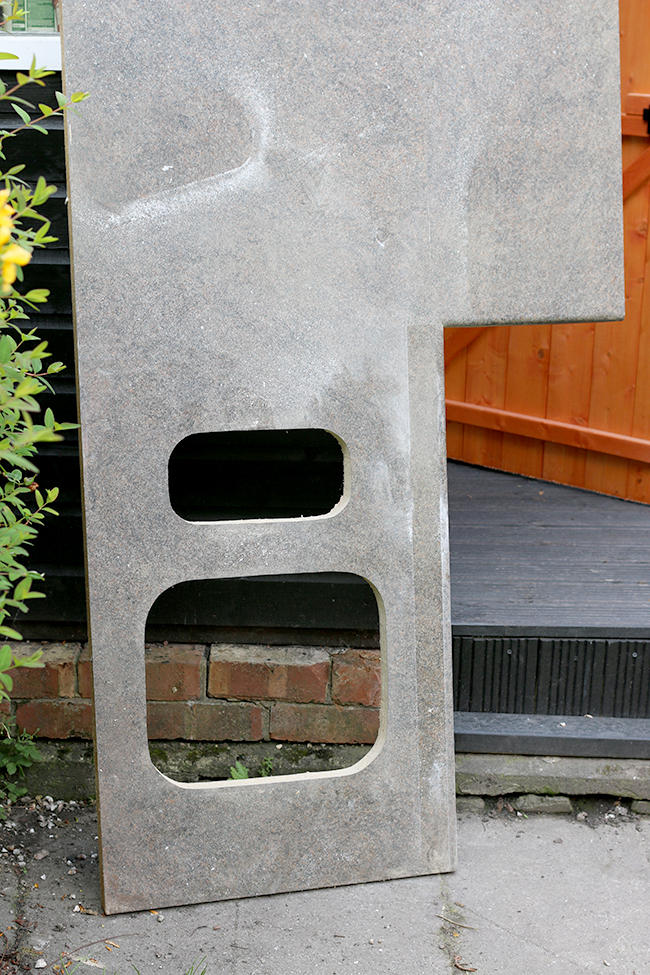
Testing the template on the old worktops
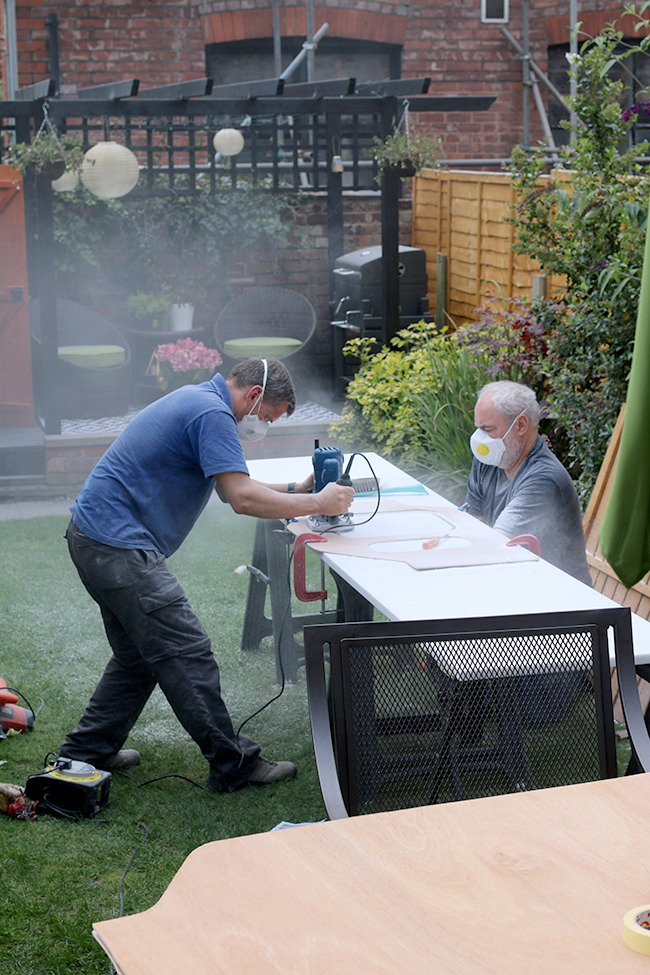
Cutting out the holes for the sinks using the template Wayne made. The amount of dust created was incredible!
I have to say, the cuts came out amazingly well. We were all
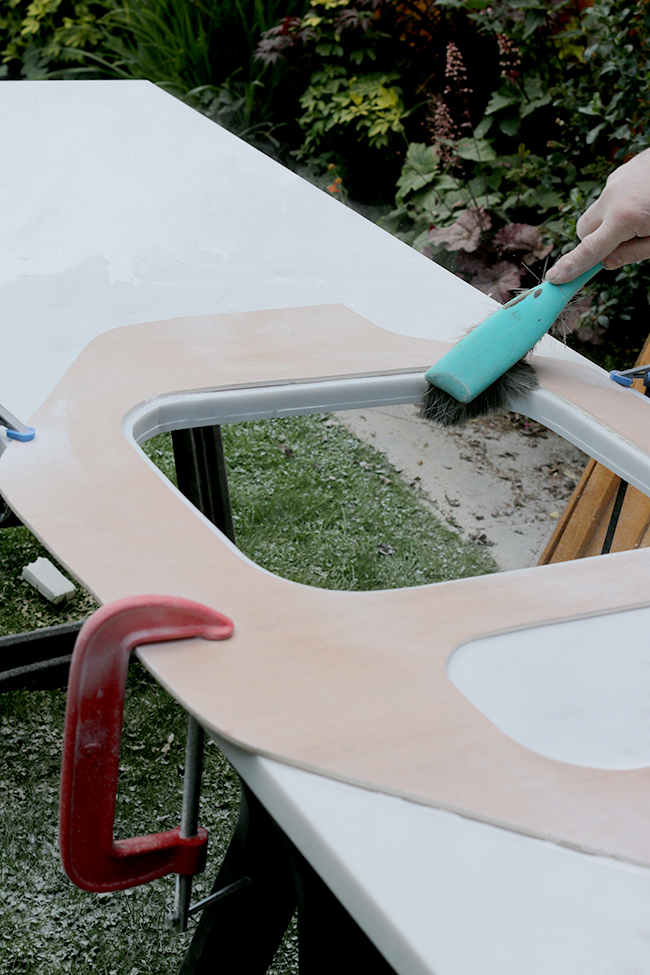
The acrylic material itself is incredibly easy to work
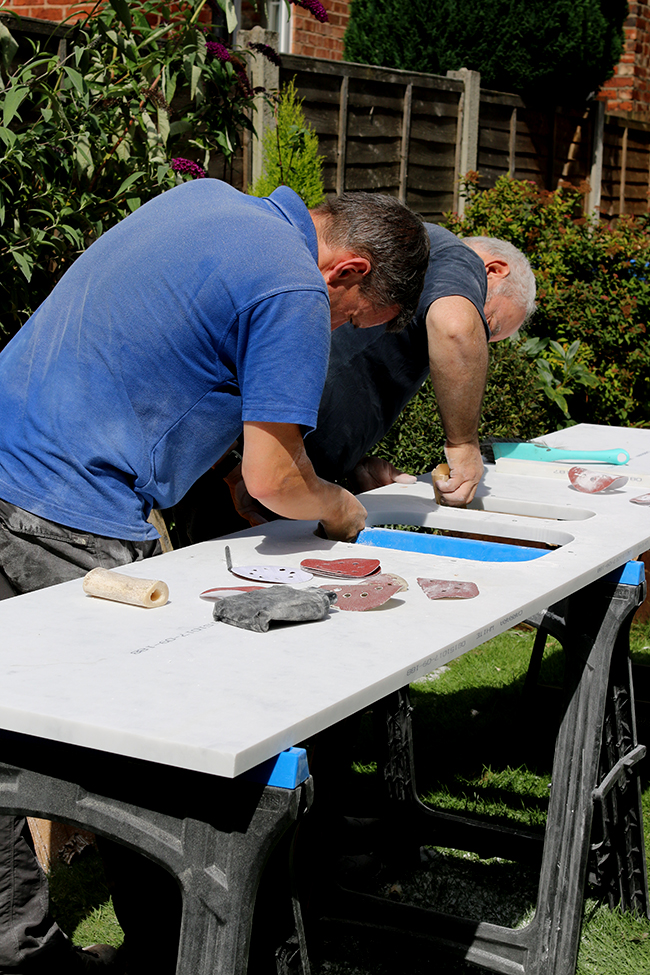
Sanding the edges totally smooth! Look at that concentration!
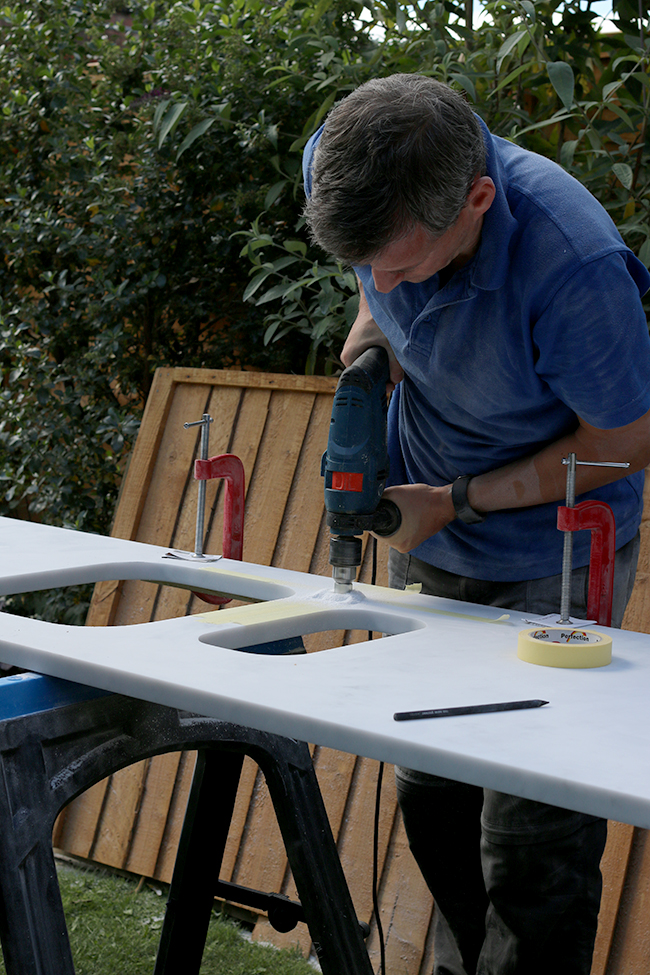
Next up was deciding where the tap hole would go…
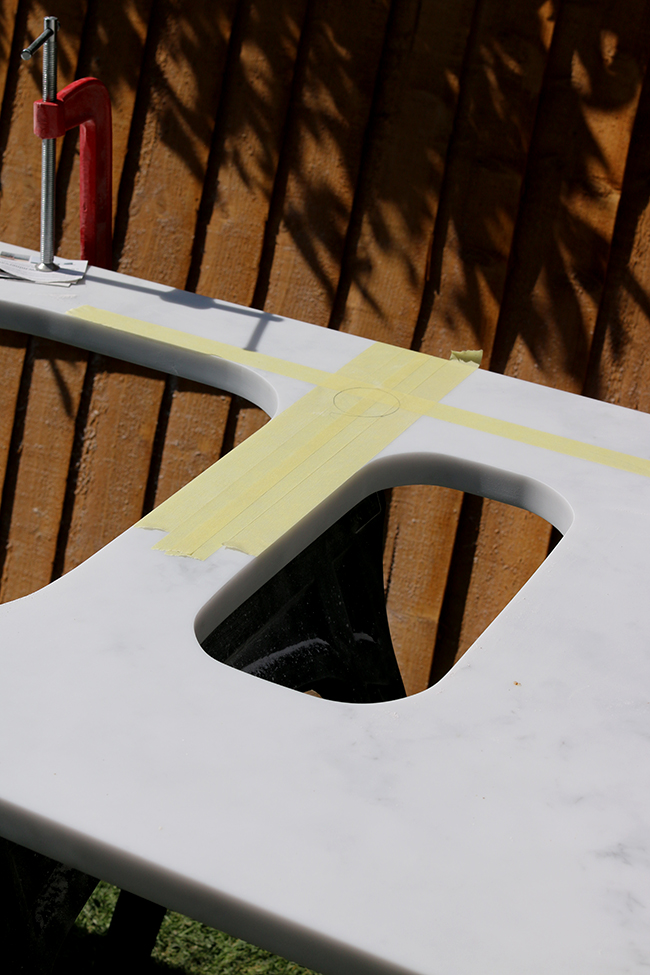
And
Once the
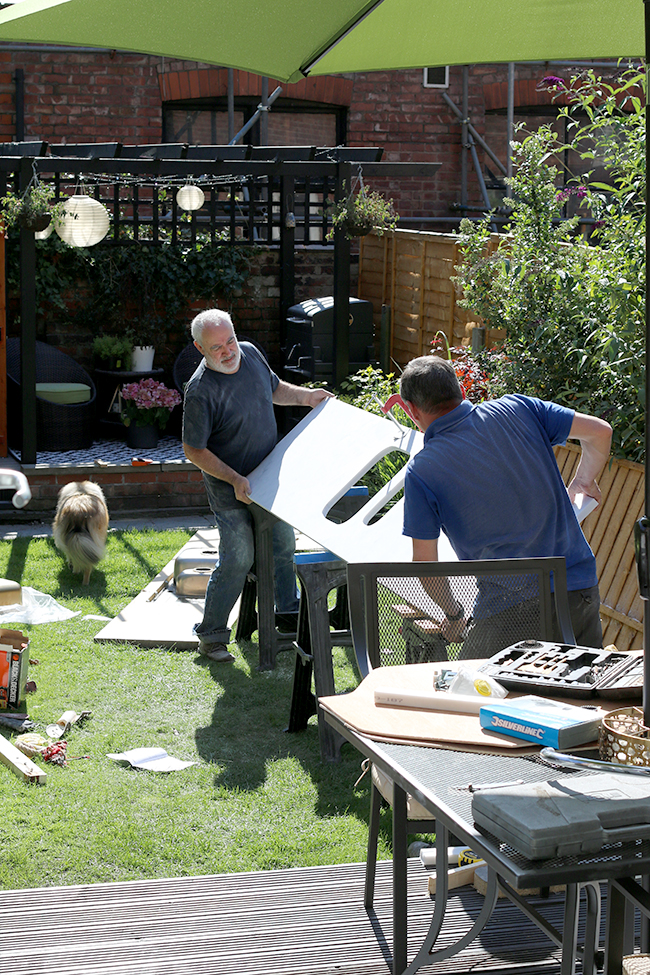
And…. HEAVE!
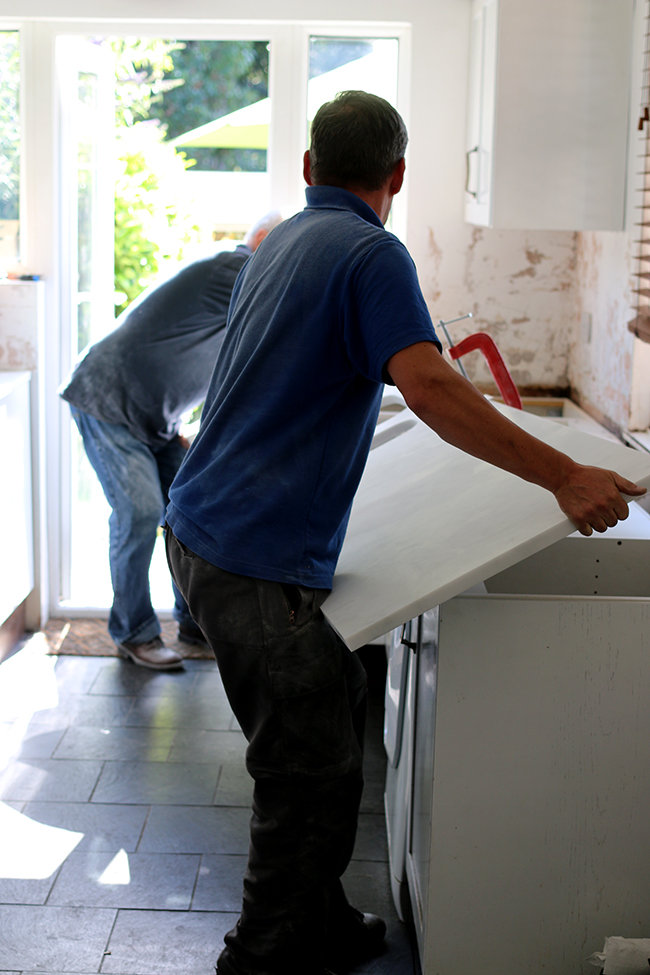
Setting the worktops into place… VERY carefully.
The other pieces for each section of the worktop were also cut to size. By the time everything was cut, they’d been working flat out for something like 6 hours so Wayne called it a day around
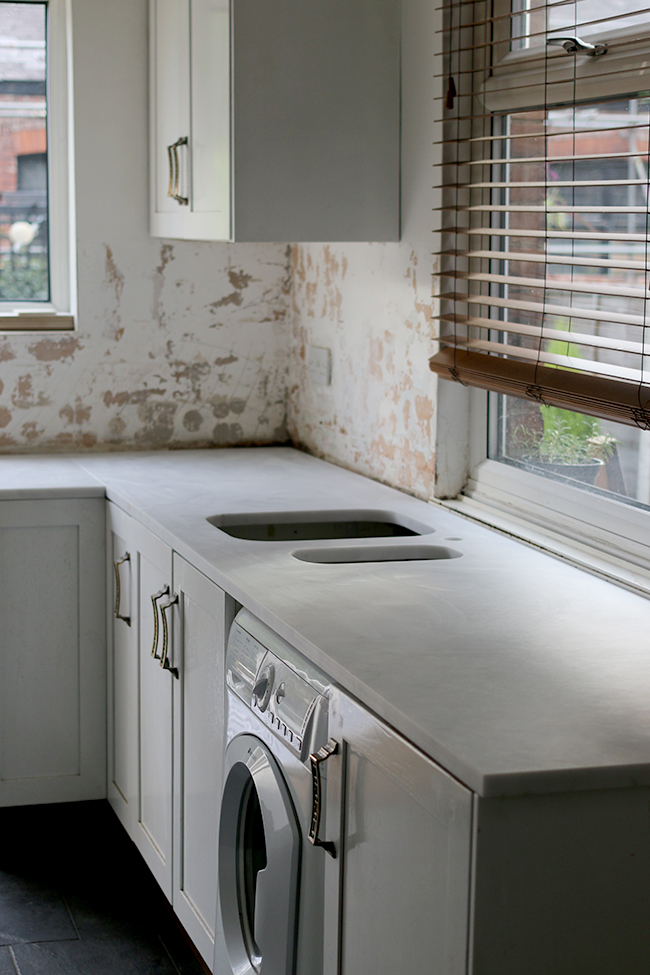
Not bad for a day’s work.
The following day, Wayne started on installing the sinks and tap. Fitting the tap was relatively painless.
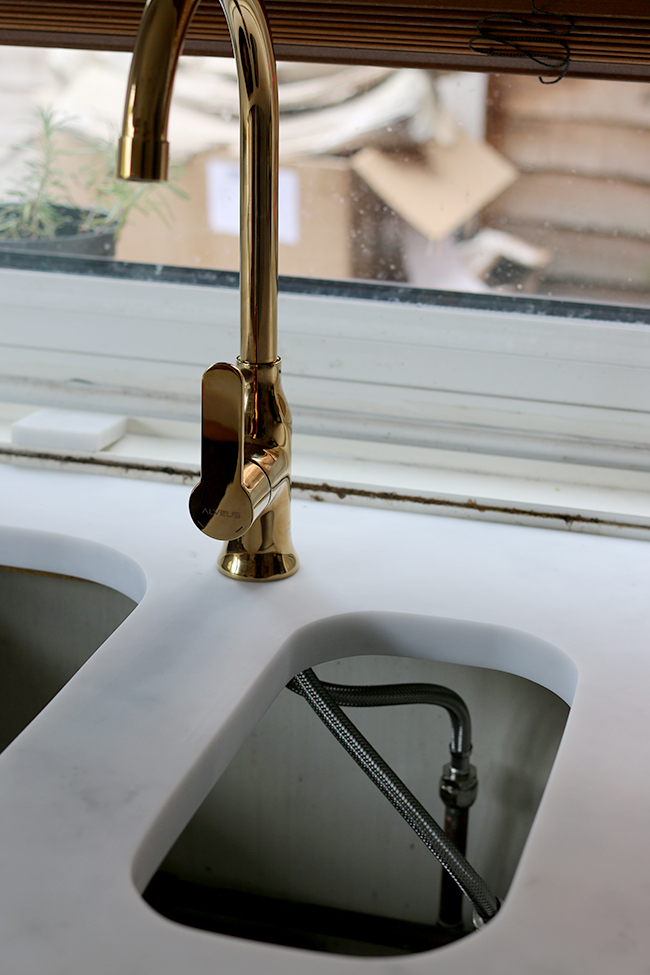
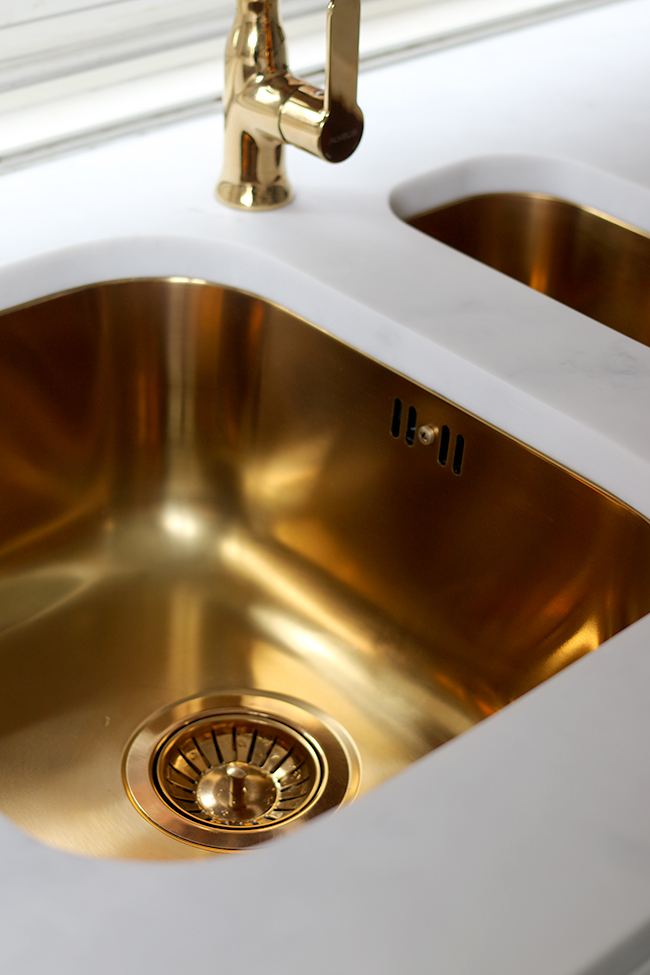
The gold tap is fitted!
The plumbing for the sink, however, required three separate trips to B&Q for parts!! While we were hoping that we could reuse at least some of the existing plumbing pipes we already had to save money, because the sinks sat lower in the units and we had two overflow traps rather than just one, it was like creating a little puzzle out of the pipes.
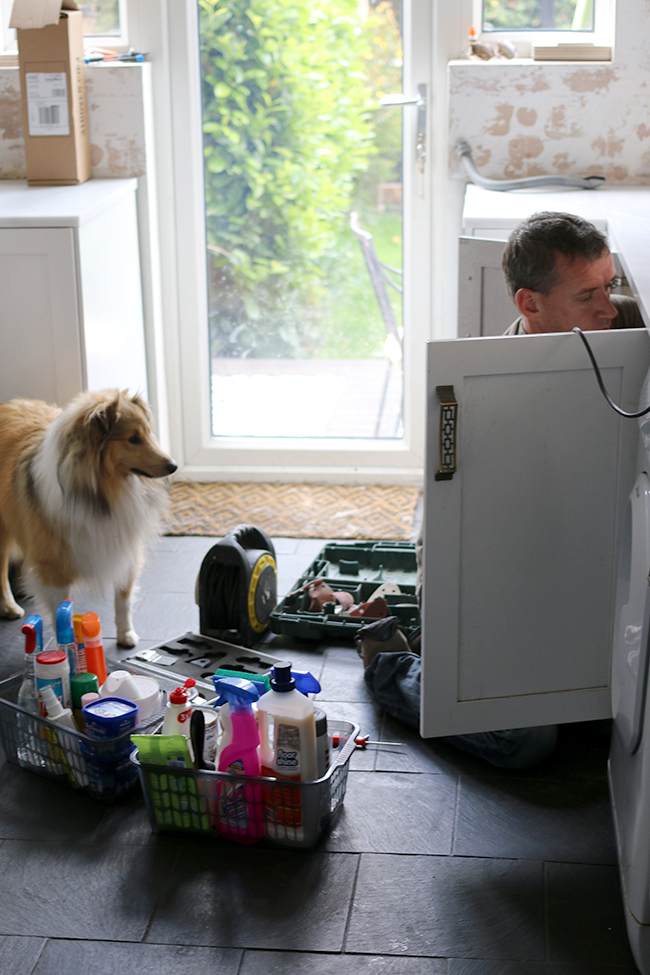
I’m sure Quito thought he was helping.
Finally, Wayne decided to just replace all of the plumbing because I think by then (hours
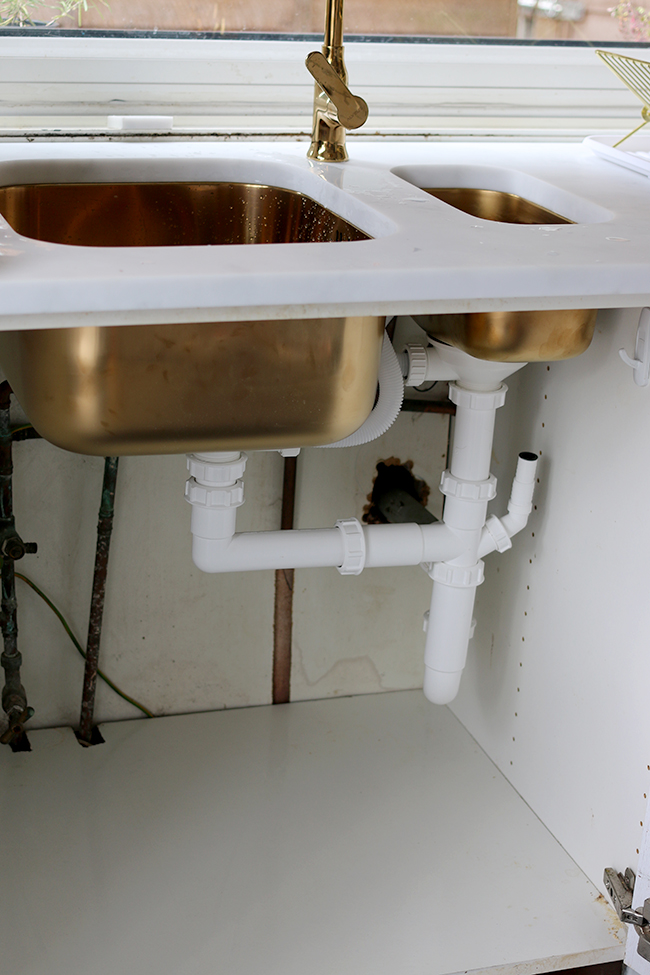
By Sunday afternoon, however, I had a beautiful gleaming gold sink and tap that were like something straight out of my dreams. So, how about a little before and after action?
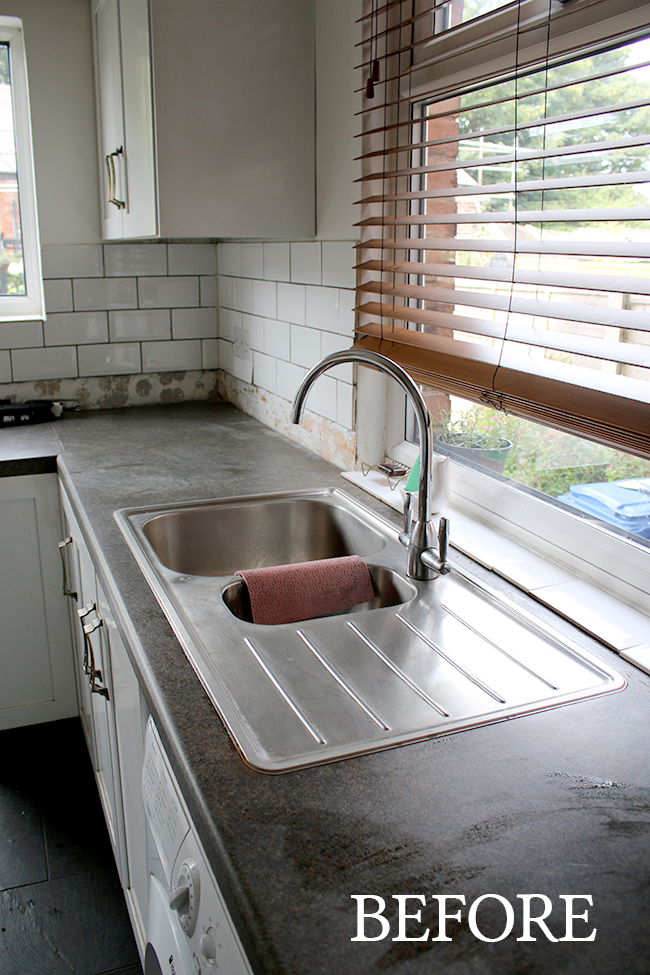
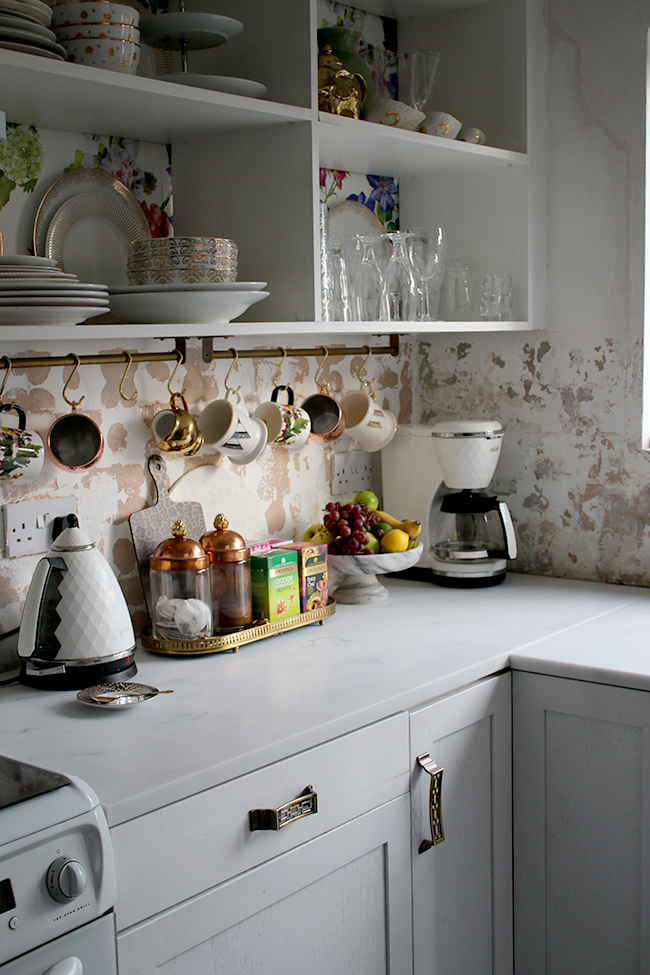
And what it looks like now… a marked improvement!
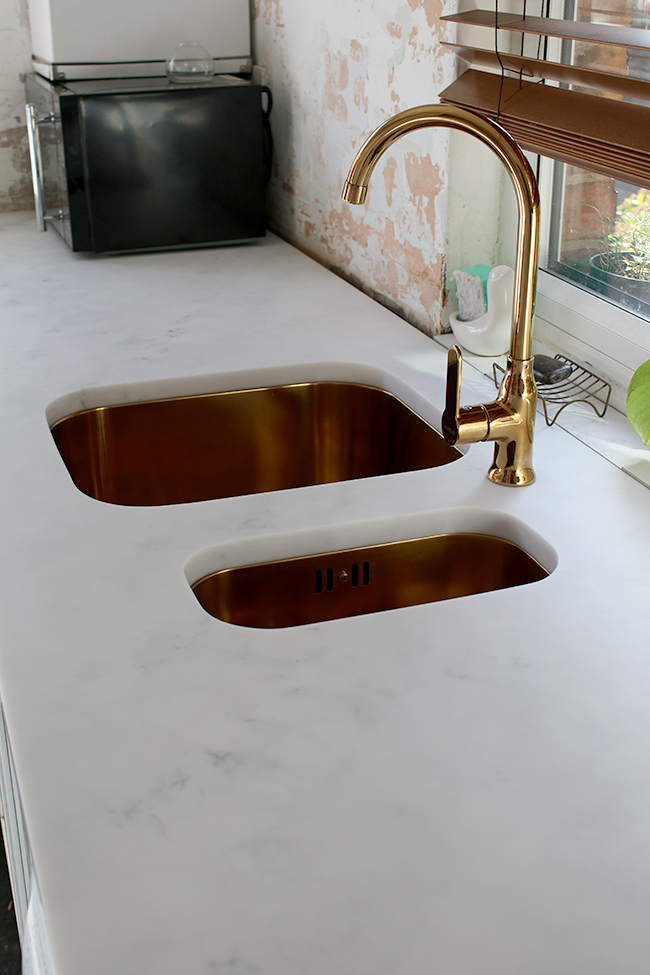
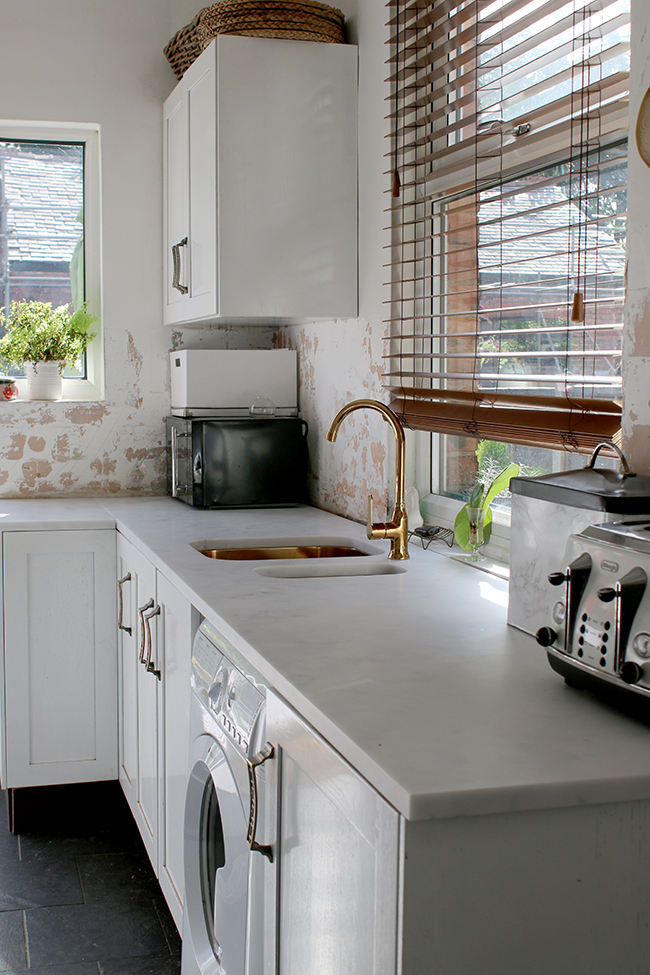
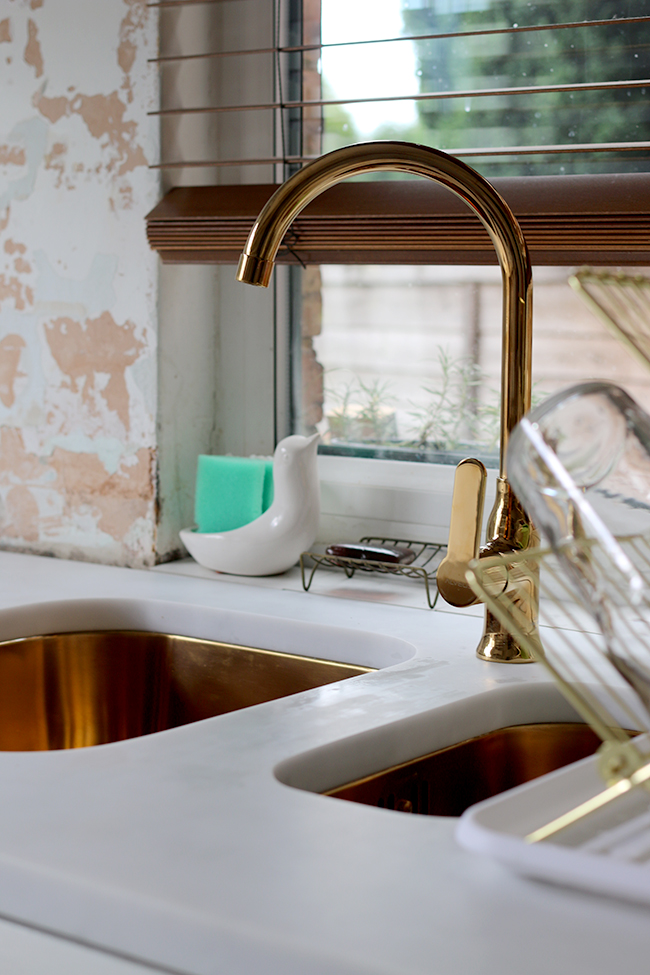
What you are seeing here, of course, isn’t the done deal. The worktops need to be totally levelled and secured to the cupboards (they are simply sat on top right now, although due to their weight, they aren’t going anywhere at the moment), the three joins need to be glued, filled and sanded and the windowsill piece needs to be cut as well and then joined to create a seamless inset into the window. At the moment, I’ve just laid a few tiles in the gap as a temporary measure so I didn’t have to look at the ugly sill ;)
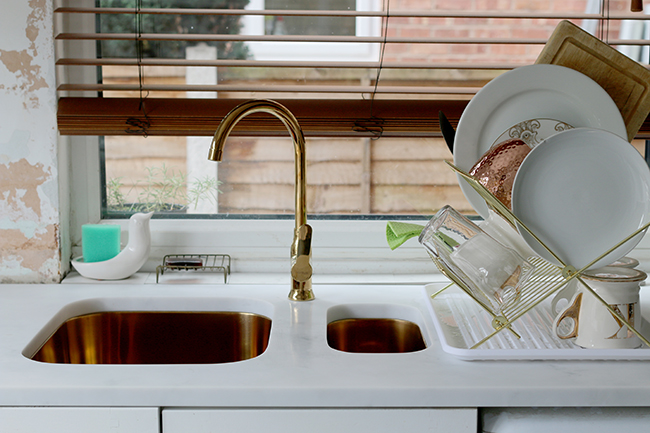
I also need to get a
Oh, if you are wondering where the sinks and tap are from, you can find them here!
So next weekend shall be spent finishing off the worktops for this particular phase of the project. Next up will be painting the lower cupboard doors black and installing new hardware. Stay tuned, we’ve only just begun!
In the meantime, what do you think of the new look so far?
**UPDATE!** Click here for how we finished the joins / Click here for the finished kitchen / Click here for how our worktops are holding up one year on





Is there no end to Wayne’s talents! Seriously I know how difficult a job that must have been and it’s going to look sensational when it’s all finished. Can’t wait.
ps. Your site is loading much faster now. Maybe the agro you went through was all worth it. x
I know I’m very lucky to have him around ;) And good to know the site is loading quicker too! That’s a relief, I had way too many problems with it on shared servers so it should be zooming now! xx
They look AMAAAAAZING! Well done to Wayne for the DIY job. I got a brochure through from the company you had linked to previously. Would you recommend them? Obviously you had a bit of an issue with how they cut them for you but real marble is just out of the question for us. Also how will you seal the joins?
x
Ahh thank you!! I’m really proud of him ;) As for the Minerva worktops – they are wonderful! It was only the retailer that I’d bought them from that I had an issue with, not the worktops themselves. I really should have purchased them directly from Minerva! I will say however, that you might want to check around for installers in your area first because I struggled to find fitters in the North West! You may of course have better luck where you are :) xx
What a pair of stars. Those gold sinks are absolutely amazing. Well done team you!
Thank you Alison! They really did such a good job :) xxx
Absolutely gorgeous! I can’t wait to see the finished kitchen, and you are one lucky lady to have such a talented guy!
I am very lucky!! Thank you so much – can’t wait to see my finished kitchen too ;) Ha! xxx
Looks fantastic. The gold sink and tap are amazing. I new you could do a great DIY job yourselves.
Can’t wait for the finished kitchen.
xx
Aww thanks so much hun!! Nice to see the back of those horrible worktops after so many years ;) xx
Oh. My. God. Amazing! Simply amazing! Wayne is an absolute star (I remember getting a professional to cut the aperture for our bathroom sink and still freaking out about it being in the right place!) – this is some seriously tricky stuff. And the (near) end result is just spectacular. Absolutely beautiful. I bet you can’t stop looking at it and turning the taps on and off! We just got a new tap in our gross old kitchen because the old one lost its thread so wouldn’t turn on or off without a molegrip, and even that has me in raptures because it is clean and sparkly and works – this though….another level!! :-) xxx
Ahh thank you Anna! Yeah it’s total nerve-wracking stuff for sure! And yes, I keep going into the kitchen to visit my new sink – the pressure of the water is miles better on the new one and I’ve actually been enjoying doing the dishes (that’s a new one) ;) Totally understand even when it’s a tiny change, it can make the world of difference! xxx
Amazing! Full marks for tackling such a scary job in the first place and triple top marks to Wayne and Gabriel.
Thank you so much Kate! He’s definitely done me proud ;) xxx
Wow and wowee, looking stunning so far!
Amazed that most people dont realise that fitting worktops correctly is truly a skilled job.Its very difficult isn’t it?
best Ashley
It is really not a job for the faint of heart (which is exactly why we weren’t planning on doing it!) – I’m just so grateful he tackled it and did such a good job :) xx
Waaaah!!! You did it. So so happy it worked out. I knew you guys would do a great job. Who needs CRAIG!! It looks so so good. I bet you’ve been just popping into the kitchen just to look at your new sink and tap. Such a beautiful worktop too. Whoop. Can’t wait to see the black doors!xx
Exactly – stuff Craig! LOL!! Thanks darling and yes, I keep ‘visiting’ the kitchen and I’ll tell ya what, dishes have never been done so quickly around here! Haha! I’m actually enjoying it these days ;) xxx
Wow….. I am speechless…
That is the pretty sink I think I’ve ever seen !!
You are such and inspiration ! Keep the pictures coming :)
Aww thank you lovely!! I certainly will ;) xxx
Oh My God It Is Gorgeous!!! You guys did an amazing job. Your Wayne is so talented. He’s a keeper! Can’t wait to see how it progresses toward you final vision. Love, Love, Love those countertops. And the fact that you installed them yourselves is amazing. If Wayne needs a side job he sure has the other guys beat ;0)
Thank you Lynne! He did me proud for sure on this one ;) Definitely a keeper! xxx
Mmmmm…..Gold sink. Gold sink. Gold sink. Gold sink.
I know that this post is about the fab counters. But all I can see is that gold sink.
It is so gorgeous.
Hahaha!! Thank you lovely!! xxx
Wow. Love the gold sinks and tap. Looking forward to following the progress and seeing the finished result. ? I’m new to your blog and am currently addicted! You’ve given me the inspiration I needed to ‘polish’ my interior design at home. So this weekend apart from the master bedroom finally being completed I shall be immersed in some ‘faffing’
Oh that’s such a sweet thing to say Kathleen!! Welcome welcome welcome ;) Best of luck with the master bedroom! There’s no finer thing in life than faffing I’m sure ;) lol xxx
Wow the sink and taps look fantastic, i wouldn’t want to wash any pots, in case i marked the sink, lol but then again you might as well wash them in style xxx
Hahaha! I know everyone keeps saying it’s too pretty to wash dishes in but it’s been holding up rather well so far (plus the finish is guaranteed for 5 years so there’s that too) ;) Definitely has taken doing the dishes to another level though!! xx
SORRY i was so dazzled with ths sink and taps i never mentioned the work surfaces. Wayne and Gabriel have done an excellent job between them. Who needs wots his name lol. This kitchen is going to look stunning xxx
Hahaha! Yeah, Craig can stuff it!! ;) Thank you! xxx
Looks great, but looks too posh to use lol and er do you rent Wayne out, could I afford him ?
Hahaha! I’ve been using it loads and it’s holding up great so far ;) (Of course, I’m treating it like a new baby so we’ll see how long that lasts lol). After the kitchen is complete, I might have to rent him out to the highest bidder!! (Not really hun, in case you are reading – hahaha) ;) xxx
Wow Kimberly!!!! Your Wayne and his friend are absolute superstars! What an amazing job! It seems Wayne can do just about anything he tries his hand at. Clever man. Bravo!
He has done me proud on this one for sure! Thanks lovely, I’m so happy with it!! xxx
This is awesome. A real game changer for the kitchen. Wayne is a true rock star!
You have no idea how glad I am to see the backs of those horrible worktops!! He is, so proud of him ;) xxx
I’m in North America and I have to say that the speed of your site right now is NOT good–but those sinks and that countertop are crazy good.
I’m sure you’ll get the site working properly soon. As a North American, though, I have to ask, is that teeny sink really useful? I mean, it must be, but doesn’t even look big enough to rinse a plate in.
Oh I’m so sorry to hear that Alana! I have put in a request with my host to see if there are any issues I’m not aware of – it should be running really quick as I’m on a dedicated server so thanks for letting me know. I’m going to have them look into it!!
As for the sinks – good question ;) The main one is slightly larger than my old sink and that’s really where you’d do the dishes in. The small one is really just for rinsing! In the UK, people often fill the large one to do dishes or to soak pots and then you still have the small sink available for rinsing or whatever you need the water for. Also, the little divide is great for resting a large pot on to fill with water. They are pretty common here but it’s really down to personal preference to have one or two ;) xxx
Absolutely stunning Kimberley! I love the new worktops, they look beautiful! Wayne has done an incredible job…really lovely, I can’t wwit to see how it will all look with the tiles in place.
Just to re-emphasise just how impressed I am at that cutting!!! It really looks factory-cut! Absolutely amazing – Wayne should be very proud of himself.
And that gold against the marble – beautiful. It is a triumph!! Cannot wait to see the rest of the changes you’ve got planned! It’s going to be be legen-wait for it-dary!! xx
My gawd I’m so jel about the sink! Well done to Wayne as well that’s some serious DIY there.
OMG that is so pretty! When I grow up I want a gold sink! I think you made the right call on the draining situation, those grooves just ruin the look of the whole thing and who wants a load of dishes draining directly onto their worktop anyway?
Love it all, can’t wait to see it all finished!
Hi, we are in the boat as you with our Minerva worktop. We just need to straight cut for this could you let us know witch Blade did you use with the circular saw. Thanks
Hi Jabeen, Sure, this is the one we used: http://amzn.to/2f834LP
Hope that helps and best of luck! x
Hi Kimberly
Thank you so much, really appreciate your quick response.
We are going to give it a try finger crossed
Jabeen xxx
I’m a acrylic fabricator for the last 15years.I’m impressed, well done!!
Thank you so much, that’s really kind of you! Also, WHERE WERE YOU WHEN WE NEEDED YOU? Hahahaha! (joking ;))
Hi, I’m just about to take the plunge on the Minerva worktop front! Yours looks fab! What is the name of yours? It doesn’t look like the Carrara marble one! Thanks xx
Hi Fran, it is the Carrara Marble one! There’s a very soft grey vein running through the whole thing :)
I’m so impressed by the stunning finish in your kitchen! We’re about to buy a Minerva worktop too. There is little I can find anywhere about their long term wear. How would you say it has worn over time, and responded to stains, heat, watermarks, spills and scratches? Is it easy to maintain? Do you think getting the matt marble makes it easier to maintain than a sparkly finish which might show scratches? Our other option was the sparkling white.Thanks for any advice.
Hi Mow, not sure if you saw the latest post but I’m sharing my thoughts on my worktops one year later so hope that helps!
https://www.swoonworthy.org/2017/11/minerva-worktops-review.html/
xxx
I’m a kitchen designer & I’m thinking to add Minerva to my range & I must say 1. your finished kitchen is to die for! Love the black white & gold!
2.Your blog post was more helpful than the Minerva website! haha
Thank you so much for sharing!
Yeah, I just finished Minerva carrera project last week, looking good.We joined two pieces of claddings to fill up a alcove where range coocker stands and it came out superb!!! We were lucky as both claddings ( one was designated behind belfast sink, another range cooker) had the same batch number so the vains and shades of grey were spot on!!!
Oh that IS lucky!! To be honest, where there are joins, it’s hardly noticeable unless you were looking for them! So even if they don’t match exactly, they look pretty good and they were so easy to join up, pretty much seamless! :) x
Well, I have to disagree with you. L shape kitchen has noticeable join-most of people are using mason mitre jig ( the same joining technics like for laminate w/tops) . Its easy to spot as you have to directions.Im doing wiggle join instead 😋
Oh thank you so much! Ha! Happy to be of help! xxx