If you’ve been following my blog for any length of time, you’ll know about my relationship with Tile Mountain. They are my go-to when it comes to anything tile related, not only because I write for their blog and provide consultancy work for them behind the scenes, but also because they do great tiles at incredible prices, trade-quality materials and they are just a fantastic company to work with. So of course, when they heard I was going to be giving my kitchen a bit of an upgrade, it was only natural we would work together on the project.
When we first did some work on the kitchen (more than 5 years ago now!), I had chosen a white subway tile and used black grout. At the time, it wasn’t a common look really aside from seeing it in the odd magazine but I had no idea at that point what a huge trend it would become. Don’t get me wrong – I still liked it in the kitchen but I felt it was time for a change. I wanted a fresher cleaner look. Not just that, but when we’d originally done the work as DIY “newbies”, we failed to include a trim around the tops and edges of the tiles and it just never looked finished. It bothered me every time I was in the kitchen!
Kitchen tiles before – note the lack of any trim and the tiles stopped at the worktop!
So this time around, I decided to go with the same Carrara marble-effect tiles from Tile Mountain that we used in our dining room fireplace. They are actually porcelain tiles from Italy. They have the most beautiful soft matt finish with a gorgeous varying grain and unless you knew they were porcelain, they would easily be mistaken for the real deal. The best thing about using marble-effect tiles is that they are super hard-wearing and won’t etch or stain the way real marble does. Plus? At around £40 per square meter, they are so much more affordable as an option. It’s a win-win all around.
I also decided to use the same brass trim that we used on the fireplace makeover. This was all intentional of course because the kitchen opens on to the dining room and so using the same materials ties the rooms together, making them a bit more cohesive.
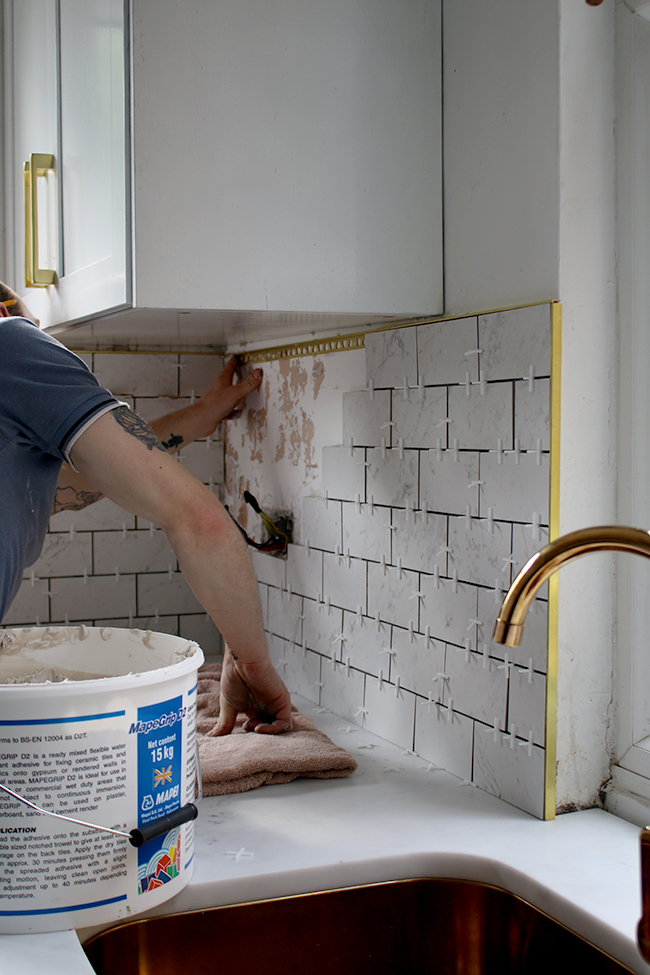
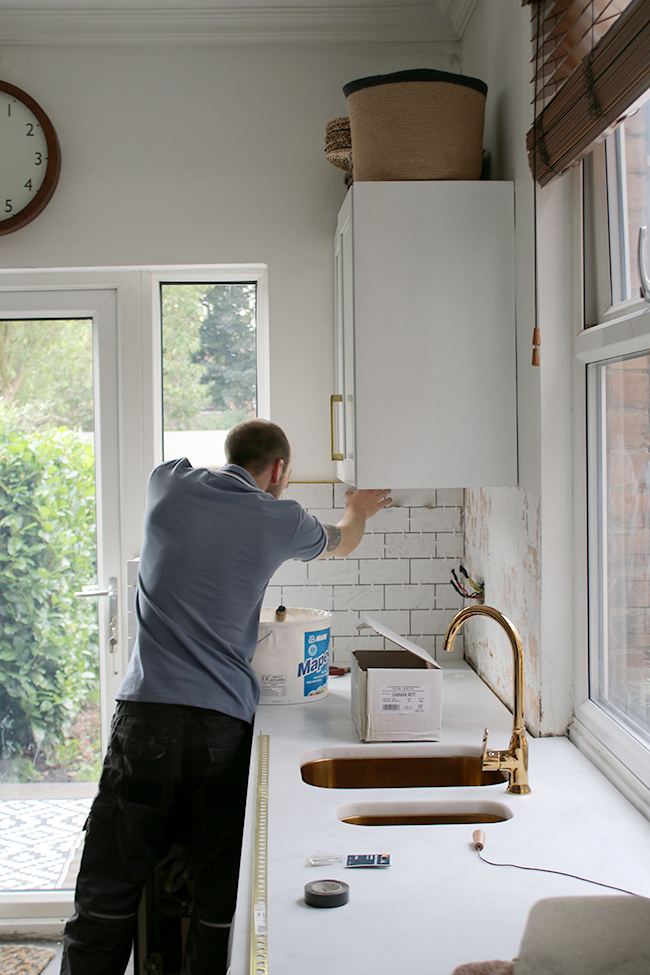
Tile Mountain were gracious enough to supply their own tiler on this job – Grant Housley who was such a perfectionist and who saved us the trouble of having to do the work ourselves. All week, Wayne has been staying late at work to paint the cupboard doors and end panels so having a bit of help on the tiling has literally saved us weeks of work and I was so grateful to Tile Mountain to provide us with someone who was incredibly skilled. It took Grant 3 1/2 days to do the work this week and he’s done an incredible job.
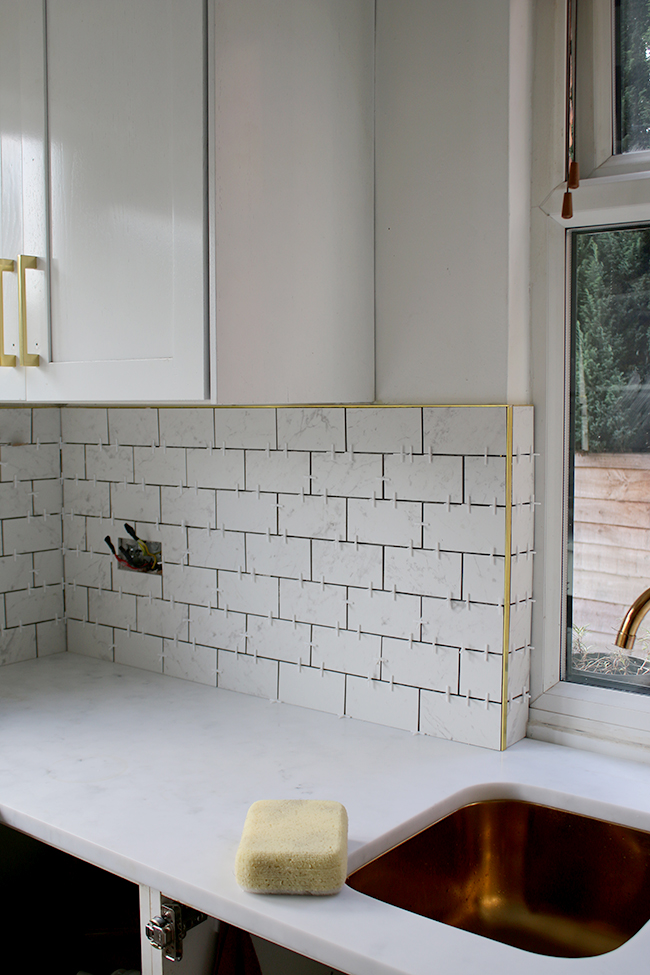
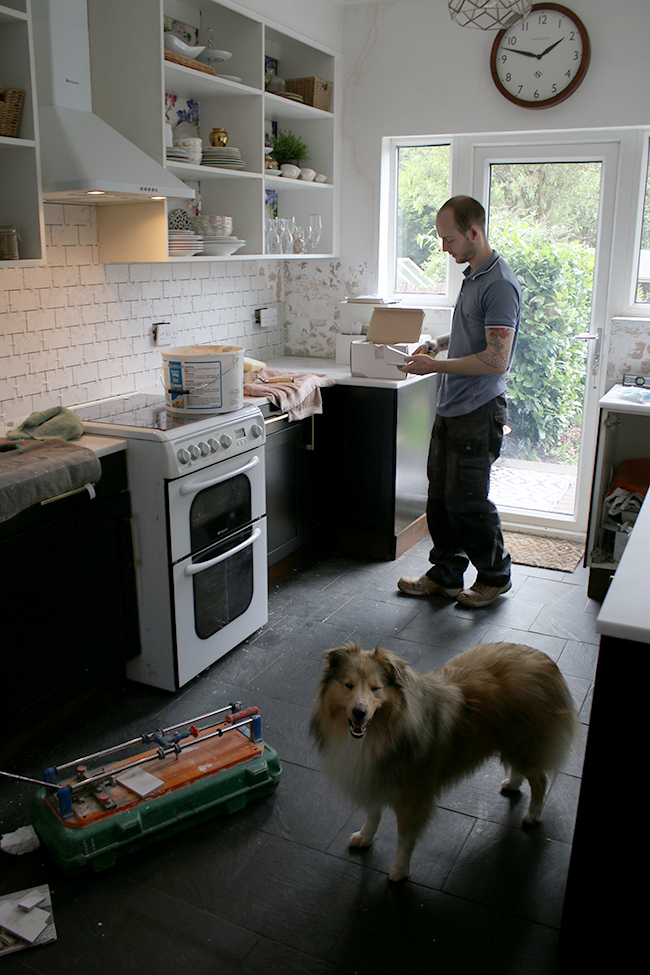
As you know, I’ve not had the best of luck in terms of finding tradespeople but Grant was so good-natured, a real perfectionist and problem-solver, professional and courteous. He was even great with my dog!
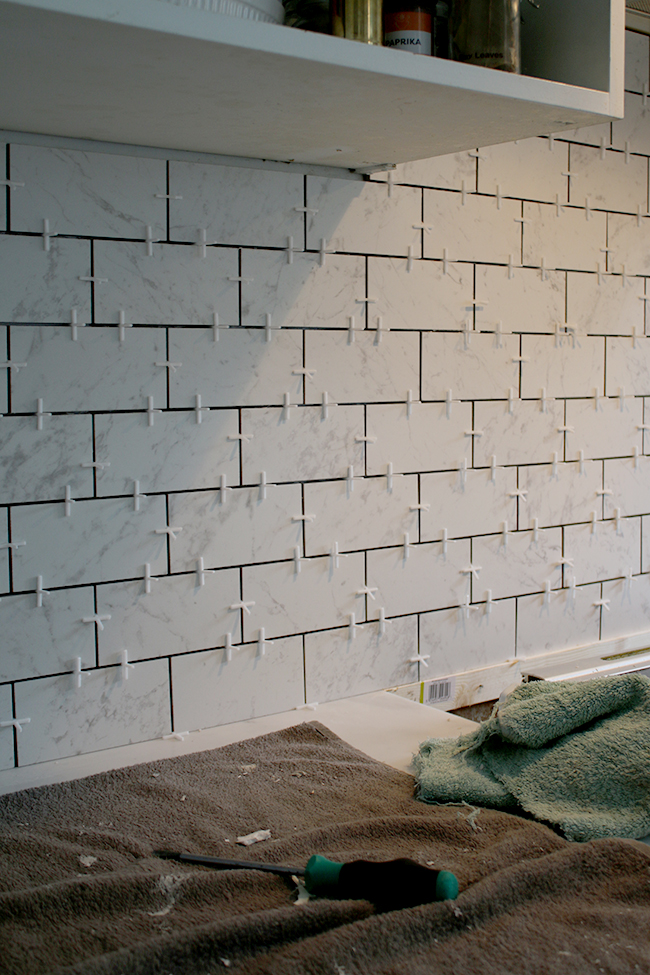
I have no doubt this would have taken us quite some time to complete. Living in an old property (our house was built in 1906), none of the walls are straight or plumb so it takes a lot of work to get the tiles as straight as possible on the walls. It means packing out any areas of the wall that are uneven and making constant adjustments as you go to create square edges where there were none.
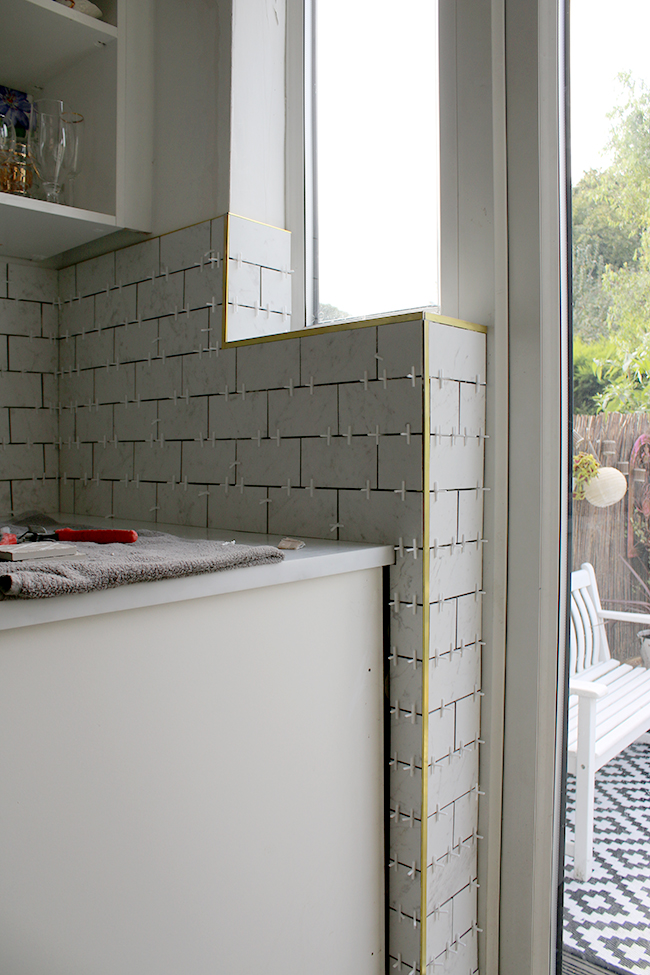
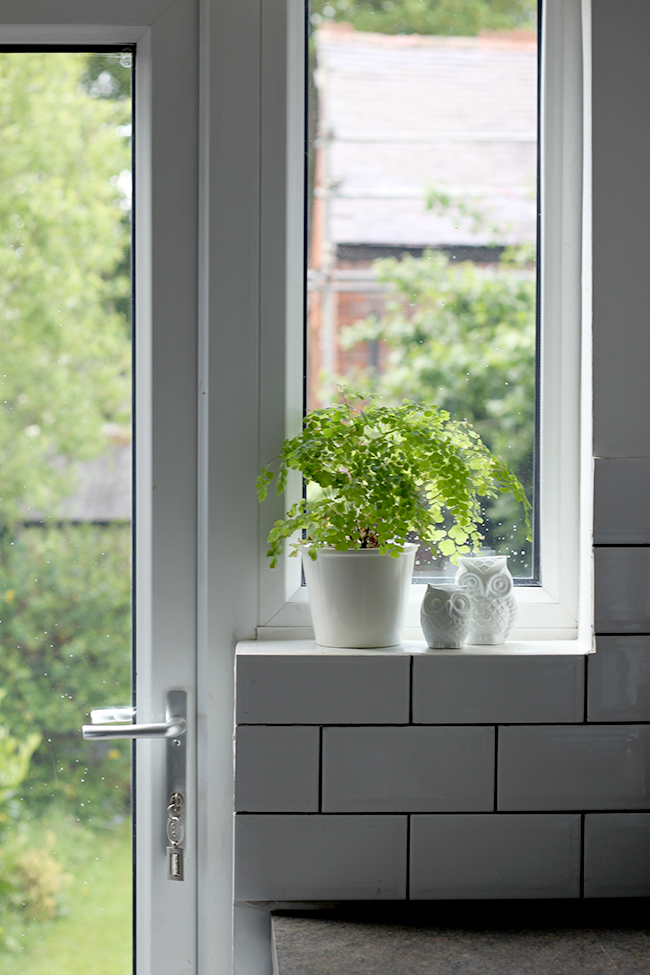
My favourite part of this job has to be the tiles and trim work around the windows. I decided to carry on the tiles to the floor here (if you look at that before pic above, you’ll see they stop at the countertop) and use tiles along the small shelf as well. I just love how they came out and I know watching Grant that these weren’t easy to do! The shelves were at different heights and weren’t at all straight but he made them work!
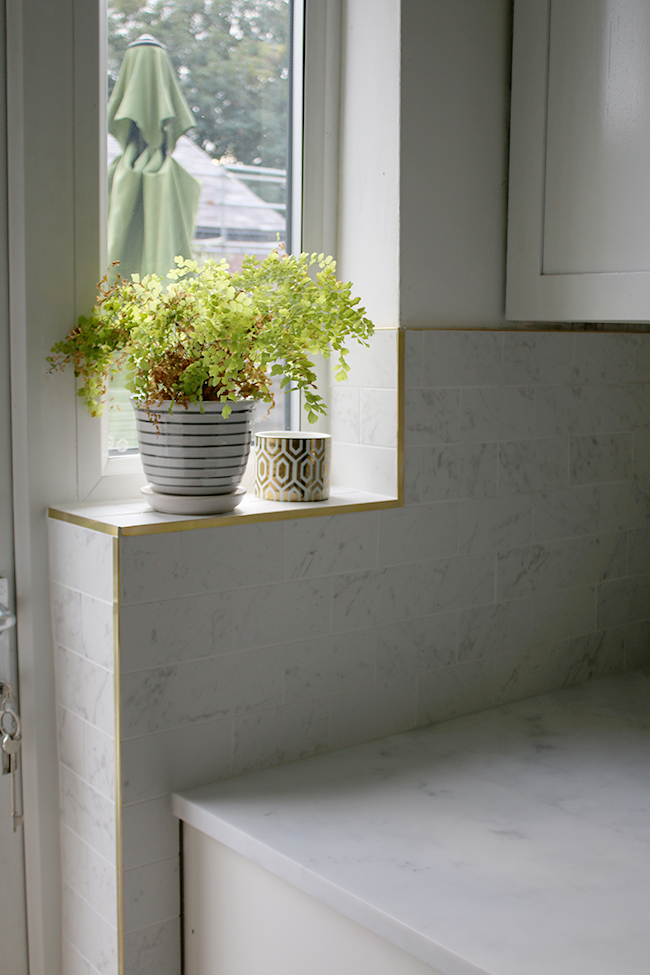
Bear in mind, the end panels of the cupboards are still missing here but I think it looks amazing anyway!
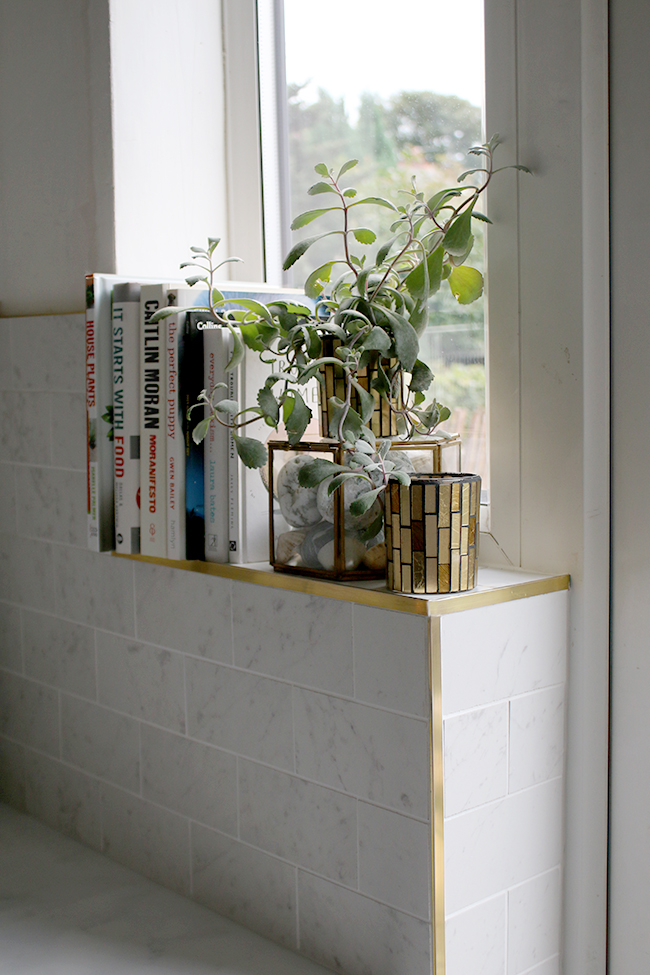
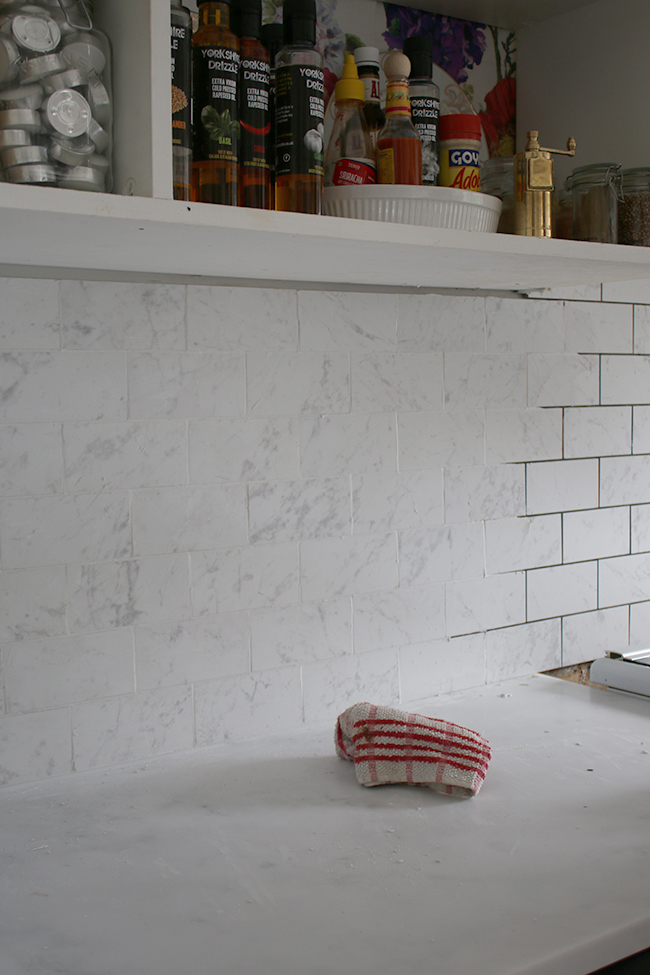
Here are a few more shots of the finished tiles…
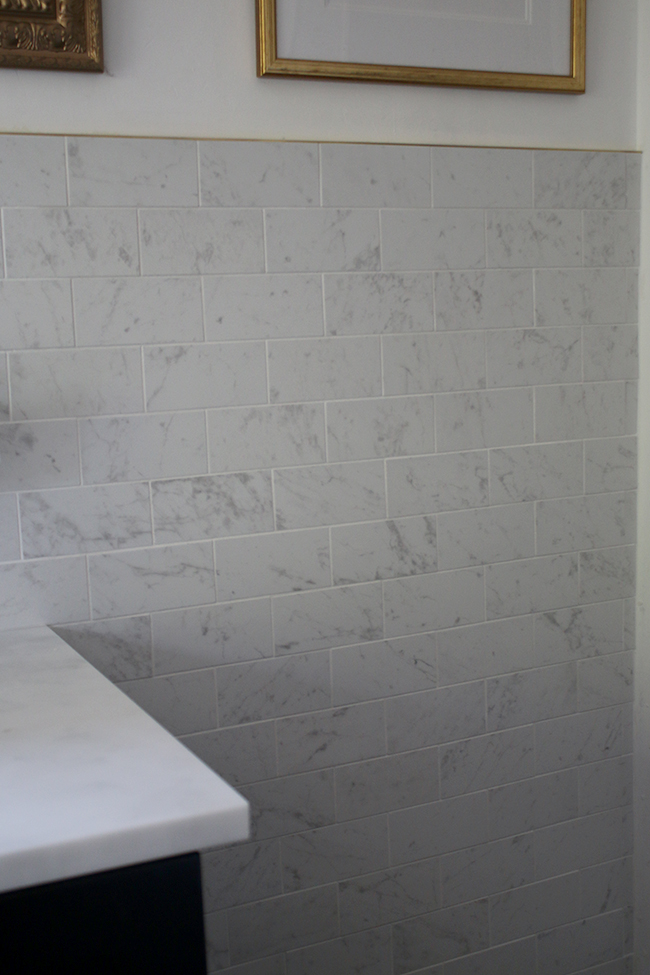
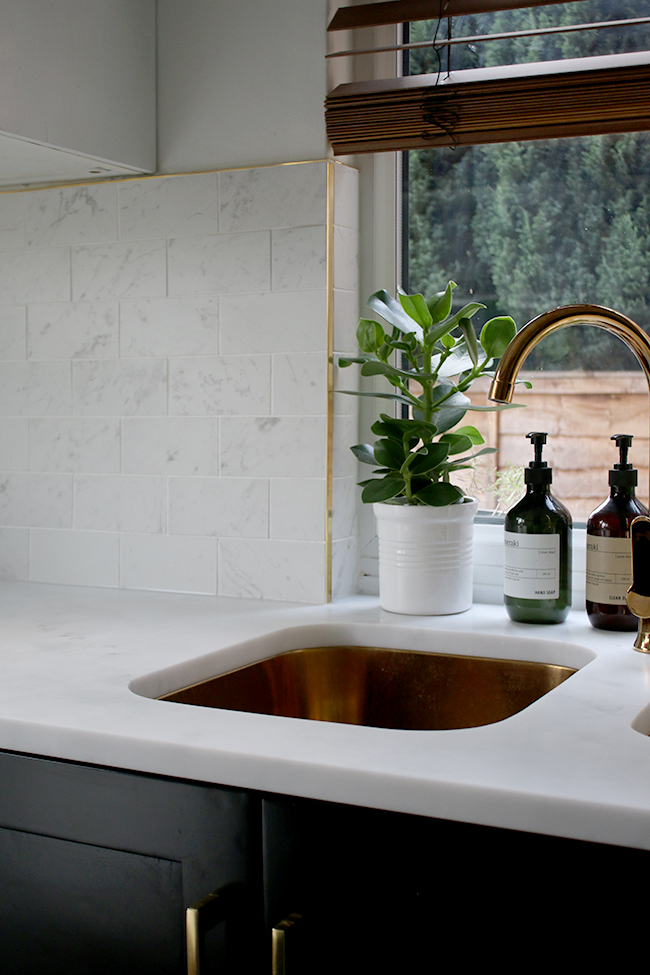
I genuinely couldn’t be happier with my tiles! The elevate the entire kitchen now and Tile Mountain have been fantastic to work with as per usual. If you are interested in using the same marble-effect tiles in your next project, you can find them here and tell them I sent you! You can also request free samples so you can see exactly what they look like before you purchase them.
Also, if you are interested in a great tiler and you’re in the North/Midlands region, I can provide you details for Grant as well as he does some side jobs alongside his work with Tile Mountain so just let me know and I can get that for you.
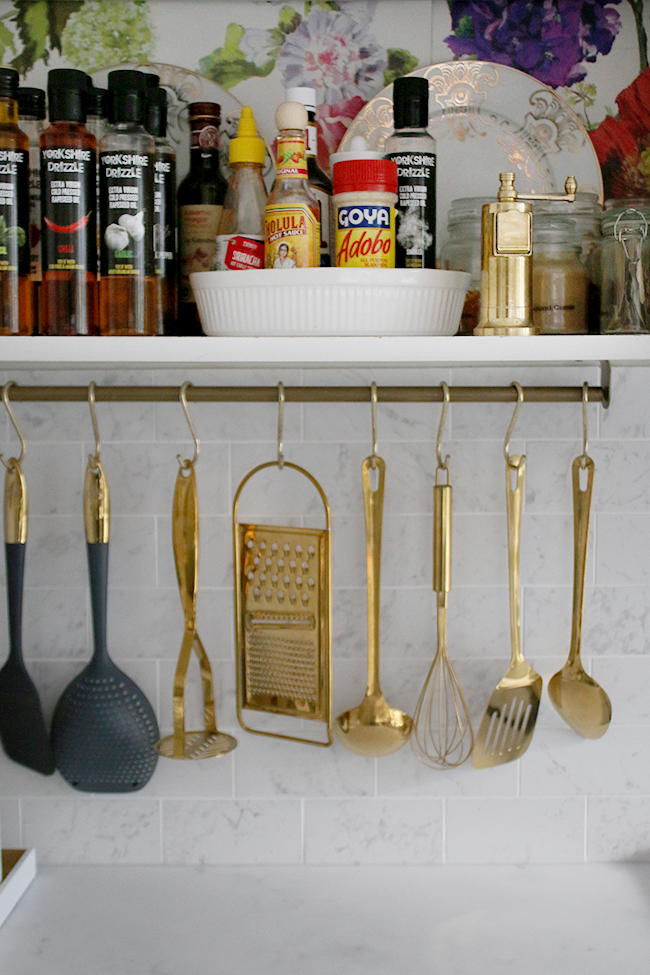
Sorry for the lack of more pulled back photos! There is still plenty more to do and I don’t want to spoil the whole effect by showing you a space that is still only 75% finished but we’re getting close now so hopefully I’ll be able to share the full reveal in the next month or so!
A huge thank you to Tile Mountain and to Grant for working with me on this one! I adore my tiles and can’t wait to get this kitchen finished!
So in the meantime, what do you think of my tile choice? I’d love to hear from you!
Disclaimer: I was provided tiles and a tiler free from Tile Mountain for my review but as always, all opinions, words and images are my own. I only work with companies I really like and think you’ll like too and I was incredibly grateful to Tile Mountain for getting on board with our project! Thanks so much for supporting the businesses that support Swoon Worthy!




Your kitchen is looking FIT!!!!
Love those tiles. We’re going to be marble tile twinnies sooooon.
**hi five**
Can you send Grant over please? Ta xx
Yay for Marble Twinnies!! If you need a tiler, let me know – he’s honestly brilliant and he can cover the Leeds area ;) xx
Oh holy cow! They are beautiful! And that trim is so perfect!
We are about to start on the bathroom and I need to decide on tiles for the shower. We already have a marble-topped vanity as a sink unit so carrying this on in the shower could work really nicely. Would they be suitable for shower walls do you think? Anyway, will definitely get some samples from Tile Mountain. Plus we were intending to do the work ourselves, but we have the same problem of zero square surfaces in our house so the idea of getting Grant to come and do it for us is VERY tempting (not to mention quicker and a lot less mess I imagine!). I may well be in touch for his details soon. First we have to take down the ceiling, expose some beams, fit a Velux and plasterboard the ceiling and walls before we can even think about finishes. Yikes!
Can’t wait to see the reveal! Good luck with the finishing touches! xx
I would imagine they would be fine in a shower but it’s probably best to send a question to their customer services and they’ll let you know for sure! I know they are water resistant so they don’t need to be sealed or anything like that! And if you need Grant’s number, let me know and I’ll email it to you – he’s very very good and I know we wouldn’t have gotten the quality finish we did if we’d done it ourselves ;) Let me know when you’re ready! Thanks so much lovely and good luck with your project ;) xxx
What an amazing job! These tiles are so beautiful and the brass trim is just the cherry on top.
xx
Thank you darling! I’m in love with the whole look!! xxx
We recently redid our master bath shower with over-sized subway tiles in a Carrara marble look. Held them up to the real thing in the store and couldn’t tell the difference, except that ceramic was 1/6th the cost of marble and no sealing. I plan to use them when we redo the guest bath and am considering them for the kitchen backsplash. Yours look great!! See mine here: http://www.bohohome.com/2016/07/rescuing-my-master-bath-from-1980s-reno.html
Oh those are beautiful Susan!! Lovely job and think they’d make a gorgeous splashback too – honestly you really would never know they weren’t real marble ;) xxx
It’s really coming together now, it’s looking good. The tiles are gorgeous, they go really well with the work surfaces, and that gold trim makes a big difference.
I’m glad you’ve found Grant after, He who shall not be name. (Dick head for short)it looks like he’s done a good job and it looks like Quito approves. xxx
Thank you lovely! Grant was a godsend especially compared to Dickhead! Hahaha! He’s done a lovely job and Quito definitely approves ;) xxx
Beautiful! I love marble and the brass just makes it even more chic. Good choice on the grout color. Very swoonworthy!
Aw thanks so much Jillian! It’s really starting to come together finally ;) xxx
Oooooof, that brass trim is SO good. I love how this project turned out and you are right, it does feel so much fresher. Great upgrade! Happy weekend, lovely! xx
Aww thanks darling! I’m so in love with the tiles now – it’s actually made the kitchen look bigger! Can’t wait to get the whole thing complete now but we’re getting there ;) Hope you having a good weekend yourself hun xxx
I’m in love with the tile but specially the trim… to die for!!!
Ahh thanks Sandra! That trim is just the cherry on top, I love it! xxx
A-MAZING!! Nice work Grant and Tile Mountain. And you of course, for having such damn good taste.
Champagne taste, cava budget – that’s me! Hahaha! Thanks lovely xx
Oh, this looks sooooo good! The brass trim finishes it off beautifully too – and having the tile on the window sills is another one of those touches which makes such a difference!!!
Can’t wait to see the full finished room in all it’s glory – loving the peeks of black doors!! xx
Thank you darling! It’s all coming together finally but still a ways to go – can’t wait til it’s all done :) xxx
Absolutely Gorgeous! The marble affect is providing serious inspiration for my bathroom makeover! Xx
I am genuinely so excited to see the finished result of your kitchen it’s ridiculous ?
Mel ★ http://www.meleaglestone.co.uk
Swoon swoon swoon! Your tiles are GORGEOUS and the brass trim finishes them off so beautifully! Completely loving the whole look with the dark bottom cabinets, brass hardware, white worktop and marble-look tiles. We’re going to be kitchen twins when I get to renovate my kitchen!!! ;-)
Can you please share where you got your sink basin?
I have yes! It’s here: http://www.swoonworthy.org/2016/09/gold-copper-and-black-taps-uk.html/